


This guide contains all the information you need to know to get your new gear up and running, along with handy links to any available accessories and other relevant information. If you require technical support, please contact our support team for assistance. Contact details are contained within this guide.
- Ensure you comply with your state or territory’s laws and regulations around the installation and use of auxiliary lighting.
- Before installing the lights, remove the negative cable from the vehicle's battery.
- Remove any protective film from the light lens and cover before operation.
- Ensure the lights are mounted securely and tightly to a solid surface.
- Ensure air flow to your radiator is not compromised by the positioning of your lights.
- Do not install the lights in a place that may interfere with the driver’s line of vision.
- Use either the included harness or a suitable alternative to install the lights. Make sure the harness you are using is capable of sustaining the current drawn by your lights, especially when connecting new lights to an existing harness.
- Some vehicles will require a different high beam piggyback adaptor than the ones included, or may need to be hard-wired into place. We recommend checking with your vehicle manufacturer prior to installation.
- Improper installation of the wiring harness and lights can affect the performance and reliability of the product and may cause consequential electrical problems in your vehicle. If you do not have the required skills to install this product, we recommend you contact a qualified auto electrician.
- Do not attempt to disassemble, modify or repair the lights. If your lights become damaged or malfunction, please cease use and contact us for assistance.
- Do not look directly into the lights.
- Do not connect the light to a power source greater than 32V.
- Do not use solvent-based cleaners when washing the lights.
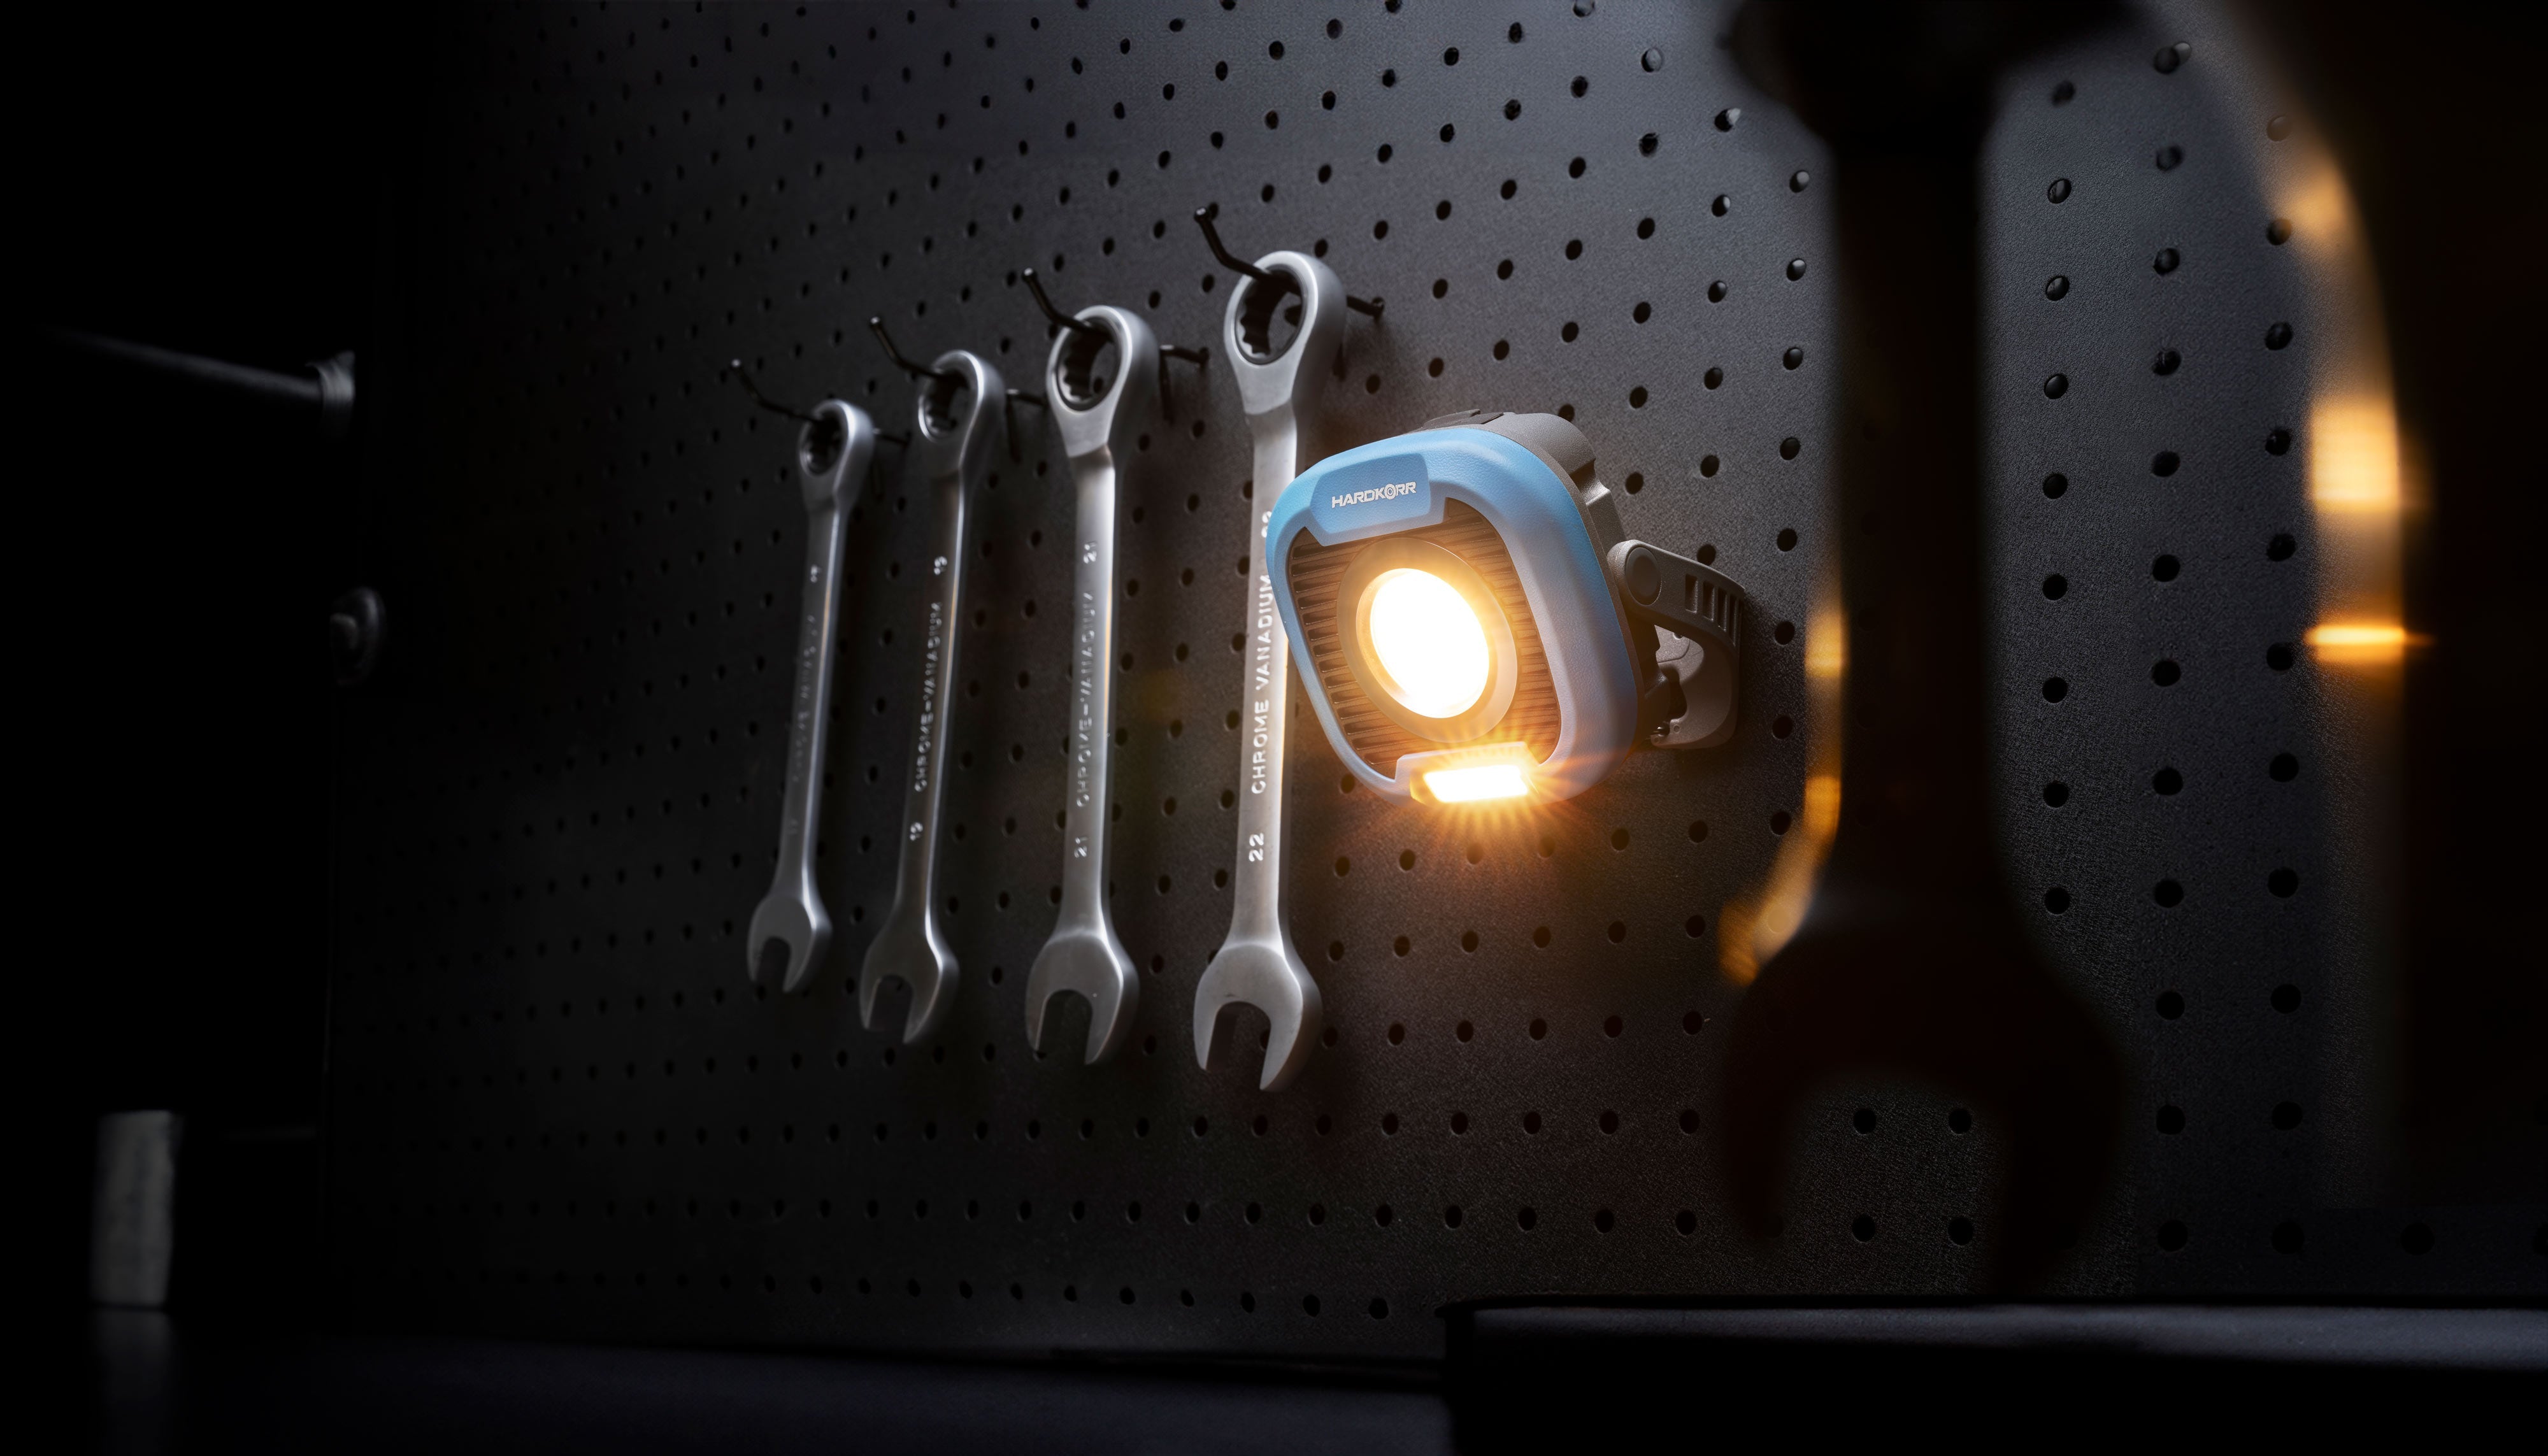
- Do not operate the light with the black light covers attached. The black covers can absorb heat and become unsafe to handle with bare hands.
XD SERIES DRIVING LIGHT OWNER’S GUIDE
PRODUCT OVERVIEW
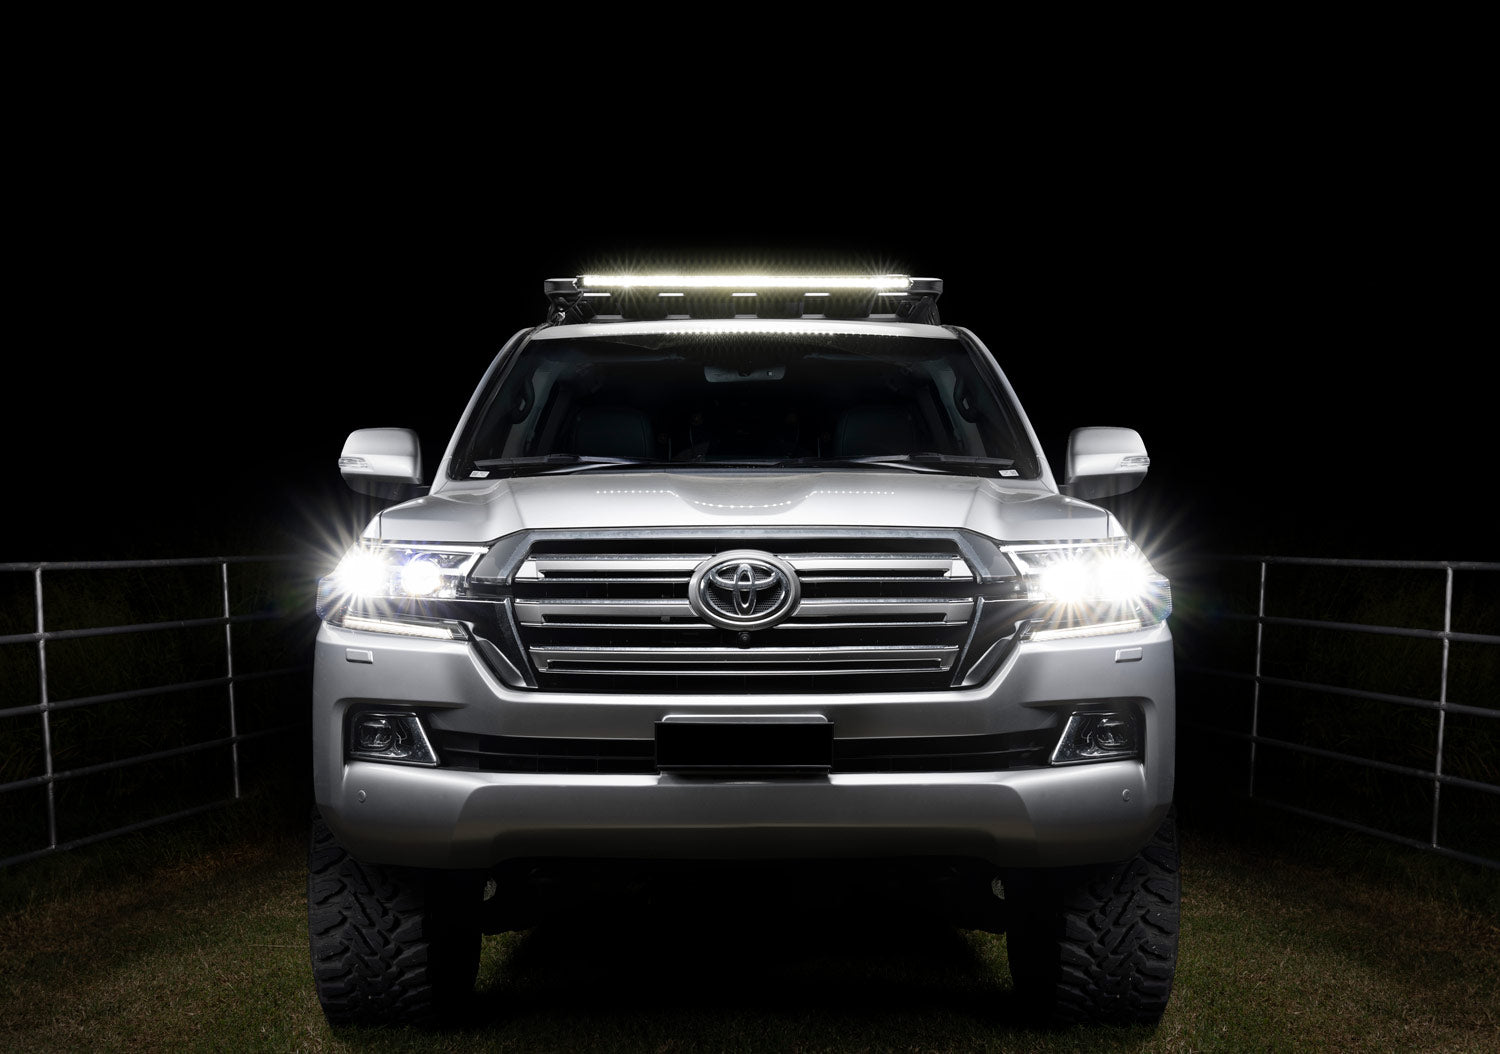
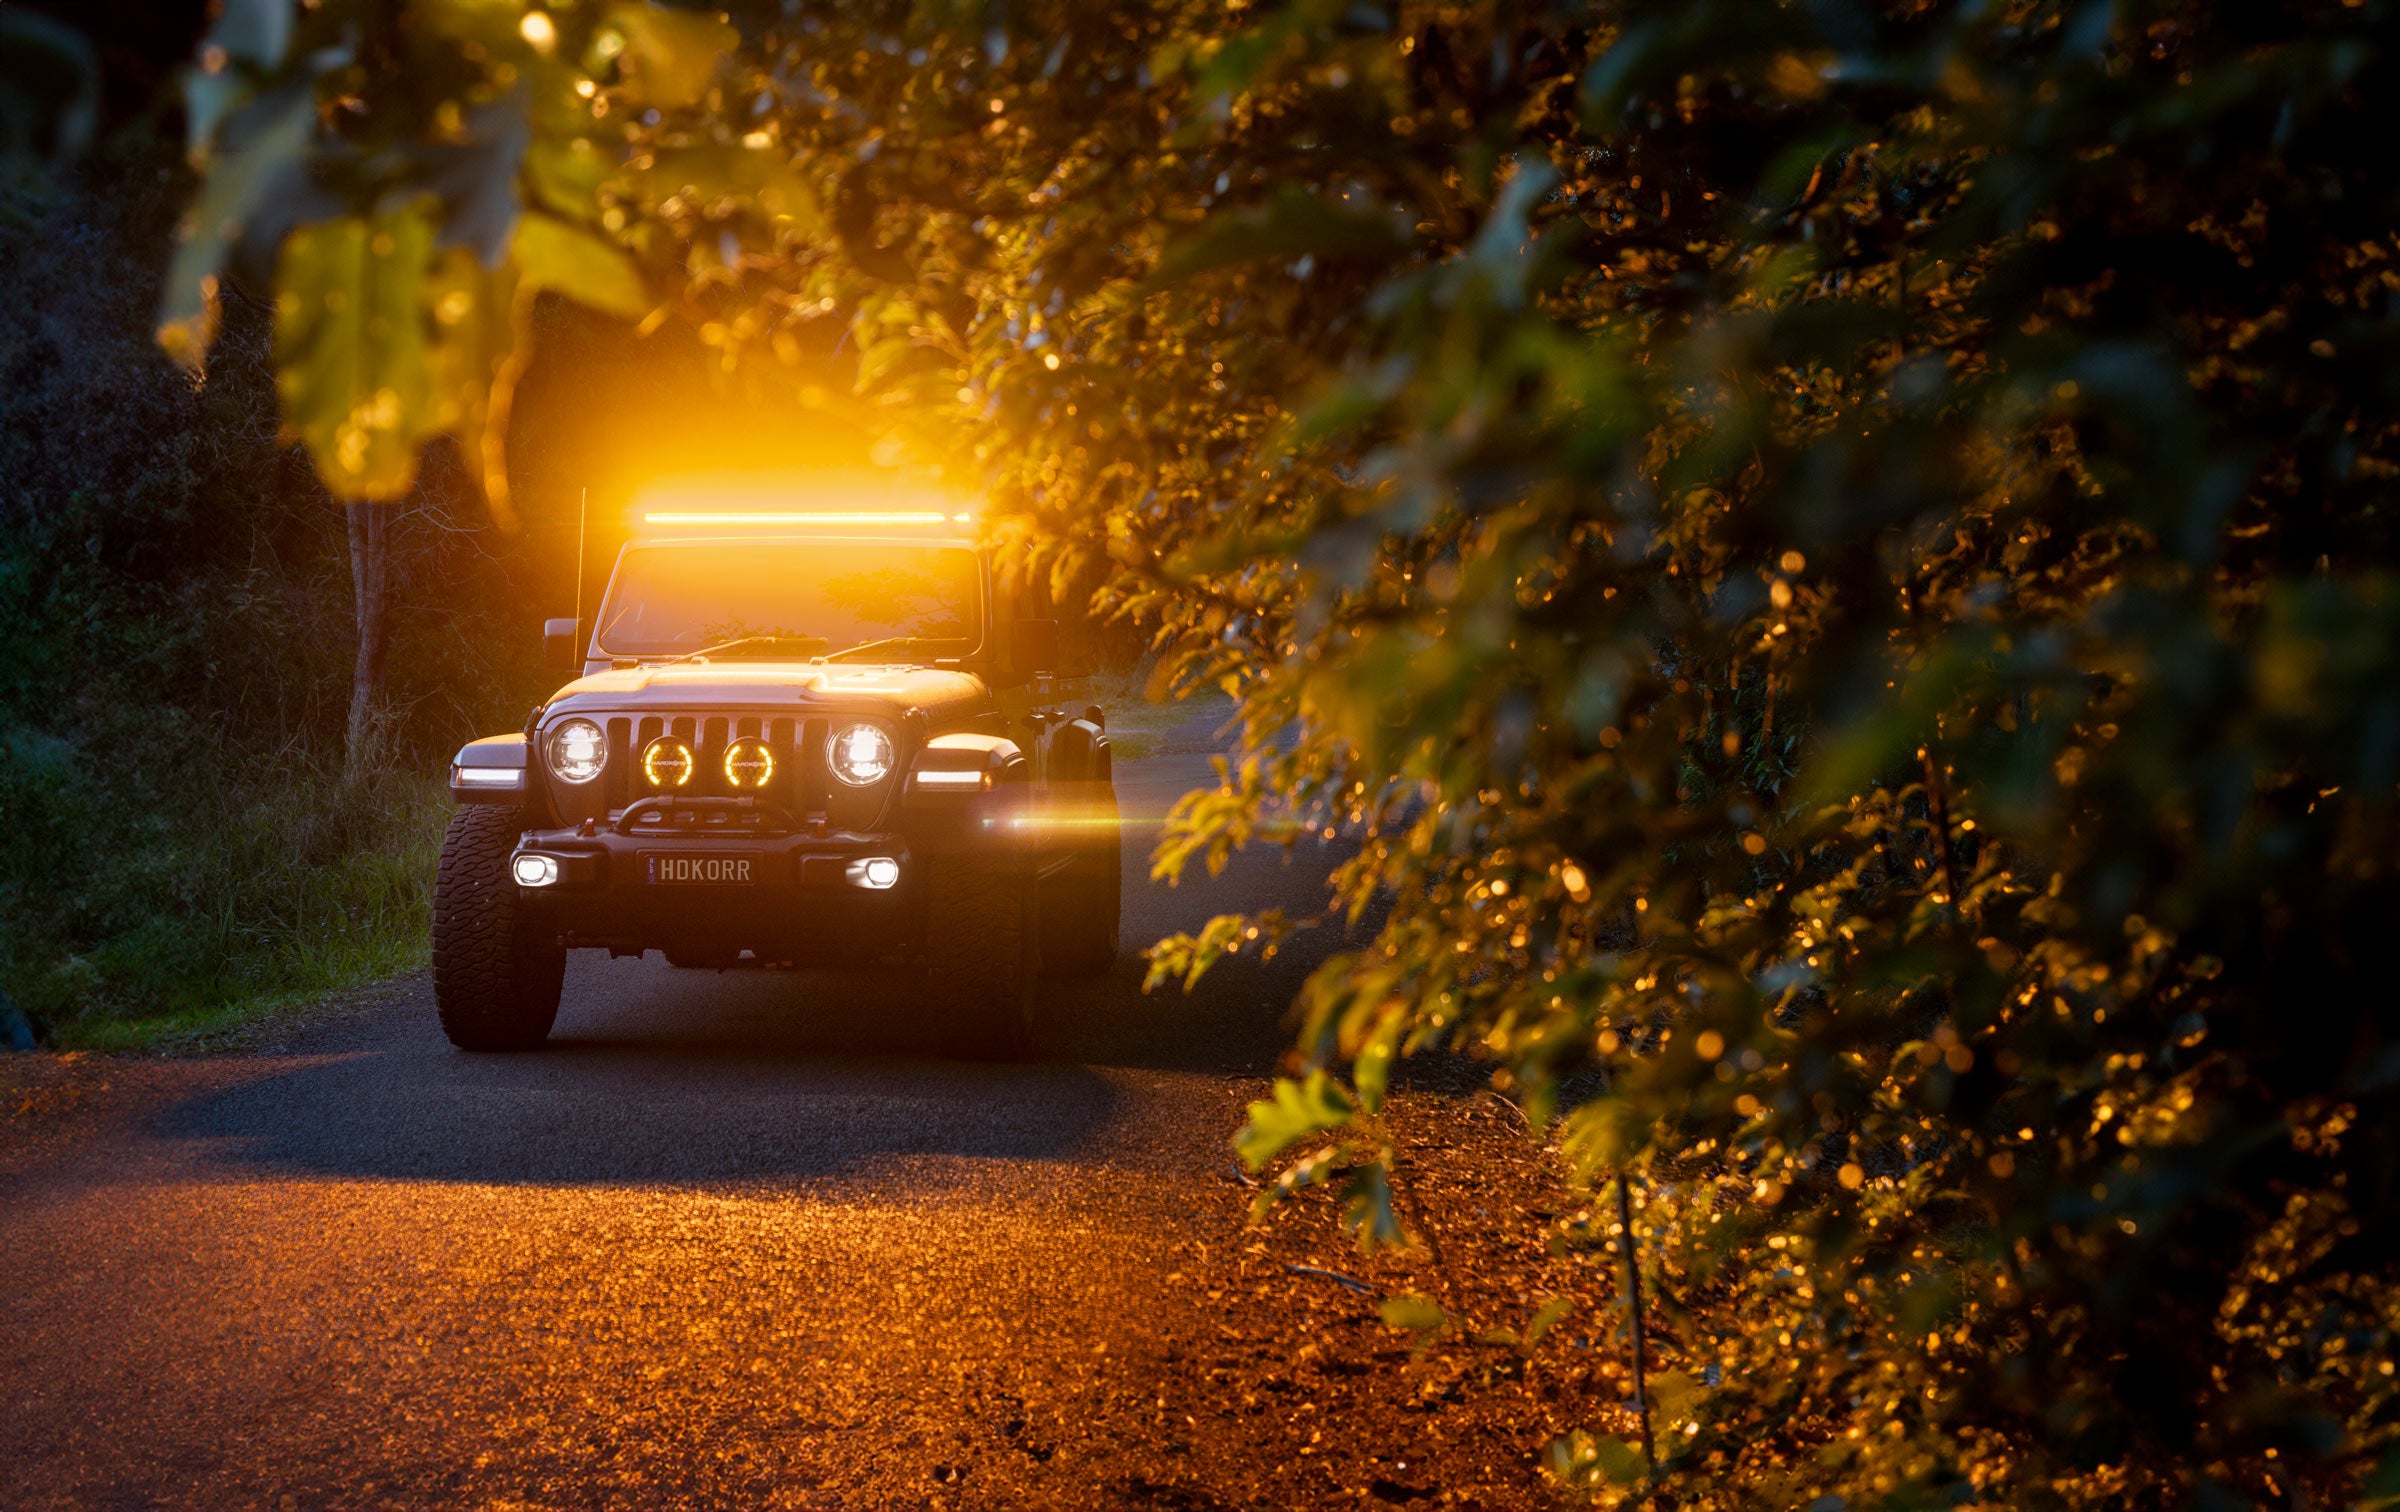
The XD Series Driving Lights are the perfect budget-friendly driving light. With a powerful forward distance, ample spread and a colour temperature designed to reduce glare, you won't be disappointed. These lights have been designed to give you peace of mind on the road, and in the hip-pocket.
PACKAGE CONTENTS
The XD-Series Driving Lights come with a pair of black lens covers and mounting hardware is of course included, with three stainless steel bolts, washers, nuts and rubber mounting pads for each light. Your warranty card is also included.
9" package content shown in picture
MOUNTING THE LIGHTS
Firstly, you’ll want to work out where you want to install the lights. This is usually as simple as utilising the mounting points on your bull bar or nudge bar, you may not have the luxury of predetermined placement. For bars with a wholly tubular construction, you can find clamp brackets at your local automotive retailer. Failing that, there’s always your trusty drill driver and a bit of determination. Make sure to seal any holes drilled with appropriate rust-proofing. Follow all state regulations on safe and correct driving light placement.
Start by fitting the mounting bolts into the light bracket. You can do this by loosening the angle-adjustment bolts and tilting the light upward. This gives you plenty of room to slot the bolts in place without taking the entire bracket off. All three mounting holes should be used to secure the light as firmly as possible. Place the mounting pad over the mounting holes on your bar and lower the driving light into place, sliding the bolts into the holes as you go.
Once the light is seated and stable, fasten the bolts with the remaining hardware, threading on the flat washer first, then the spring washer, and finally the lock nut, tightened with a 19mm socket or spanner. For now, leave the outer two bolts slightly loose so you can adjust the angle of the light beam.
ADJUSTING THE LIGHT BEAM
For this adjustment you’ll need a 5mm hex key, and a spirit level. As the angle of the light beam is going to be relative to their position on the vehicle, you may also want to simulate how your vehicle will be loaded when you intend to use the lights for a more accurate result.
The angle of the light is secured with two central pivot bolts, and two locking bolts. Loosen all of the angle adjustment bolts with the 5mm hex key until the light can be pitched manually with some light force. Take a spirit level and rest it vertically against one of the lights. Adjust the angle of the light until the the spirit level is plumb (vertical). Tighten the bolts again, and repeat the adjustment with the next light.
Park your vehicle on a flat, level surface. Start by loosening the mounting bolts just enough that the lights can rotate with some light force. Take your spirit level and press it up to the front face of both lights. Gently press against the front of both lights with the level while rotating the lights until both are flat against the level. This will align the light beams in parallel with each other. Tighten the mounting bolts again until the lights are secure.
This alignment method does not take into account some variables like variations in the vehicle mounting surface, so it’s best to test your driving light alignment at night, on a quiet country road, or empty shopping complex parking area. Remember to take your tools with you, and as best practice, keep a set of adjustment tools in the car for future modification. Before you turn on, ensure the vehicle is not pointed towards a house or person. With enough distance ahead of you, you’ll quickly be able to ascertain whether the lights need to be adjusted further.
WARNING: Do not operate the light with the light covers attached. The black covers can absorb heat and become unsafe to handle with bare hands.
PRODUCT SPECS
| Model | 7" | 9" |
|---|---|---|
| Size (WHD) | 178 x 184 x 95mm | 229 x 230 x 97mm |
| Weight (each) | 1.8kg | 2.6kg |
| Lumens (Pair) | 18,112 lm | 23,140 lm |
| 1-Lux Distance (Pair) | 1 lux @ 1,200m | 1 lux @ 1,500m |
| Colour Temperature | 5700K | 5700K |
| Max. beam angle | 75° | 75° |
| Input voltage | 10–32V DC | 9-32V DC |
| Rated working current (12/24V) | 8.62A / 4.31A | 11.67A / 5.83A |
| Ingress protection | IP68/9K | IP68/9K |
| Certifications | EMC-CISPR 15, CE, RoHS | EMC-CISPR 15, CE, RoHS |
| Warranty | 2 years | 2 years |