


Introduction
In doing so, you now have the assurance and peace of mind that comes from purchasing a product that has been manufactured to the highest quality standards.
Our aim is for you to be completely satisfied with your purchase, and therefore your new Hardkorr product is backed by a comprehensive 5-year warranty and an outstanding after-sales customer service team.
We hope you will enjoy using this product for many years to come.
If you require technical support, or in the unlikely event your purchase appears to be faulty, please contact our support team for immediate assistance.
Failure to follow these instructions may result in personal or property injury, as well as reduced battery life or battery failure.
- Do not use this battery for cranking applications.
- Do not submerge the battery in water.
- Do not short circuit the battery terminals.
- Do not puncture, impact or drop the battery.
- Do not disassemble the battery. Opening the case may cause electric shock or fire and will void your warranty.
- Do not expose the battery to fire, sparks, high voltage or temperatures in excess of those stipulated in the specifications table of this manual.
- Do not series or parallel connect more than six (6) of these batteries together. Ensure that connections are made correctly as per the “Usage and Storage” section of this manual. Do not connect this battery to batteries with different chemistries.
- Do not store the battery at a voltage lower than 11.5V.
- Endeavour to keep the battery above 20% SOC where possible.
- Observe the limitations of this battery as stipulated in the specifications table of this manual, paying particular attention to maximum charge and discharge currents.
- To charge the battery, you must use a charger with a specific charging profile for lithium batteries. Your warranty may be reduced or voided if you use an unsuitable charger.
- If the battery emits any unusual smells, appears to be atypically hot, shows signs of distortion or displays any other abnormality during operation or storage, discontinue use immediately and contact Hardkorr for assistance.
CAUTION
The battery should not be used by persons (including children) with reduced physical, sensory or mental capabilities, or lack of experience and knowledge, unless they are supervised or have been instructed on how to use the appliance by a person responsible for their safety. Cable and fuse sizes are specified by various codes and standards which depend on the type of vehicle the battery is installed into. Selecting the wrong cable or fuse size could result in harm to the installer or user and/or damage to the battery or other equipment installed in the system. The installer is responsible for ensuring that the correct cable and fuse sizes are used when installing this battery.Instalation
Ensure that the area in which you will be performing installation of the battery is dry.
Secure the battery firmly to the mounting surface, ensuring that no movement is possible even under significant force.
You may install the battery in any orientation, including upside-down.
Ensure that your proposed installation location will not cause the battery to be exposed to temperatures in excess of the maximums stipulated in the specifications table of this manual. If you believe heat may be an issue, you may consider making use of mechanical ventilation such as fans.
Ensure you do not mount the battery in a way that could cause the terminals to come into contact with any metal surface or object. This is to avoid the possibility of short-circuiting the terminals. If you are intending to remove the battery from its installed location periodically, ensure there is a clear pathway free of metal surfaces and objects.
Do not install the battery in a wet area such as boat decks, open ute trays or chassis mounts.
Do not install the battery in a compartment dedicated to gas storage.
CONNECTION - GENERAL
We recommend that no more than four cable lugs be connected directly to a battery terminal. If you do have more than 4 lugs, you should use a fuse block and negative busbar instead.
Ensure the battery terminals are clean before connecting any cable lugs to them.
Stack cable lugs on the battery terminals in order from heaviest draw (thickest cables) to lightest draw (thinnest cables). Lugs connected to the thickest cables should be positioned at the bottom and the thinnest at the top.
Where possible, make use of insulating terminal boots and lug protectors. Ensure all termination lugs are well crimped (not soldered) and protected.
Always use the spring washers provided for the battery terminal bolts. This ensures sufficient pressure is applied to the cable lugs for secure connection without having to over-tighten the bolts. Stack the spring washer on top of the cable lugs, not underneath.
IMPORTANT NOTE
Your battery is placed into protection mode after manufacture, to protect the cells and BMS during transport. To prepare the battery for use, follow the procedure in the “BMS and Remote Reset Switch” section of this instruction manual.
CONNECTION - MULTIPLE BATTERIES IN PARALLEL
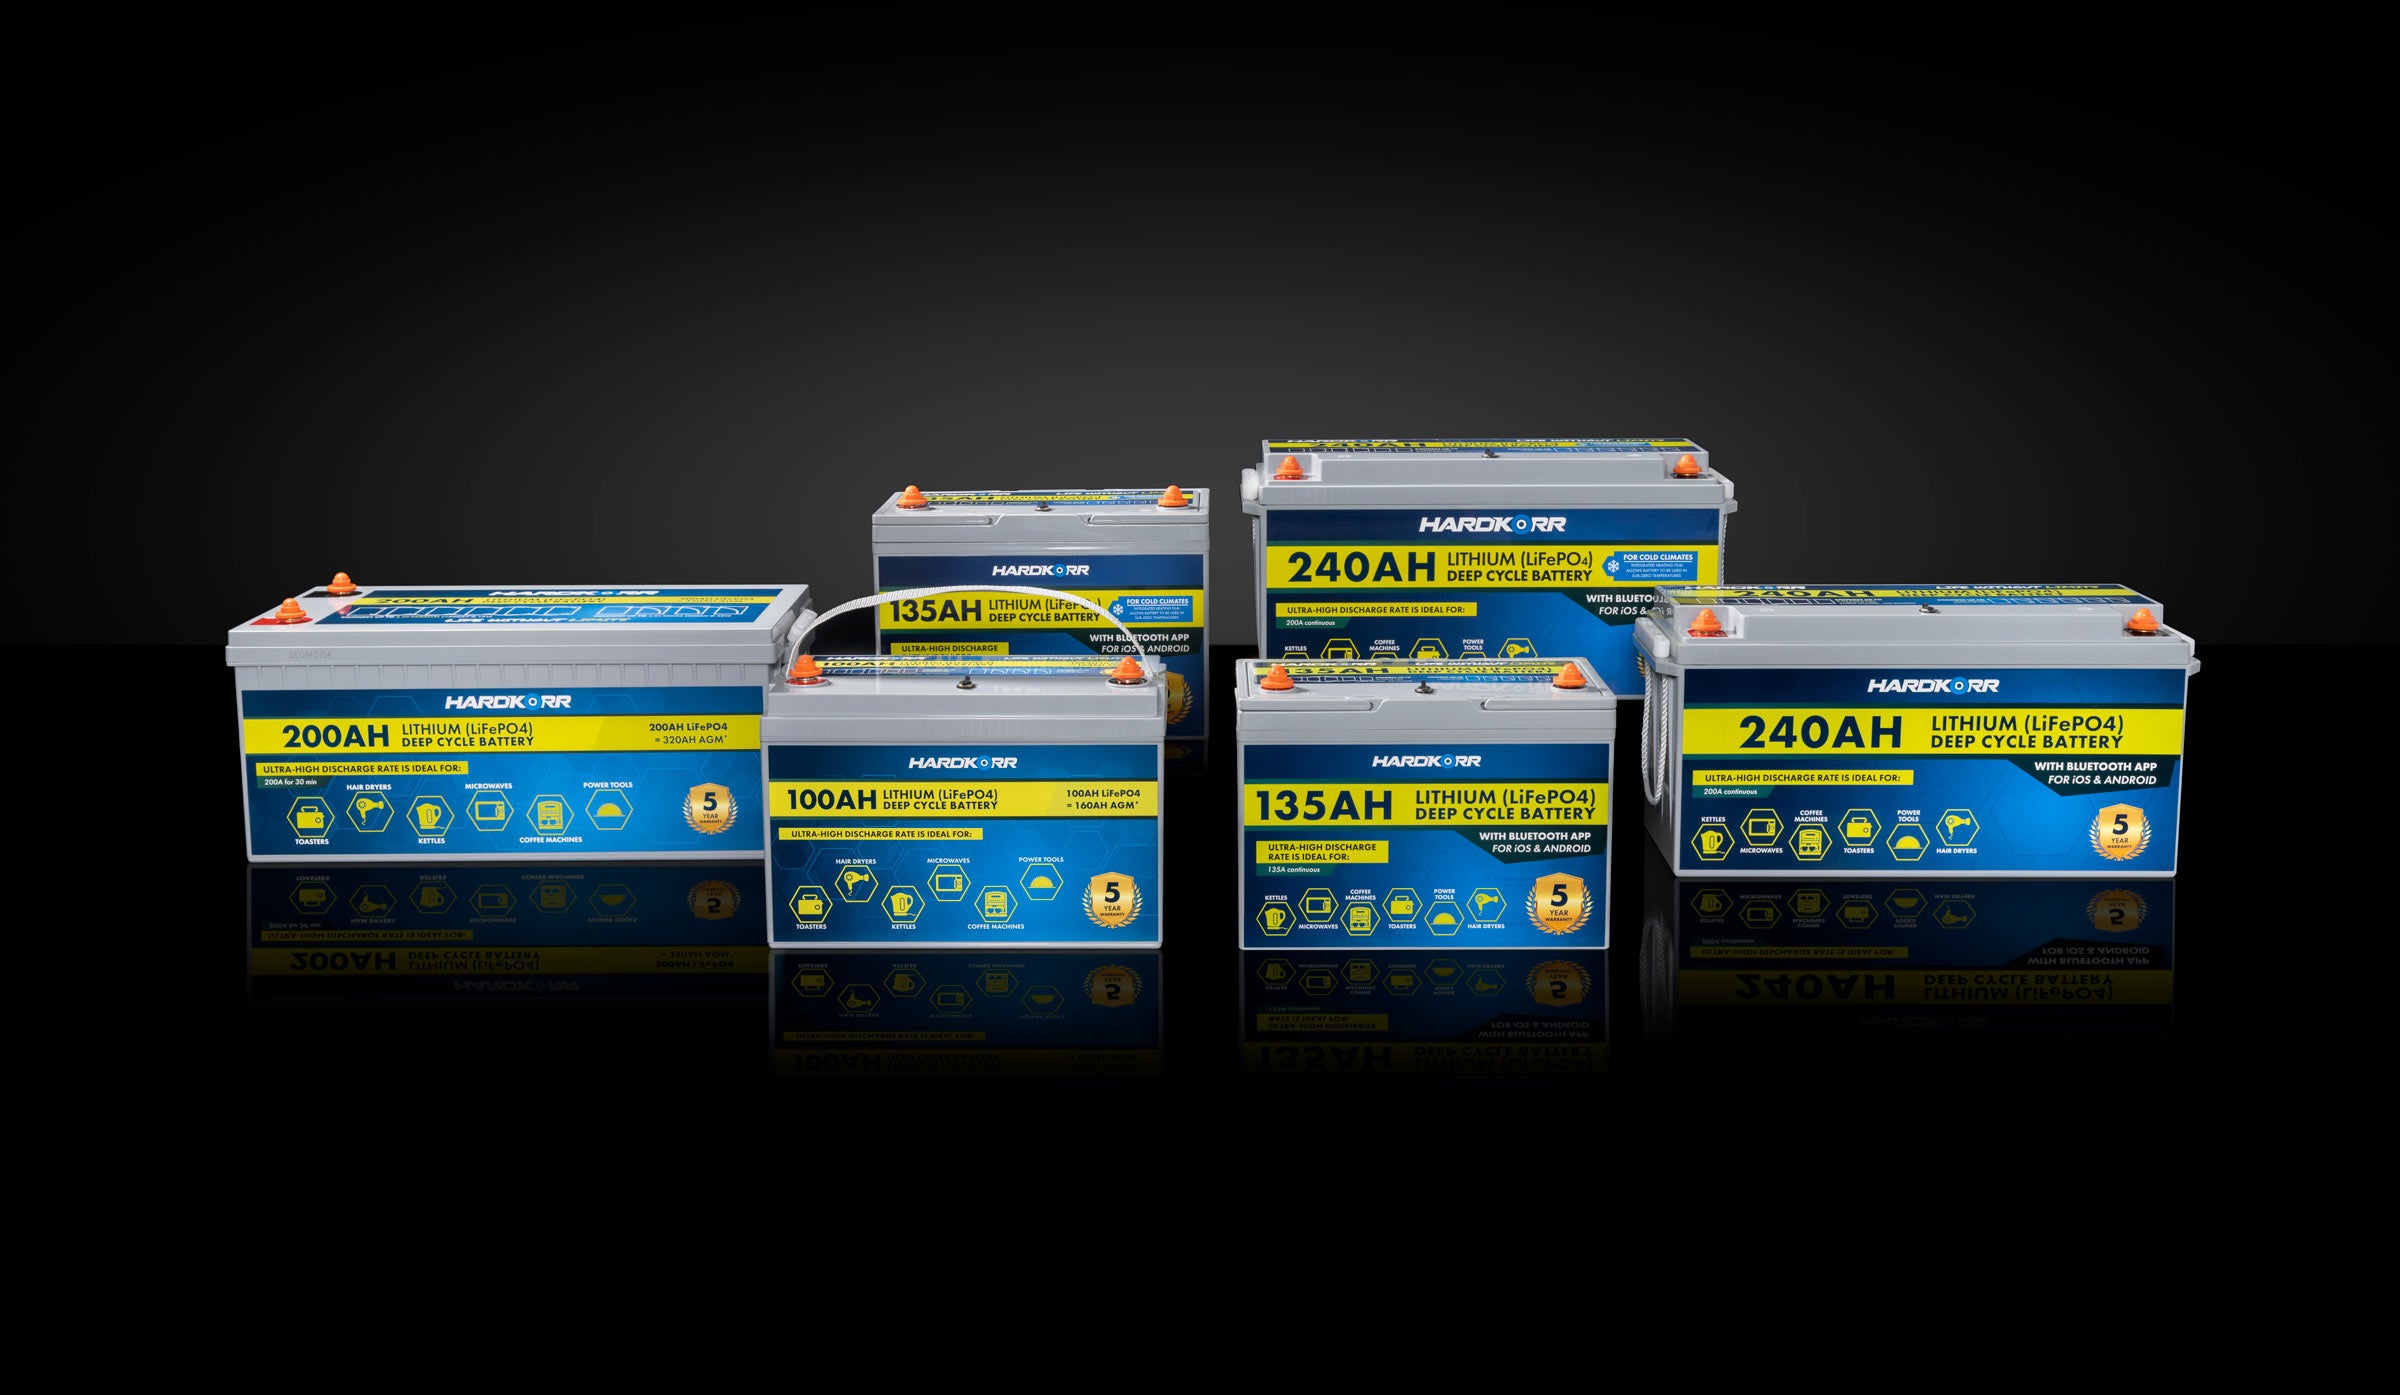
You may connect up to six (6) of these batteries in parallel. This will create a single system in which the total capacity is the sum of the capacities of the individual units and the nominal voltage is equivalent to the voltage of one unit e.g. 3 x 135Ah 12.8V batteries in parallel gives a 405Ah 12.8V system.
When connecting batteries in parallel, you should use appropriately rated busbars and connect the batteries as per the below diagram. If connected in this way, the maximum discharge current of the system will be the maximum discharge of a single battery multiplied by the number of batteries in the bank e.g. six batteries connected in parallel will yield up to 135A per hour x 6 = 810A per hour.
WARNING
You must make sure to use cables that are the correct gauge for the maximum discharge current in your application - consult an auto electrician if you are unsure which cable gauge to select. The cables must also be exactly the same length.

CONNECTION - MULTIPLE BATTERIES IN SERIES
You may connect up to six (6) of these batteries in series. This will create a single system in which the nominal voltage is the sum of the voltages of the individual units and the system capacity is equivalent to the capacity of one unit e.g. 3 x 135Ah 12.8V batteries in series gives a 135Ah 38.4V system.
When connecting batteries in series you should take the negative connection from the opposite end of the bank to the positive connection, as per the below diagram.
Warning
You must make sure to use cables that are the correct gauge for the voltage of your system and maximum discharge current required - consult an auto electrician if you are unsure which cable gauge to select. The cables must also be exactly the same length.

STORAGE, SHIPPING AND DISPOSAL
Ensure that the battery is stored in a dry, clean, shaded and well-ventilated environment, at a temperature range that does not exceed the maximum storage temperature stipulated in the specifications table in this manual.
Where possible, endeavour to store the battery at around 40-50% state of charge.
At no time should the voltage of the stored battery be allowed to drop below 11.5V.
Be aware that these batteries will self-discharge at a rate of about 3% per month.
We recommend the state of charge is checked regularly and topped up if necessary.
If shipping the battery between locations, please be aware that lithium is classified as Class 9 Dangerous Goods. Please ensure you comply with local, national and international (if applicable) regulations for transportation of these goods.
Warning
Lithium batteries must never be disposed of with ordinary refuse, as this can cause fires and significant environmental contamination. Contact an authorised lithium battery recycling facility - you can find these at places such as Battery World, Aldi and Officeworks.
CHARGE METHOD
Lithium batteries need to be charged slightly different to other batteries, to ensure they live a long life and provide maximum capacity.
There are several charging devices you can utilise, but whichever device you choose, it must have a lithium charge profile. Suitable devices include DC-DC chargers, solar panels (with regulator) and AC (mains power) chargers.
For optimum battery longevity, it is recommended that the charging current should be 30% or less of your battery capacity.
Warning
- DO NOT use a charge profile with a “Pulse” or “Equalisation” stage. This will damage the battery and void the warranty.
- DO NOT charge your battery directly from an alternator or via VSR.
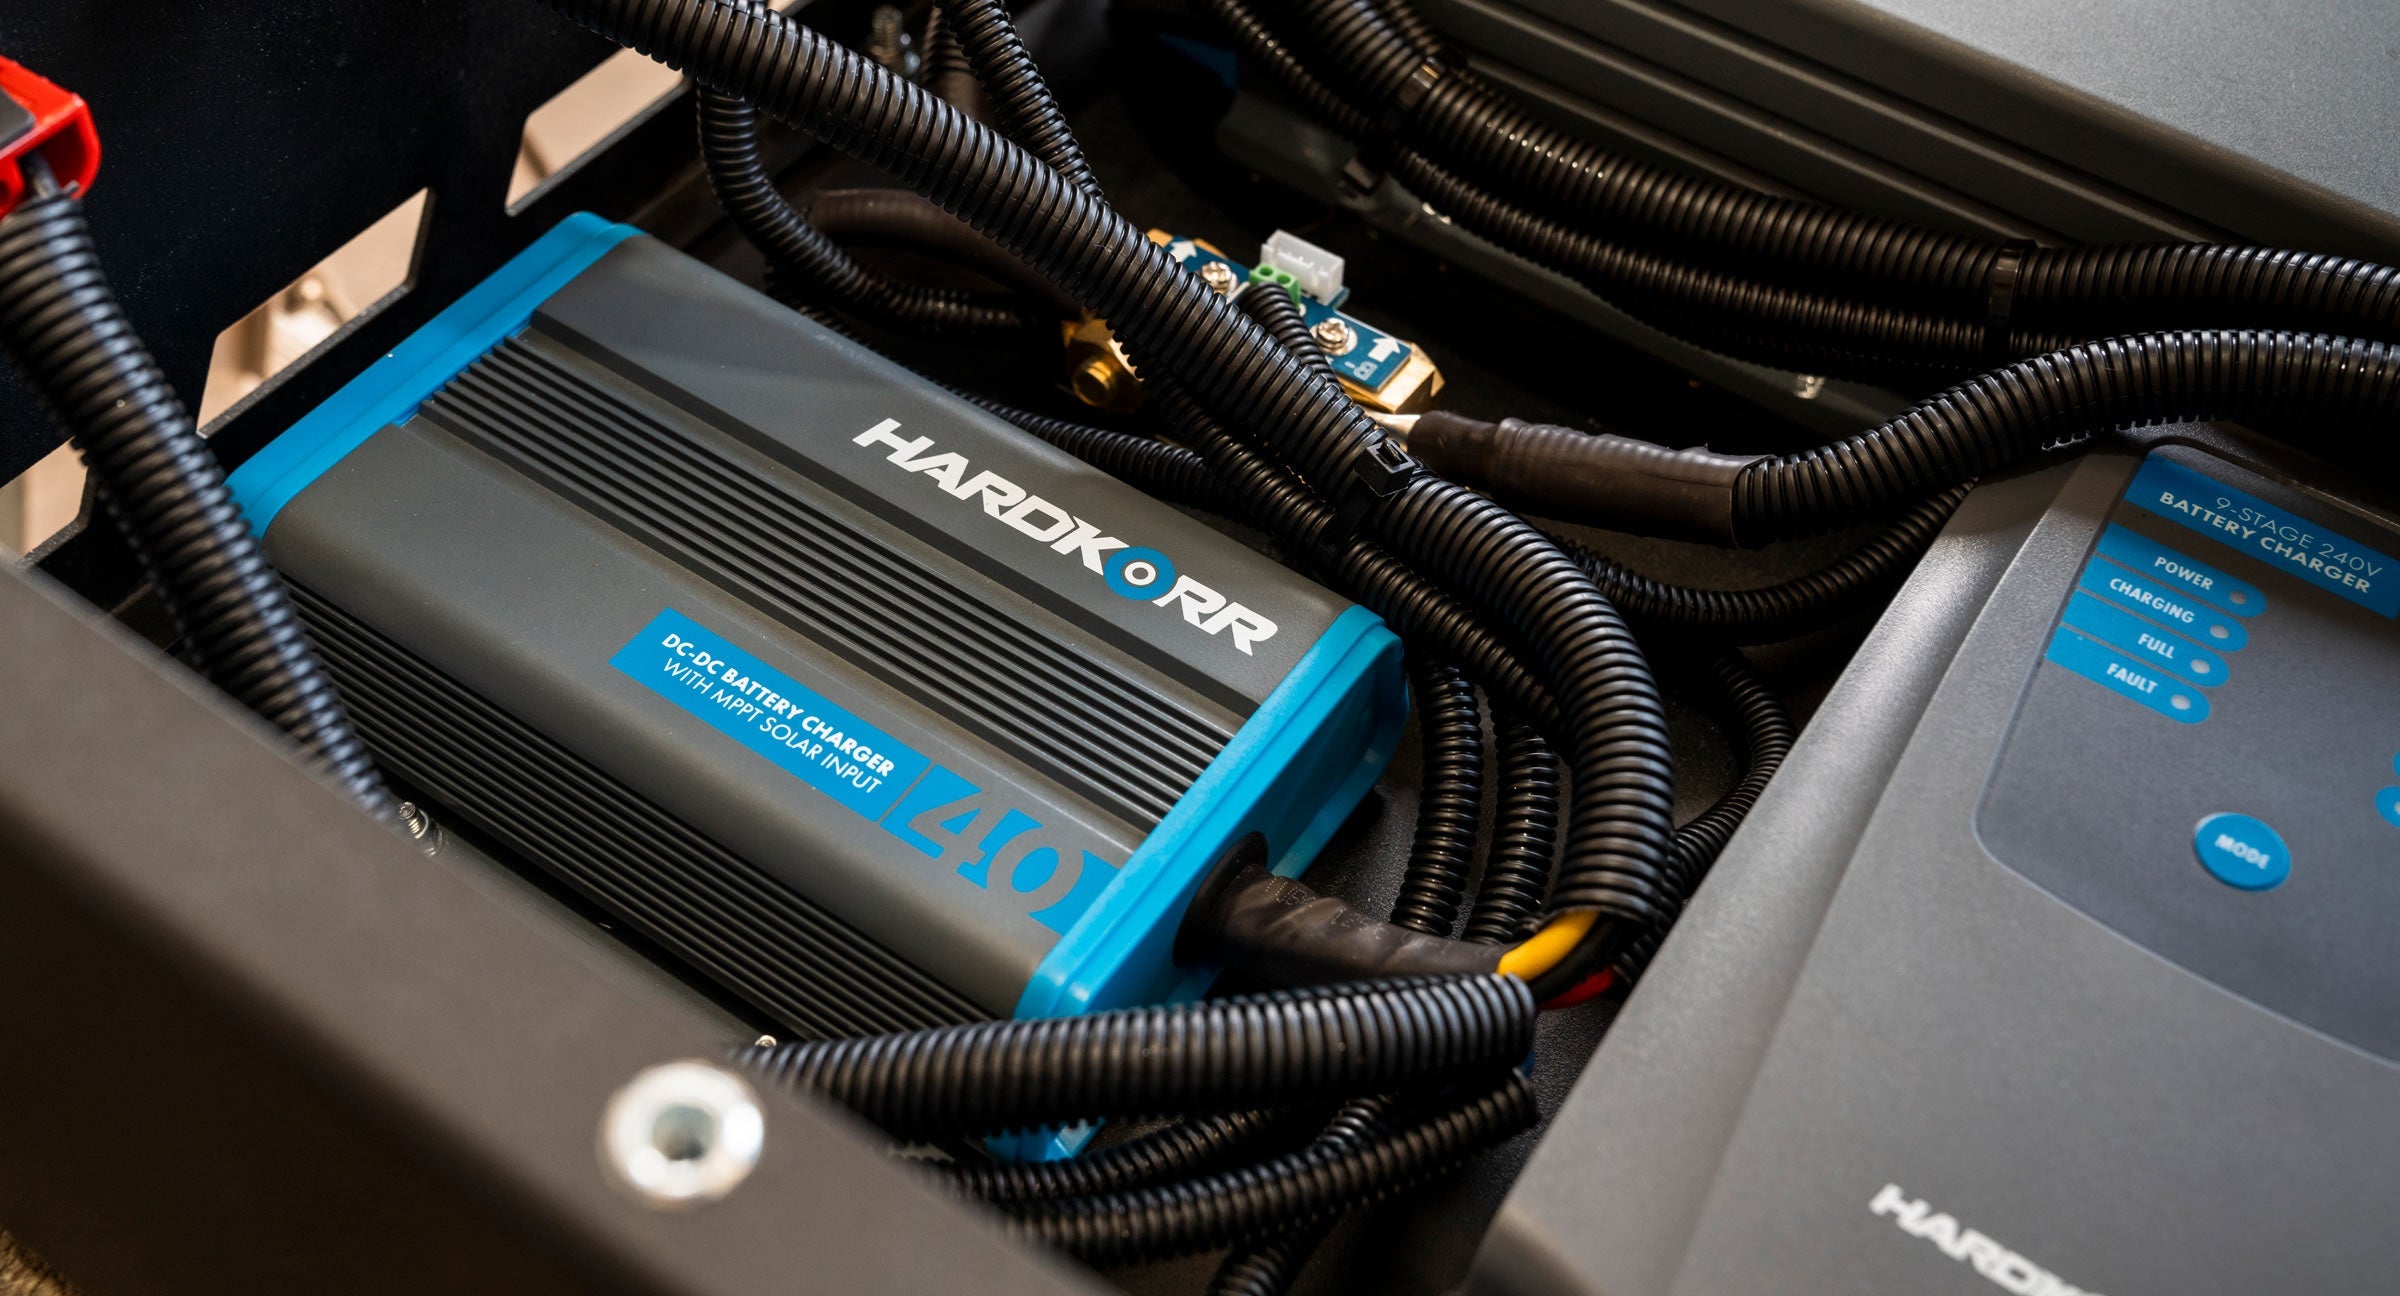
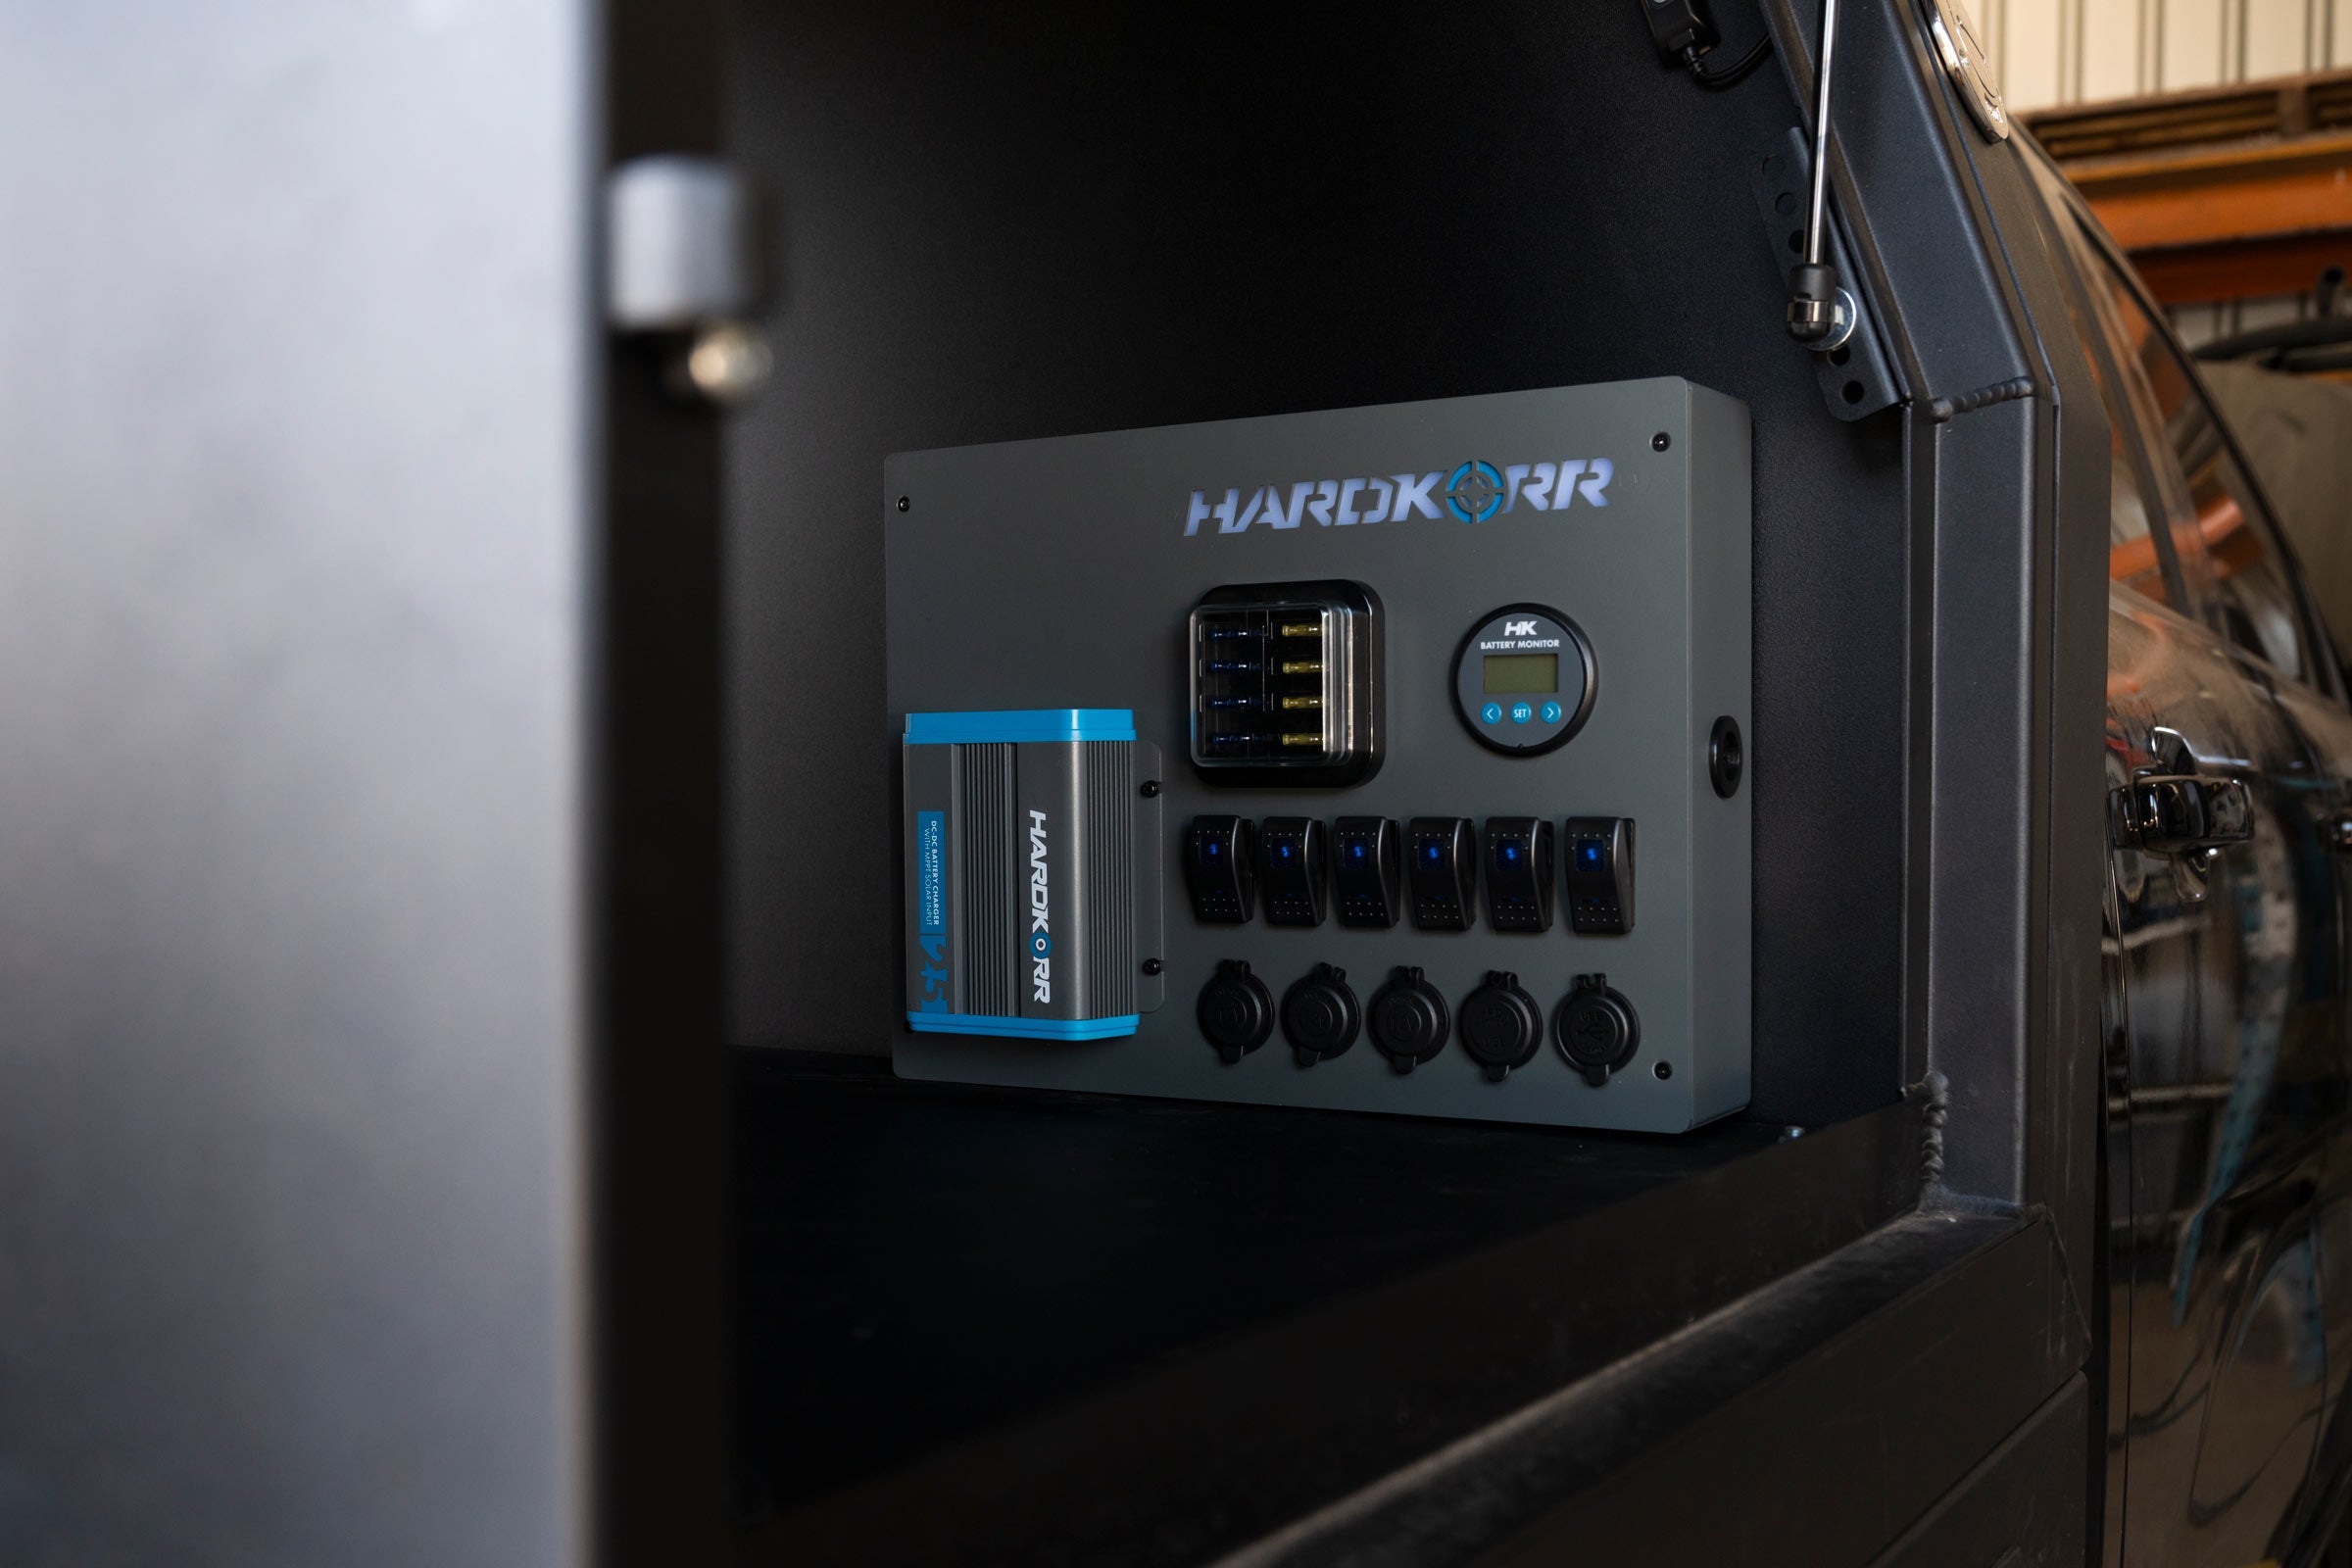
CHARGE METHODS: DC-DC CHARGER
DC-DC chargers allow you to charge a lithium battery from your vehicle’s alternator. You generally cannot charge a lithium battery directly from a vehicle alternator, because lithium batteries have a very high maximum charge current compared to lead-acid batteries. With nothing to intermediate between the alternator and battery, the battery will draw its maximum charge current from the alternator, which can lead to the alternator overheating and burning out.
A DC-DC charger will act to moderate the flow of current, protecting your alternator from overheating. In addition, they have a multi-stage charging algorithm which will ensure your battery is optimally charged and its service life is maximised.
Some DC-DC chargers also include a second input allowing you to connect a solar panel, and may even be able to prioritise the solar charge method when it detects a panel is connected and providing current.
CHARGE METHODS: SOLAR PANEL WITH REGULATOR
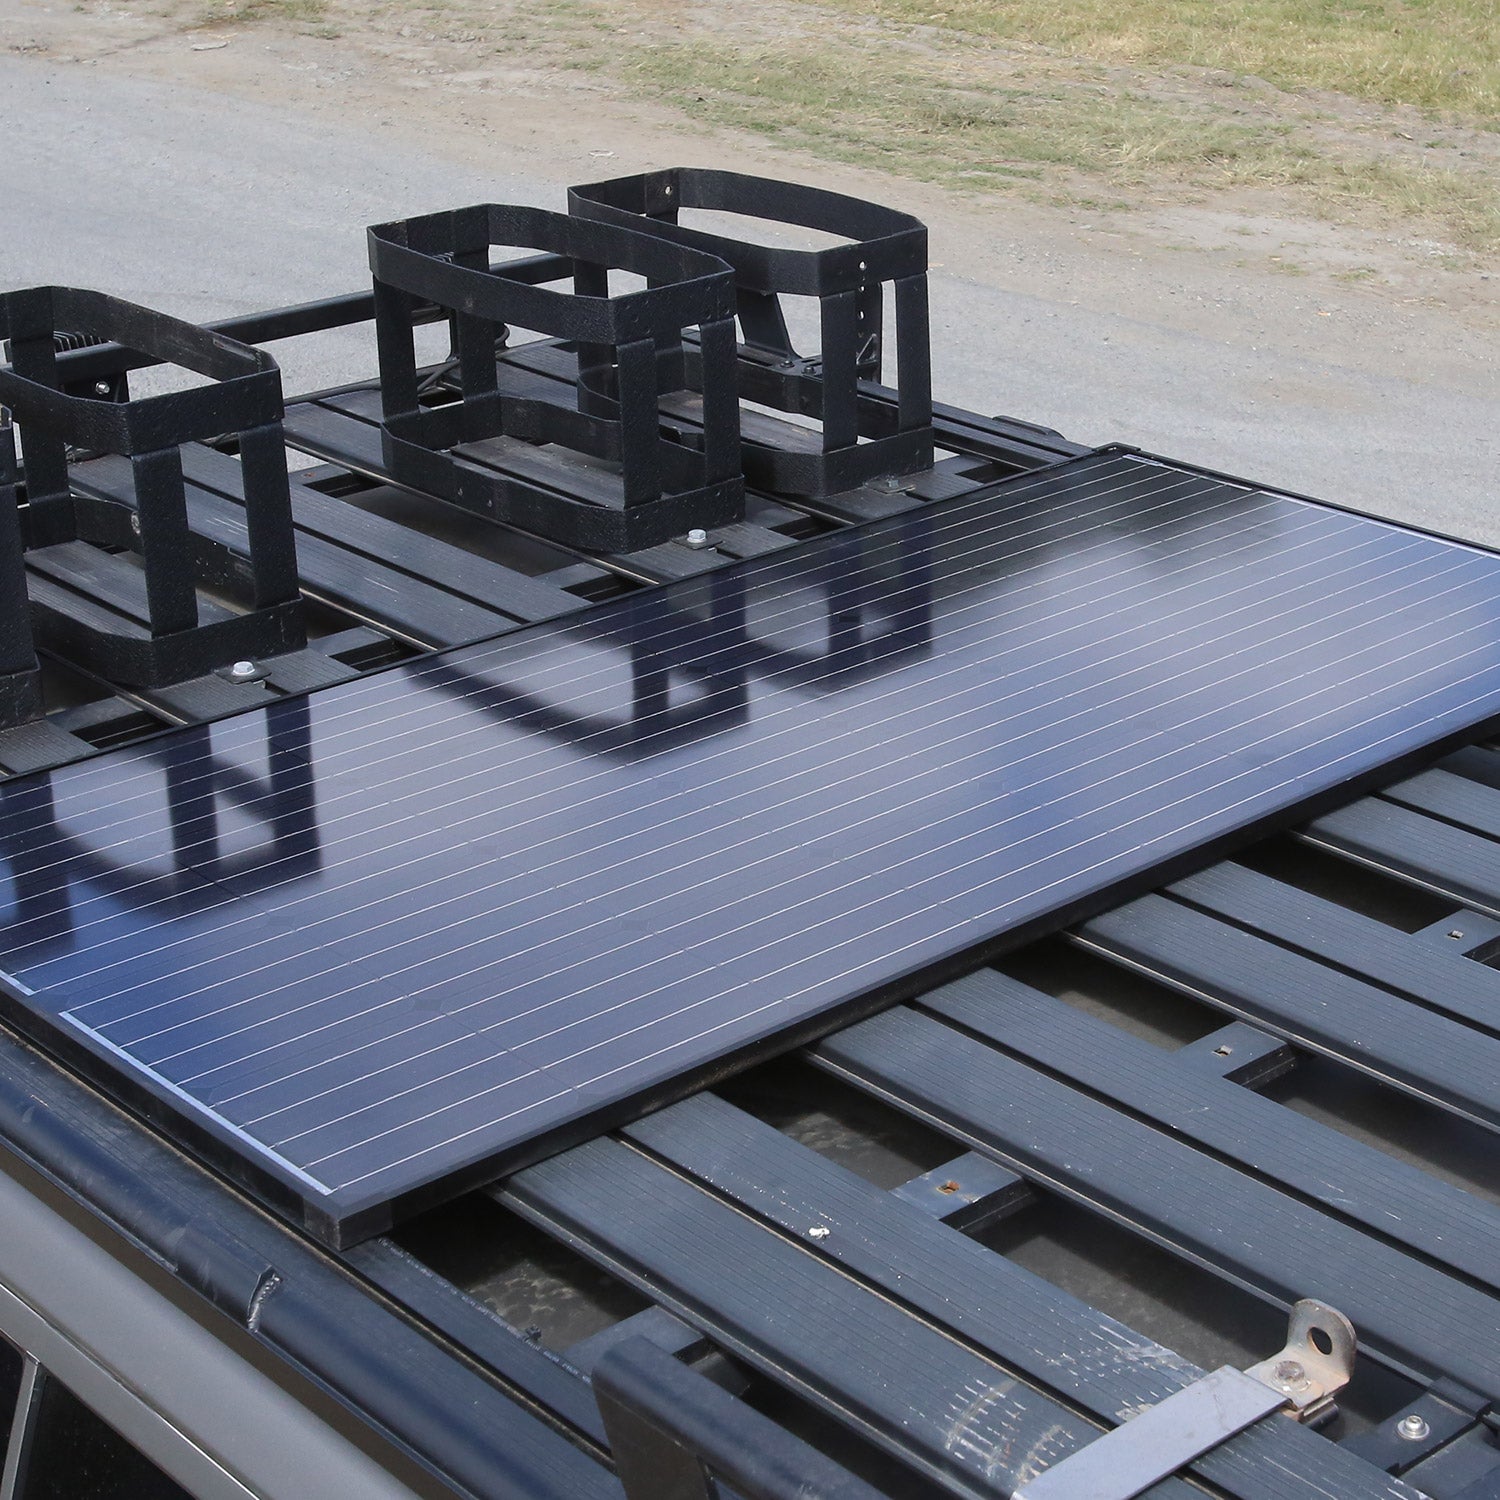
12V solar panels harness the energy of the sun to charge your battery. There are many solar panel options on the market, but they can be split into two main categories: fixed and portable.
Fixed solar panels usually have a rigid metal frame. They are designed to be permanently fixed to your vehicle and connected to a regulator or DC-DC charger mounted inside. They are great for charging your vehicle while on the go without consuming current from your alternator.
Portable solar panels (solar blankets, solar mats etc.) are designed to be set up while the vehicle is stationary, such as when you’re at camp. They are usually connected to the battery via a portable regulator.
Either type of solar panel is fine for charging these lithium batteries, but as stated previously it is important to ensure that your regulator has a lithium charge profile to maximise your battery’s service life.
AC CHARGER
If you’re charging up your batteries at home before or after a trip, or if you’re at a powered camp site, you can also use an AC (mains power) battery charger. Mains battery chargers are available as portable devices or can be built into your 12V system. Again, you should make sure that the AC charger you wish to use contains a lithium charge profile.
CAUTION: CHARGING IN SUB-ZERO TEMPERATURES
Your battery may be fitted with automatic BMS-controlled heating film (model HKPBATL135BH only), which will sense when the ambient temperature drops below 0°C and gently heat the cells to maintain their temperature above this point. If your battery does not have this heating film installed, you must not charge it in sub-zero conditions. Doing so will void the warranty.
BMS AND REMOTE RESET SWITCH

Your battery comes equipped with an integrated advanced Battery Management System (BMS).
The BMS ensures there is an even energy balance between cells and allows up to six of these batteries to be connected in parallel or series. The BMS contains an intelligent protection circuit module which protects against overcharge, over-discharge, short-circuit and over-temperature, and can shut off power to the battery if required.
It also contains a low-voltage disconnect, which will place the battery into protection mode if it drops below 10.0V. If the low-voltage disconnect is tripped, the battery will not accept a charge until it has been reset.
o reset the battery, you can use the included remote reset switch (pictured below) which connects to the port on top of the battery. The switch can be mounted somewhere in your 12V setup and the cable permanently connected, or you can keep the switch and cable packed away and connected it when required.
To use the switch, simply plug the cable it into the top port (if not permanently connected) and hold down the button for five seconds.
You should now be able to charge the battery as normal.
SPECIFICATIONS
| Nominal voltage | 12.8V |
|---|---|
| Capacity (C20) | 135Ah |
| Max series/parallel config | 6S/6P |
| Normal charge voltage | 14.4V ± 0.2V |
| Standard / fast charge current | 27A / 67A |
| Max discharge current (constant) | 135A (1C)* |
| Max discharge current (pulse) | 800A* |
| Discharge cut-off voltage | 10.0V |
| Charge temp | 0°C to 55°C |
| Discharge temp | -20°C to 60°C |
| Storage temp | -5°C to 45°C |
| Ingress protection | IP64 |
| Self-discharge | |
| Weight | 14.0kg |
| Dimensions | 305(L) x 169(W) x 210(H) mm (Group 27) |
| Certifications | UN 38.3, UL 1642, IEC 62133-2:2017, IEC 62619:2017, CE |