


For those who are new to this type of travel, this handy guide will give you an overview of what equipment is usually found in a typical 12v touring setup, and how it all works together to allow you to power your adventures.
Auxiliary batteries – the heart of your 12v electrical setup
When planning your 12v electrical system, the first question to consider is what sort of batteries you’re going to use to store power.
Many novice adventurers assume they can use their crank battery to power their 12v accessories, but this isn’t the case. Crank batteries are made differently to deep cycle batteries and are not designed to provide sustained power. Forcing them to do so will significantly reduce their service life, potentially leaving you stranded without being able to start the engine.
Deep cycle batteries, on the other hand, are made to provide the continuous power your accessories will draw, and you will need to invest in at least one of these if you’re serious about exploring with your 4wd.
Types of batteries
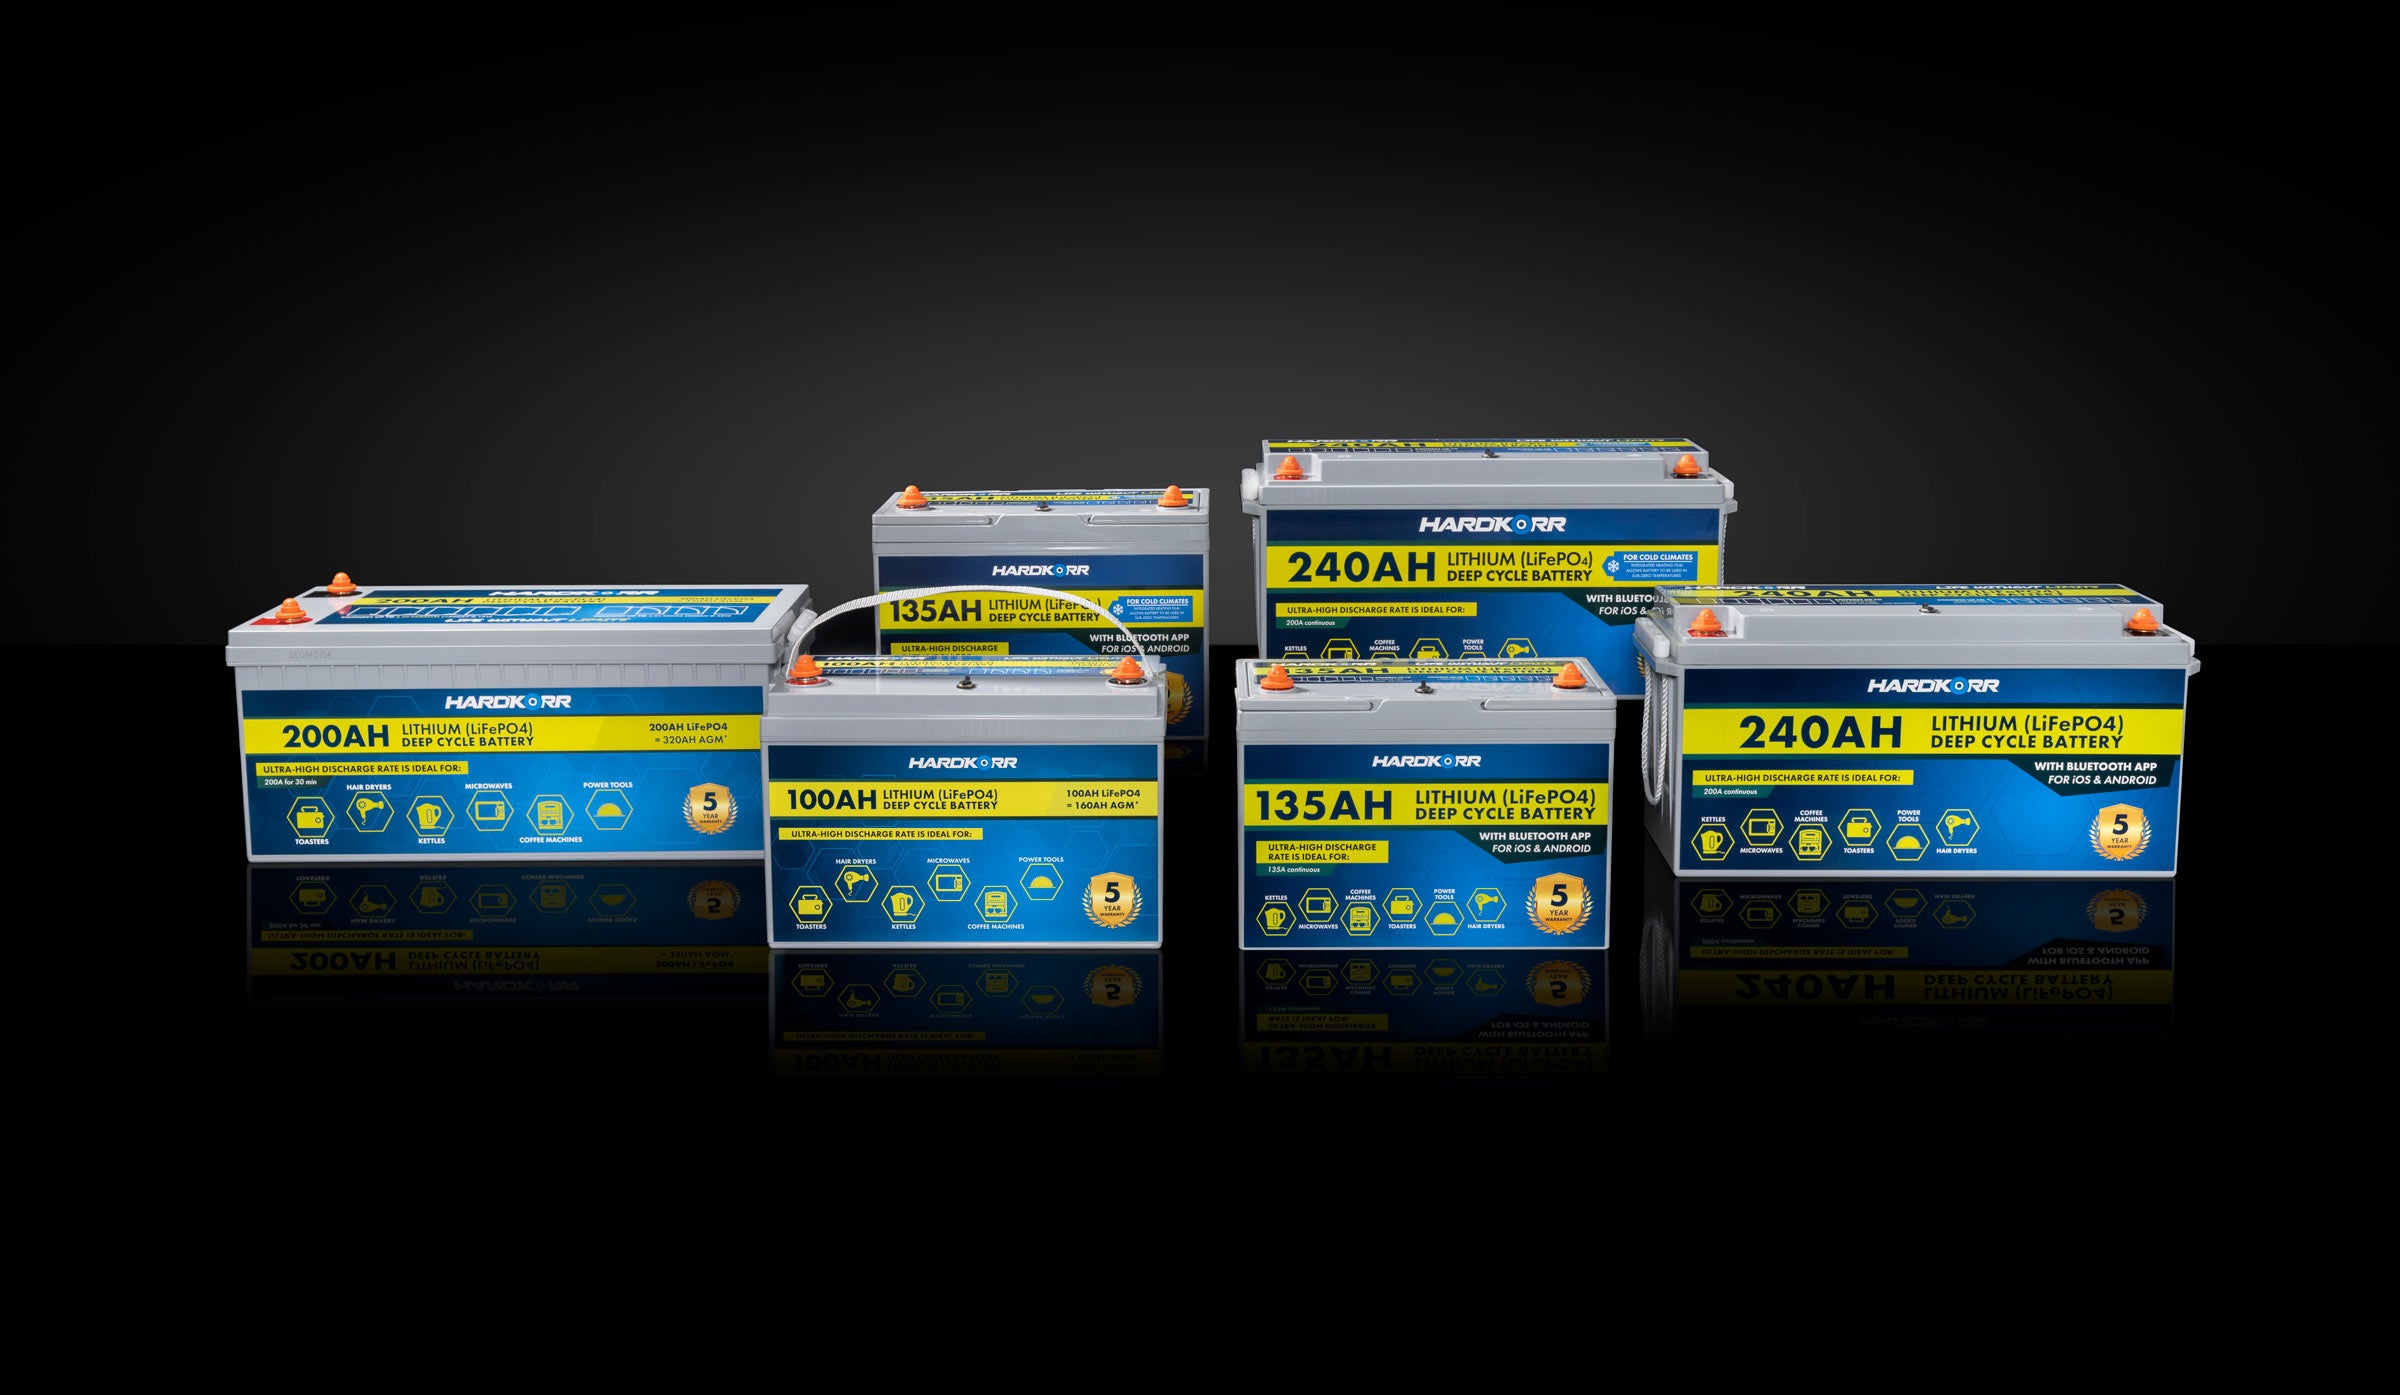
We’ve written an article about 12v batteries, so we won’t rehash all of that information here, but in brief there are two types of deep cycle batteries which are most commonly found in a 12v electrical setup: Absorbent Glass Mat (AGM) and lithium. Less commonly found are lead crystal, calcium and gel batteries, but we will focus on the two most popular types in this article.
AGM batteries are cheaper than lithium batteries and can tolerate more heat than lithium batteries (although the gap is closing quickly), making them an ideal choice when you have budgetary constraints or if you need to put your auxiliary battery inside your engine bay. However, they are quite heavy and only about 50% of the total capacity is usable.
Lithium batteries, on the other hand, are a newer technology and are still comparatively expensive (although not so much on a cost per cycle basis). Whilst they cannot tolerate heat as well as AGM batteries, they are lightweight, charge much more quickly than AGM, and 80% of the total capacity is usable. You can even use up to 99% of total capacity without damaging the cells in need.
How much capacity do you need?
The simple answer is, as much as you can afford. Whilst there are several ways to recharge your batteries on the go (see next section), having plenty of spare capacity will allow you to better handle unideal charging conditions such as sustained inclement weather. Having said that, too much battery capacity may add unnecessary weight to your vehicle, particularly if you are using AGM batteries.
Your choice of battery technology will also affect how much capacity you need to carry. As we mentioned earlier, AGM batteries should not be discharged lower than 50% of their stated capacity, meaning that for every 100Ah you carry, you can only really access 50Ah. Lithium batteries, on the other hand, can be discharged to 80%, meaning that 80Ah is accessible for every 100Ah you carry.
TIP
Most people carry between 150Ah and 400Ah worth of AGM batteries, or 100Ah to 200Ah of lithium. This will of course depend on what accessories you plan to run and how much current they will draw.
Mounting your batteries
Nowadays, auxiliary batteries are most commonly mounted in the vehicle’s canopy or cargo area, particularly if you are using the more heat-sensitive lithium batteries. We offer a mounting tray with straps which, while designed for our battery box, can also be used with most common battery sizes.
Alternatively, some vehicles like Toyota Landcruisers and Nissan Patrols have space inside the engine bay to mount your auxiliary battery. Locating your dual battery here is also a great option if you’re using a battery with high heat tolerance like AGM.
If your battery is a non-standard size (e.g. a 200Ah battery) or if you’re tight on space, you may need to fabricate a custom mounting solution. Make sure it securely holds your battery in place so it won’t move when you’re travelling over bumpy roads or tracks.
Monitoring your batteries
When the batteries in your 12v electrical setup are in use, you will want to be able to easily access information such as its current State of Charge (SOC), voltage and real-time power draw. There are a number of ways to do this.
The easiest way is to install a remote battery monitor, also known as a coulometer. Using a shunt to ensure high accuracy, these devices are easy to mount and display all the information you need.
For a more complex setup, there are solutions available on the market which can accept inputs from several different devices such as batteries, inverters and DC-DC charger, and display all the information on one screen. One example is the RedVision system from Redarc.
An increasing number of lithium batteries are starting to incorporate Bluetooth apps, meaning that you no longer need a separate monitoring device; unless, as we mentioned earlier, you want to integrate several other devices and see all information on one screen.
Charging your batteries
Now you’ve worked out how you’re going to store power for your trips, the next step is to determine how you will recharge the batteries once they’ve been depleted. The most common methods are from your vehicle’s alternator, from solar, and from mains power. We recommend you incorporate as many charging methods into your setup as you can afford, to ensure you can recharge in all conditions.
From your vehicle alternator
Your vehicle’s alternator is already used to keep your crank battery charged, and it’s also the easiest way to keep your auxiliary battery charged while you’re on the go. How you can do this will depend on what type of alternator your vehicle has.
If your vehicle has a fixed voltage alternator, you can use either a Voltage-Sensitive Relay (VSR) or a DC-DC charger. If your vehicle has a variable voltage alternator (also known as a smart alternator) you will need to use a DC-DC charger. This is because the alternator will drop the voltage when it detects the crank battery is full, which can fool the VSR into thinking the engine is off and prevent it from charging the auxiliary battery.
Voltage-Sensitive Relay (VSR)
For most vehicles built prior to 2011, you can charge your auxiliary battery from the alternator by connecting it to the crank battery via a VSR.
The VSR acts as a simple isolator, detecting when the alternator is producing over 13.2v (i.e. the engine is switched on) and activating the connection between the auxiliary battery and the crank battery. When the ignition is switched off and voltage drops below 12.7V, the VSR automatically cuts the link between the auxiliary and crank batteries to prevent the crank battery from being discharged.
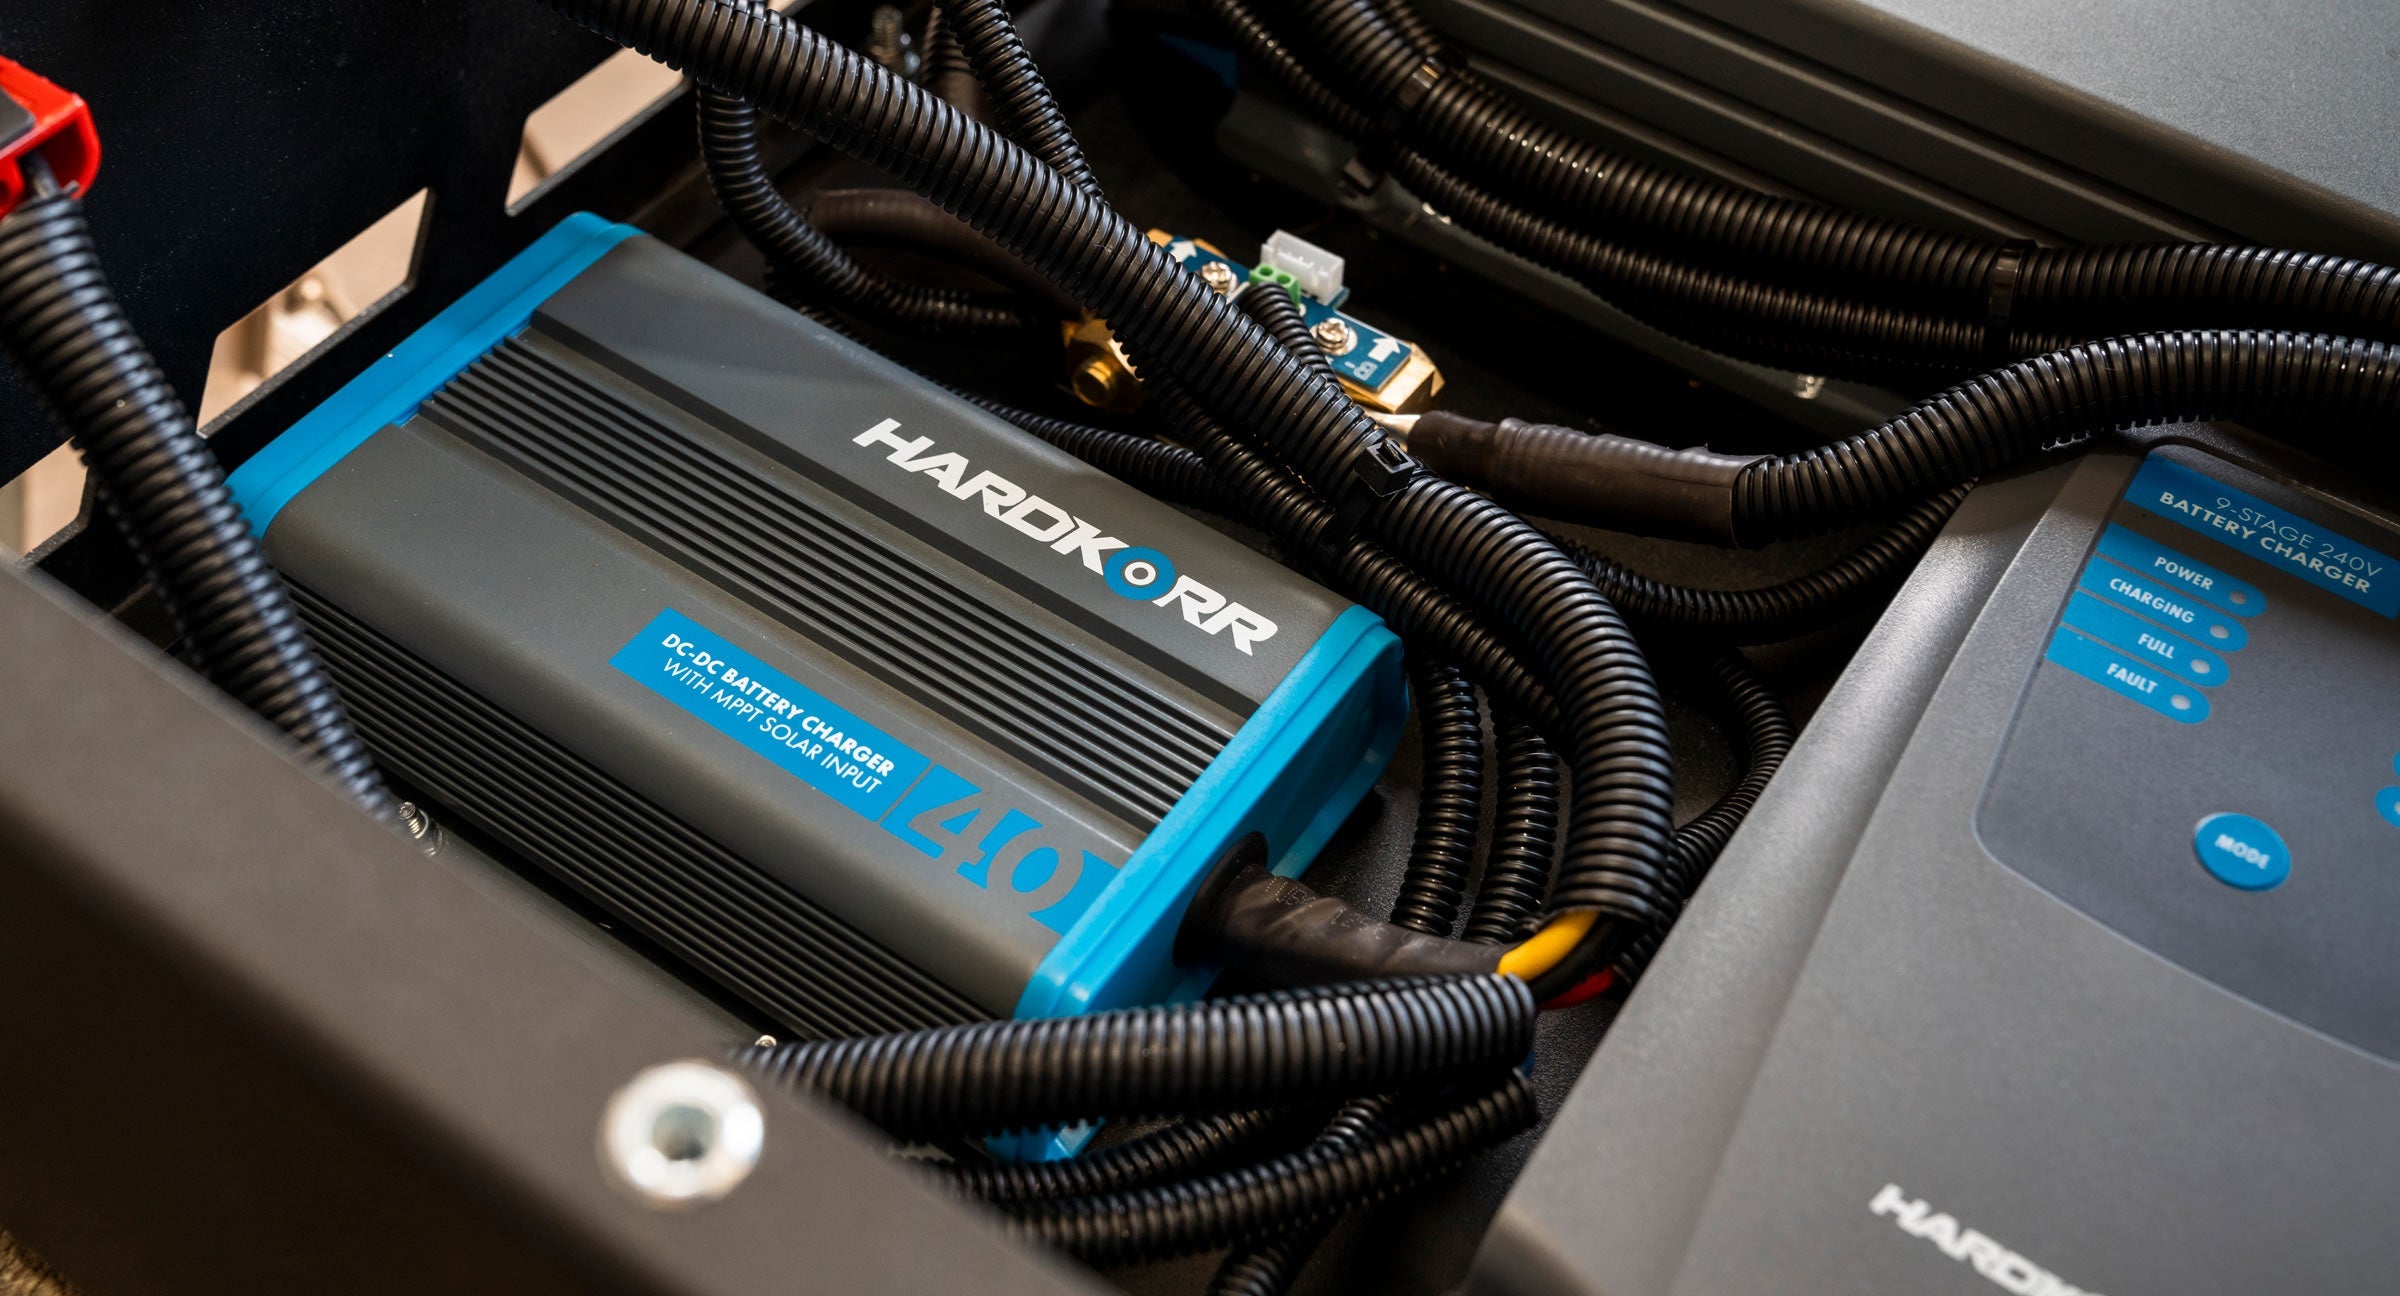
DC-DC charger
DC-DC chargers also take power from the alternator to charge the auxiliary battery, but are a more advanced alternative to a VSR. They have a multi-stage charging algorithm, allowing your battery to reach a full 100% state of charge, and are also intelligent enough to still charge when the vehicle is fitted with a smart alternator. Some DC-DC chargers also include a second input allowing you to connect a solar panel into it.
The downside is that DC-DC chargers are more expensive than VSRs, take up more space, and are more complex to install.
From a solar panel
It goes without saying that charging auxiliary batteries from your vehicle’s alternator is only good when you’re on the move. No one wants to run their vehicle while sitting stationary at a campsite, so you need an alternate charging method for this situation. The most common solution is to use a solar panel.
There are two types of solar panel available; firstly fixed solar panels, which are permanently mounted to your vehicle (usually to the roof rack), and secondly portable solar panels, which can be packed away while not in use.
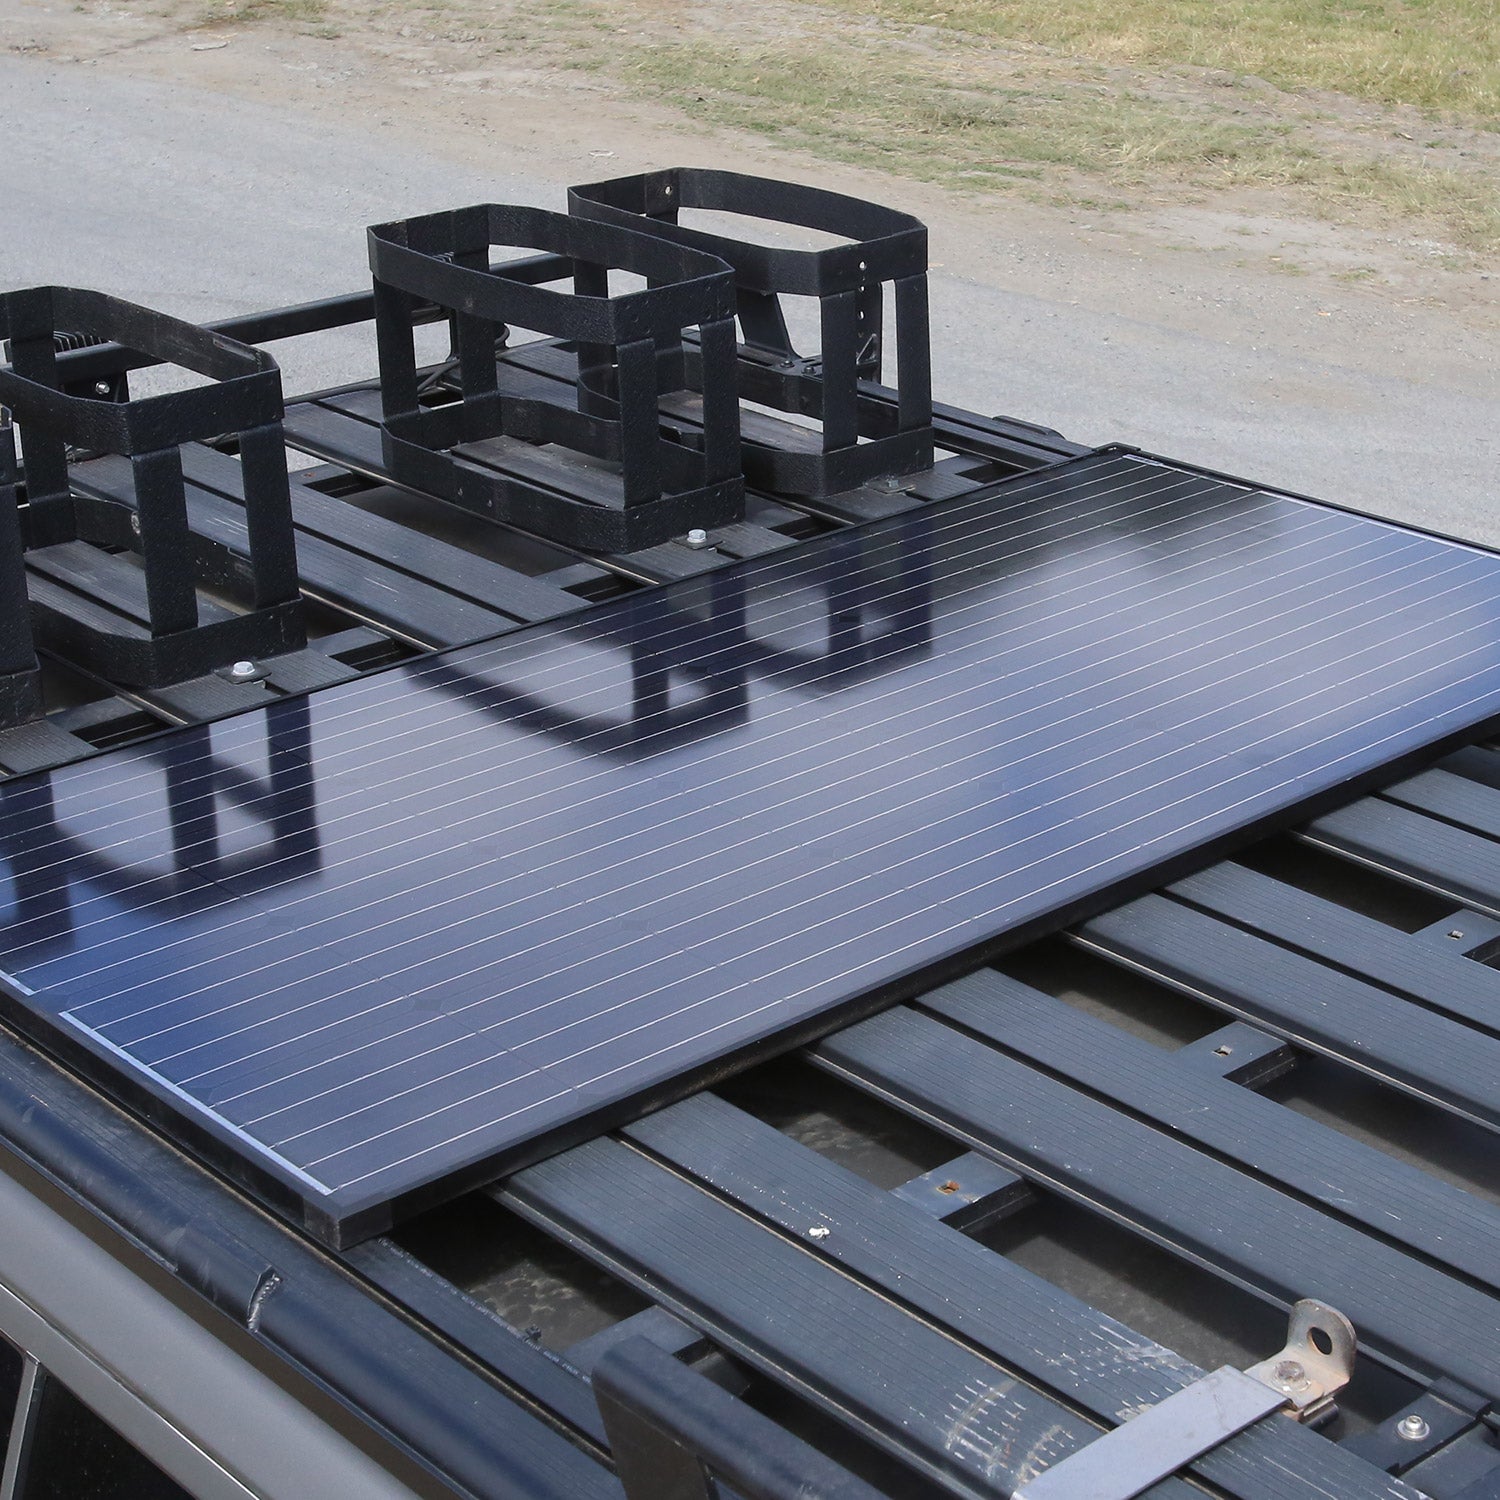
Fixed solar panels
Fixed solar panels are usually glass-fronted and framed with aluminium. They are designed to be permanently mounted (fixed) to your vehicle and connected to a regulator or DC-DC charger mounted inside.
The main advantage of fixed solar panels is that they don’t need to be set up and packed down when you’re at camp. They can also supplement the charge being provided to your batteries by the alternator while the vehicle is on the move, particularly if you are using a DC-DC charger which prioritises solar power.
The downside is that you can’t move them to catch the sun as it traverses the sky, and you won’t be able to park your vehicle in the shade. They also take up space on the roof of your vehicle which could otherwise be used for storage, and can add extra wind resistance and noise to a vehicle on the move.
Portable solar panels
Portable solar panels come in several different forms, which we have talked about at length in our guide to portable solar for camping. When portable solar was first introduced the most common type was hard-frame folding panels which, like fixed solar panels, had an aluminium frame and a glass front to protect the cells. Nowadays, lighter-weight solar blankets and solar mats are the most popular types you’ll see around campsites.
Having a portable solar panel means you have a lot more flexibility in deciding where to position your vehicle at camp. Rather than having to park it in the sun to capture solar energy, you can park your vehicle in the shade and position your panel up to 10m from the vehicle.
Portable solar panels can be connected directly to your battery via alligator clamps, or into an available Anderson port on a DC-DC charger or battery box.
Do you need a solar regulator?
The short answer is yes; whether you’re using a fixed solar panel or portable solar panel, a solar regulator will always be required. Solar panels produce a voltage that is too high for the battery to use without a regulator in-between, and connecting a battery directly to a solar panel will cause it to overcharge and will quickly do irreparable damage.
From mains power
If you’re charging up your batteries at home before or after a trip, or if you’re at a powered camp site, you can also use a 240v mains battery charger. Mains battery chargers are available as portable devices or can be built into your 12v system.
Distributing power to your accessories
Just as important as selecting the right batteries and charge methods is working out how to distribute power from your batteries to your 12v accessories. Here we present three different ways you can do this.
Use a battery box
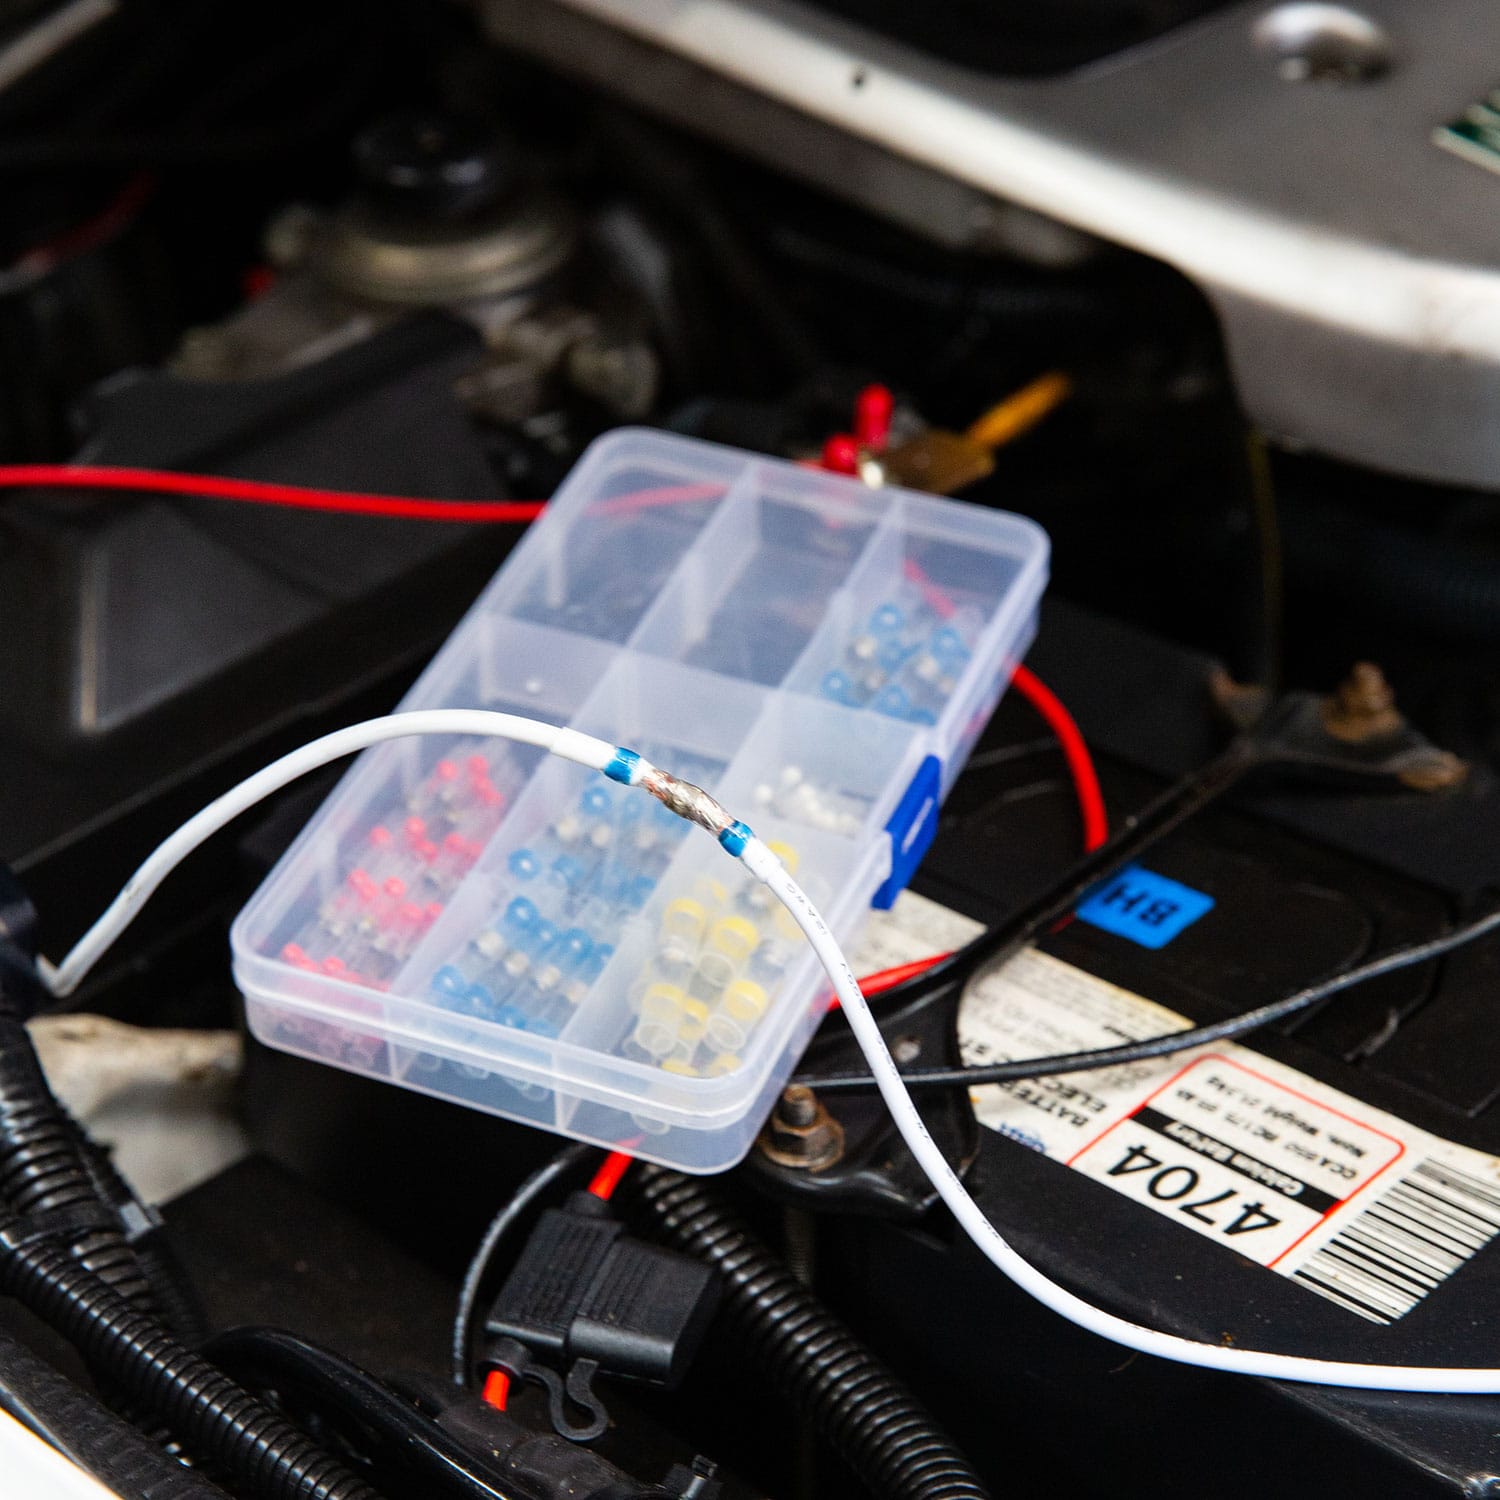
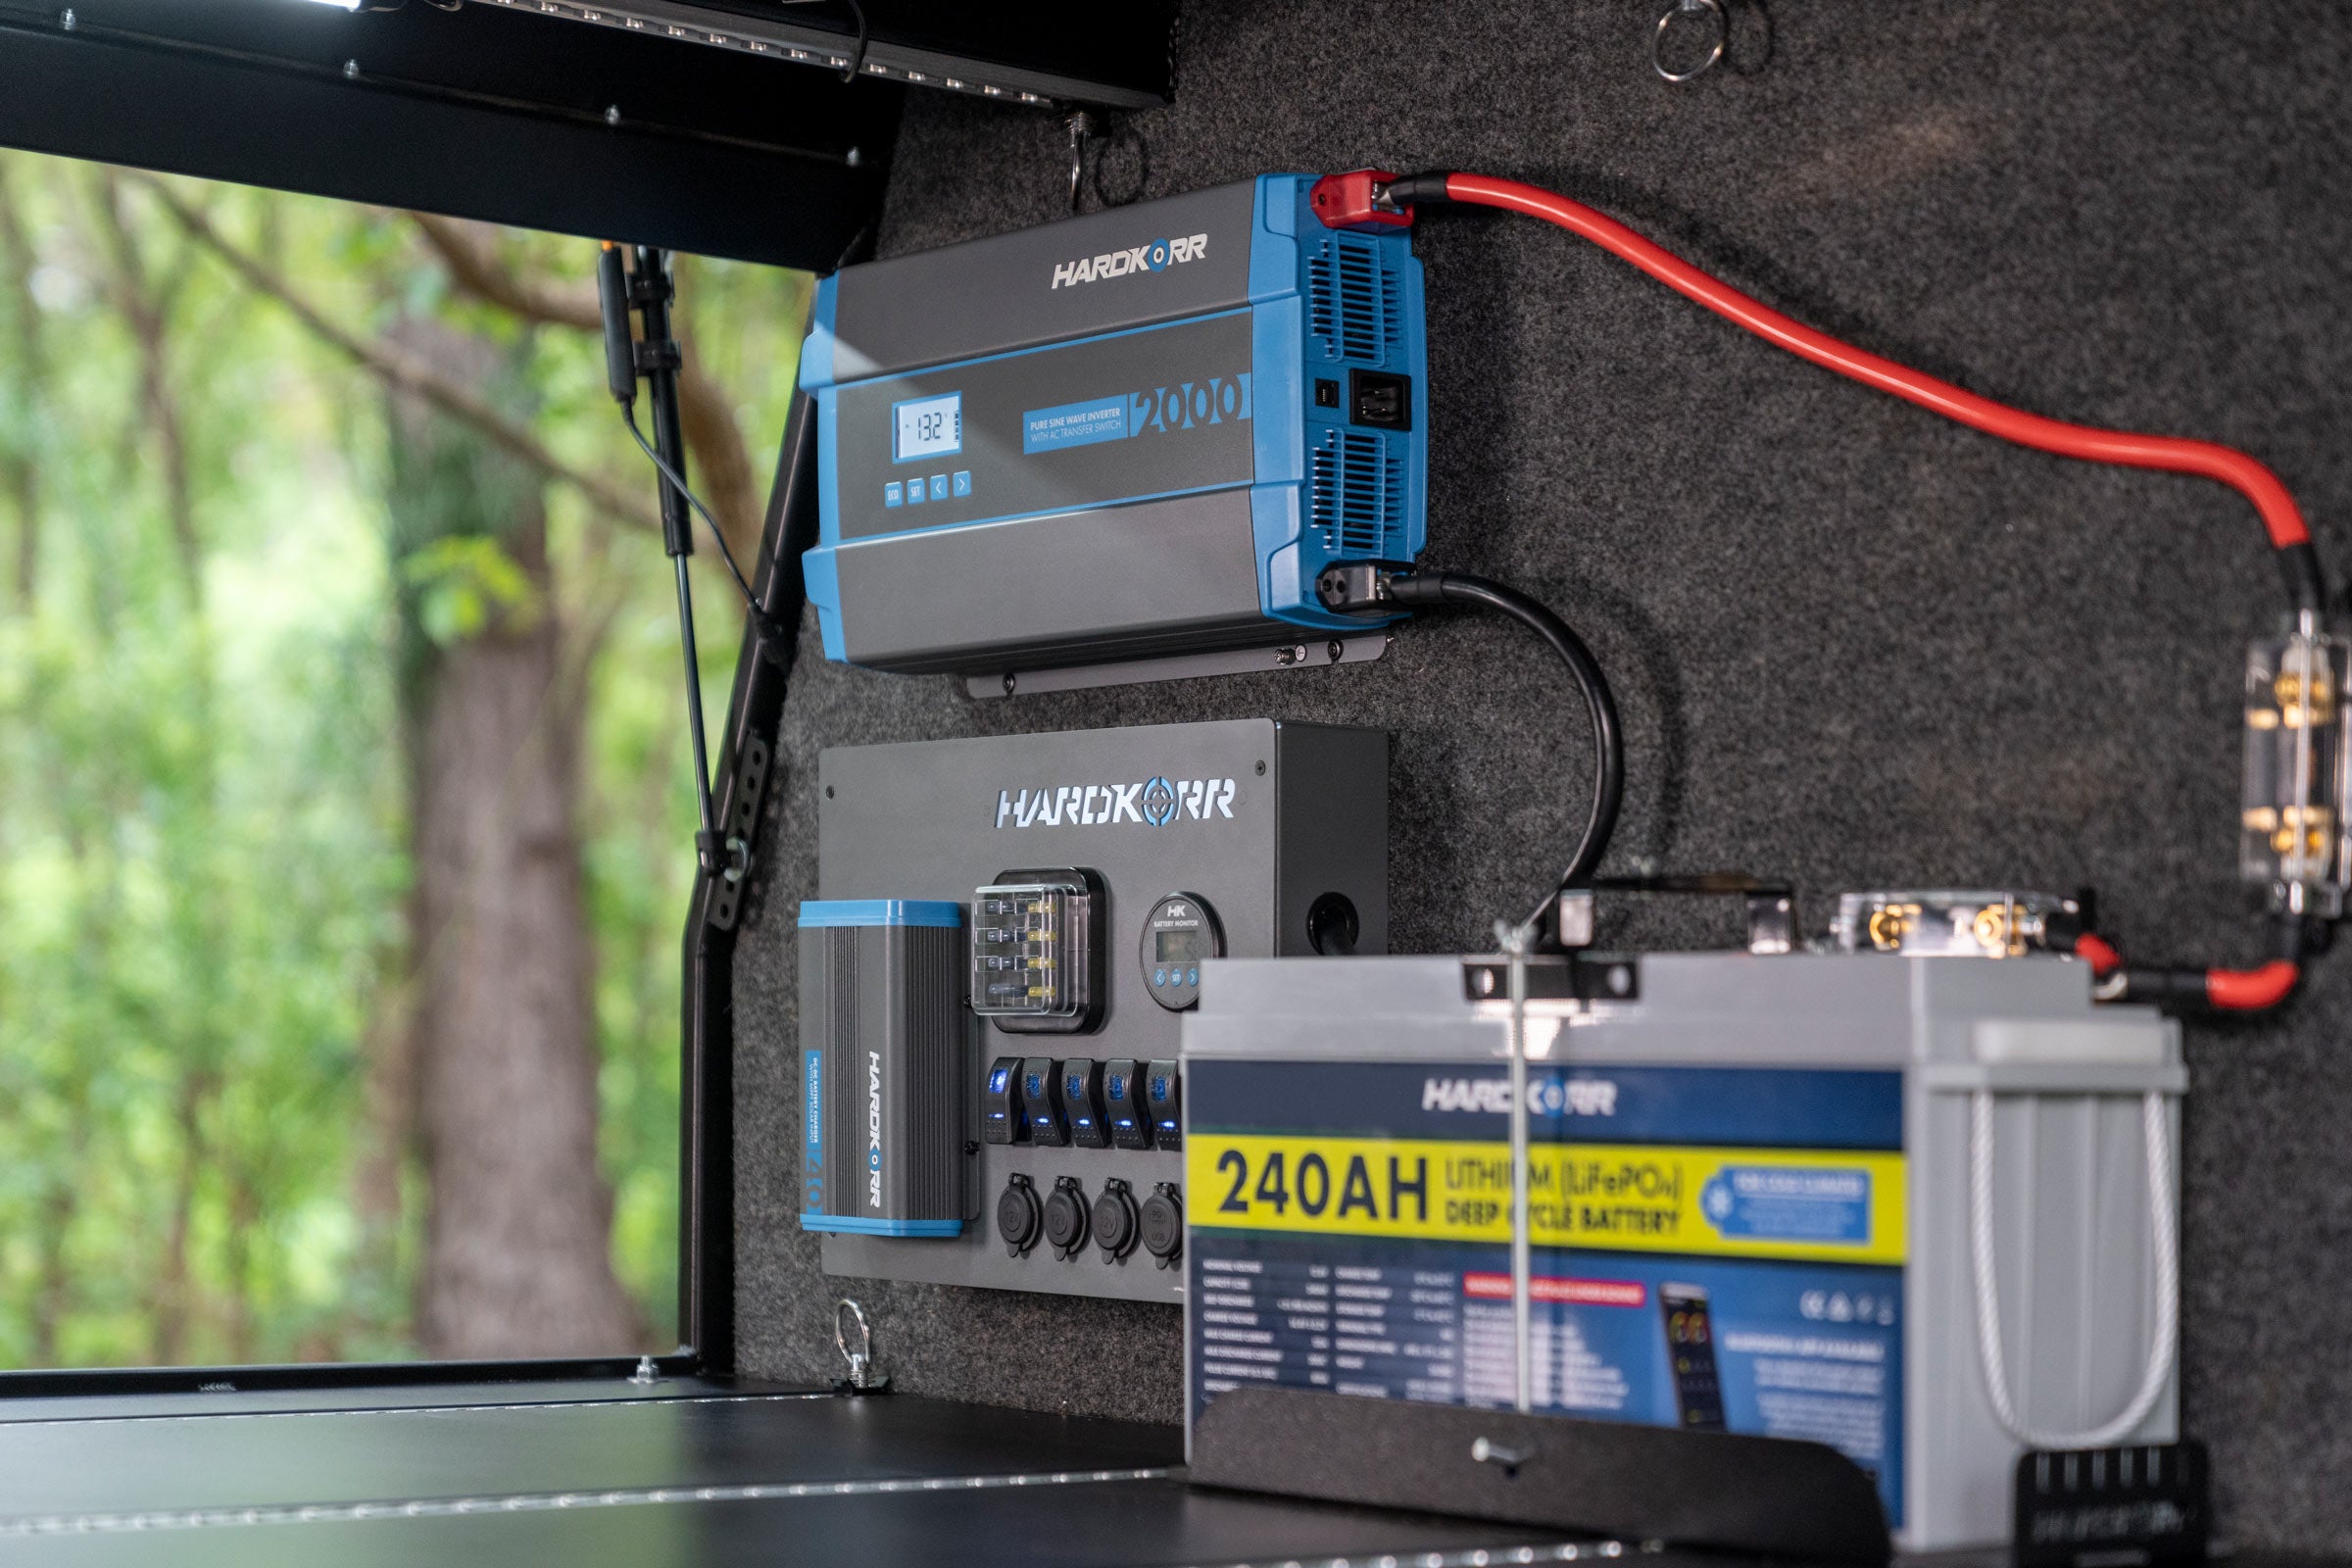
If you have a standard-sized auxiliary battery (N70 or similar), our Heavy-Duty Battery Box is a really easy way to distribute power. You just put the battery inside, connect the terminals to the box, and then use any of the ports on the outside of the box to power your accessories. There are 4 x 50A Anderson ports, a 175A Anderson port, two cigarette ports and two USB ports. The box is wired up with all the fuses and circuit breakers needed to protect your accessories from electrical damage.
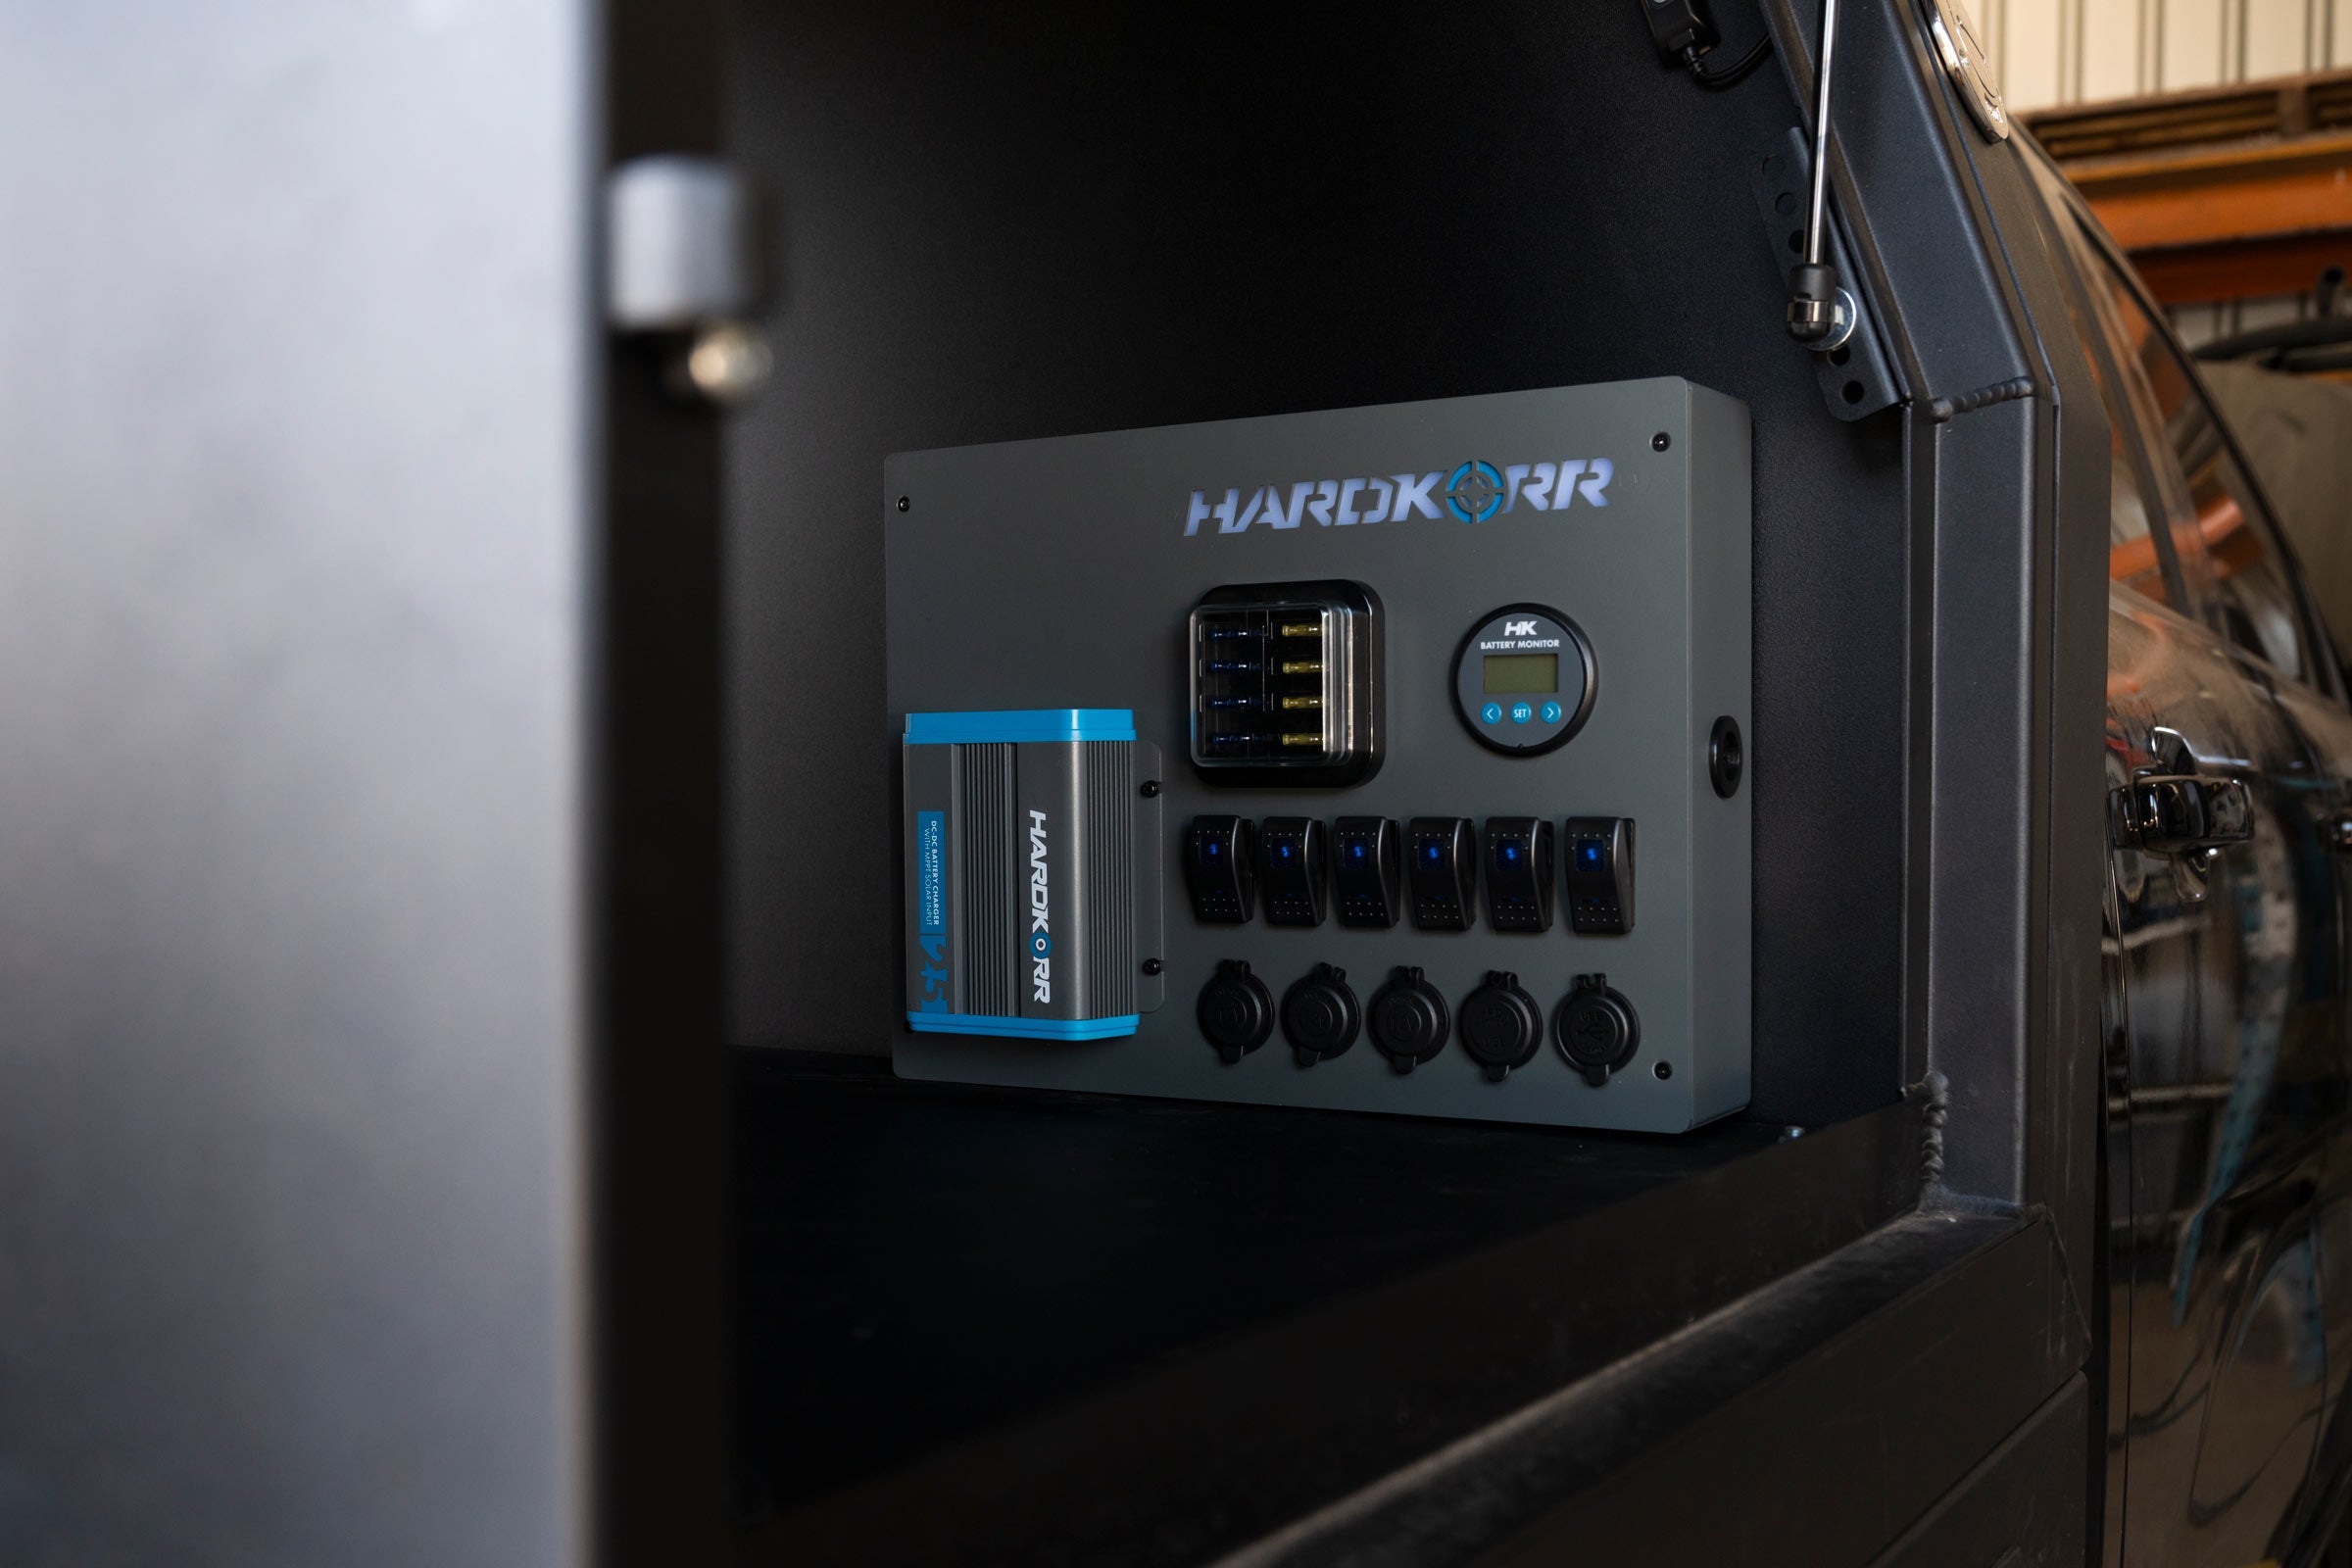
Use a 12v control box
Another popular alternative, particularly for banks of multiple batteries or batteries that are too large to fit inside a battery box, is a 12v control box. Similar in appearance to the electrical boxes found on the side of your house, these control boxes generally contain a number of ports on the outer face. You can also customise the box by cutting or drilling additional holes to fit monitoring gauges or custom ports. The battery is connected to the inside of the box via waterproof grommets in the side.
Connect directly to the battery terminals
It’s worth mentioning that you can also connect accessories directly to the terminals on your battery, but this is a cumbersome solution compared to those described above.
Using 240V accessories with an inverter
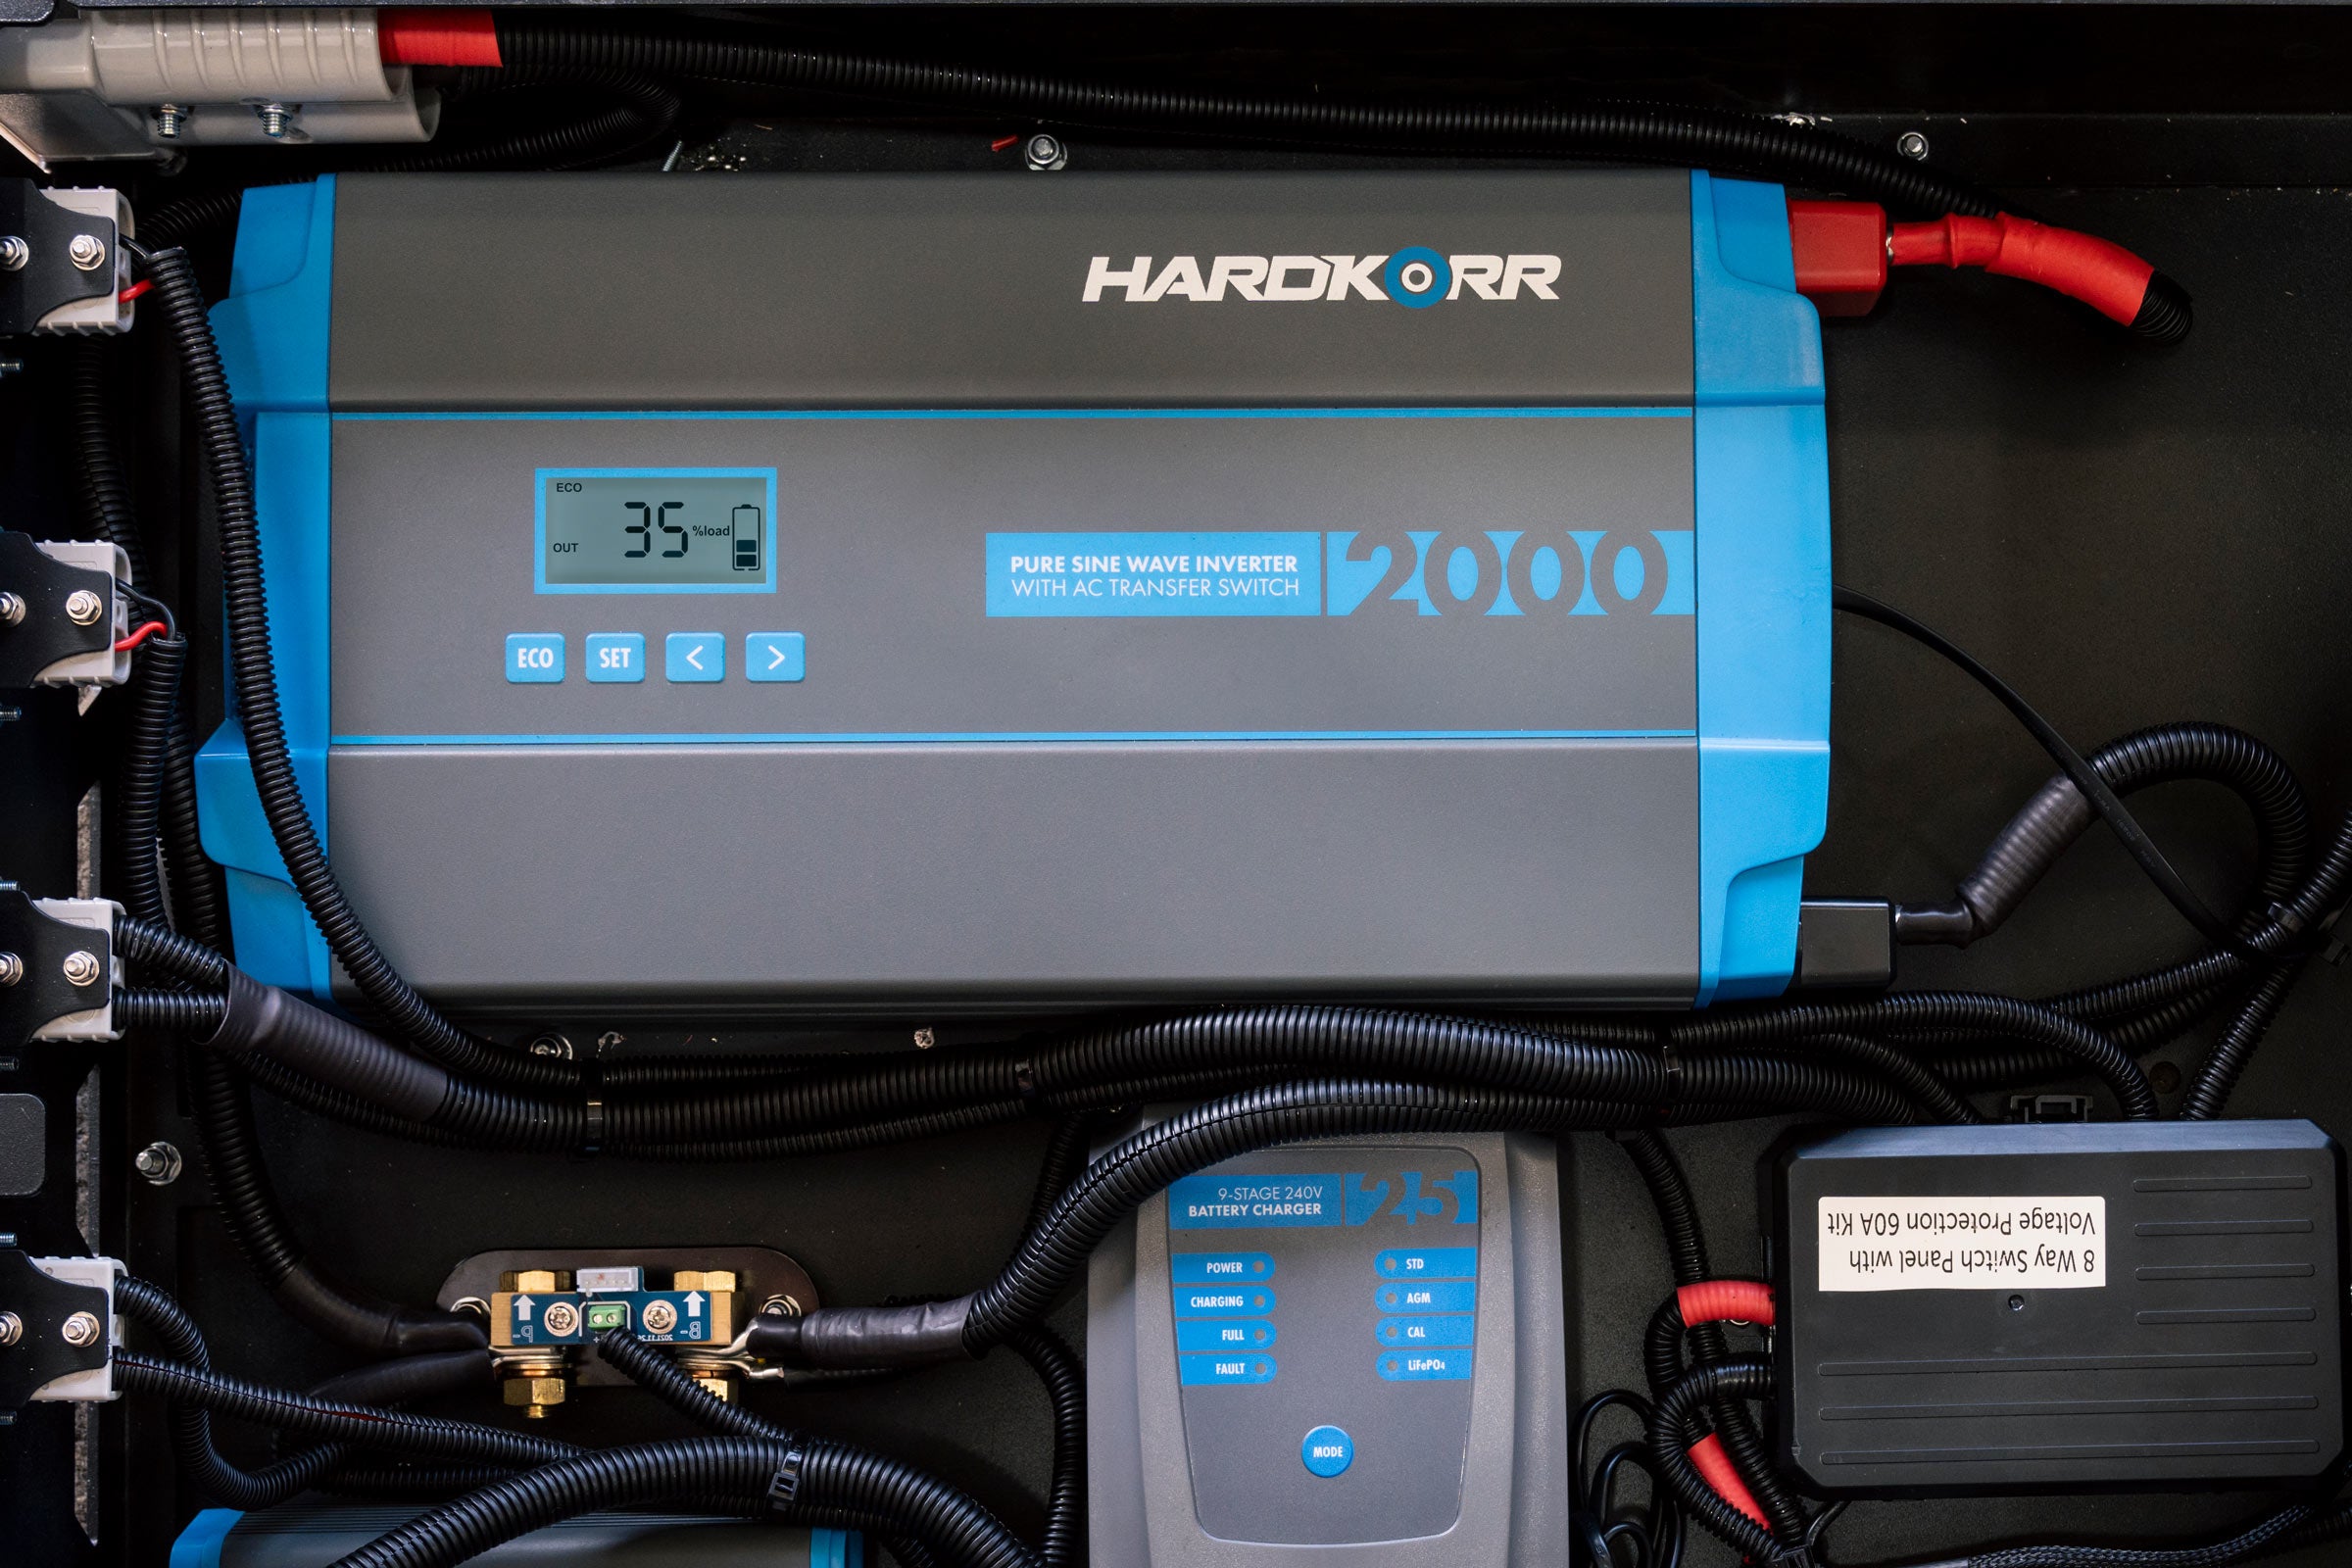
Have a hankering for a latte on the go? Want to boil water without using a billy, or charge your laptop? To use these and other 240v-powered accessories, you’ll need a 12v to 240v inverter.
An inverter takes the 12v DC current provided by your batteries and converts it into 240V AC current which these accessories can use. Due to the high voltages produced by an inverter, it is important to ensure that you select an inverter that has been manufactured to a high standard and has appropriate electronic protections in place. An easy way to determine this is to check whether the inverter meets all required Australian and international standards, particularly AS/NZS 4763:2011, UL 458 and IEC/EN 62638-1.
TIP
240v accessories can quickly drain batteries due to their high power requirements, so make sure you’ve got plenty of battery capacity if you want to incorporate an inverter into your 12v system. You’ll also need to make sure that the maximum discharge current of your battery isn’t exceeded, particularly for high-wattage appliances like kettles. This is especially important if you are using lithium batteries.
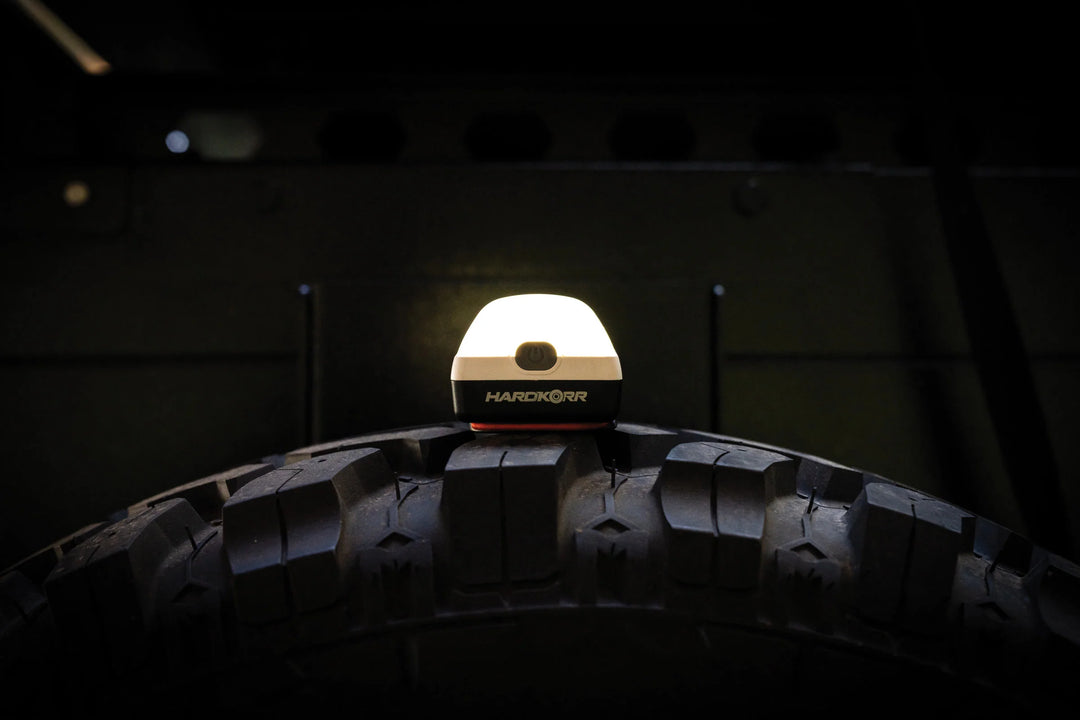
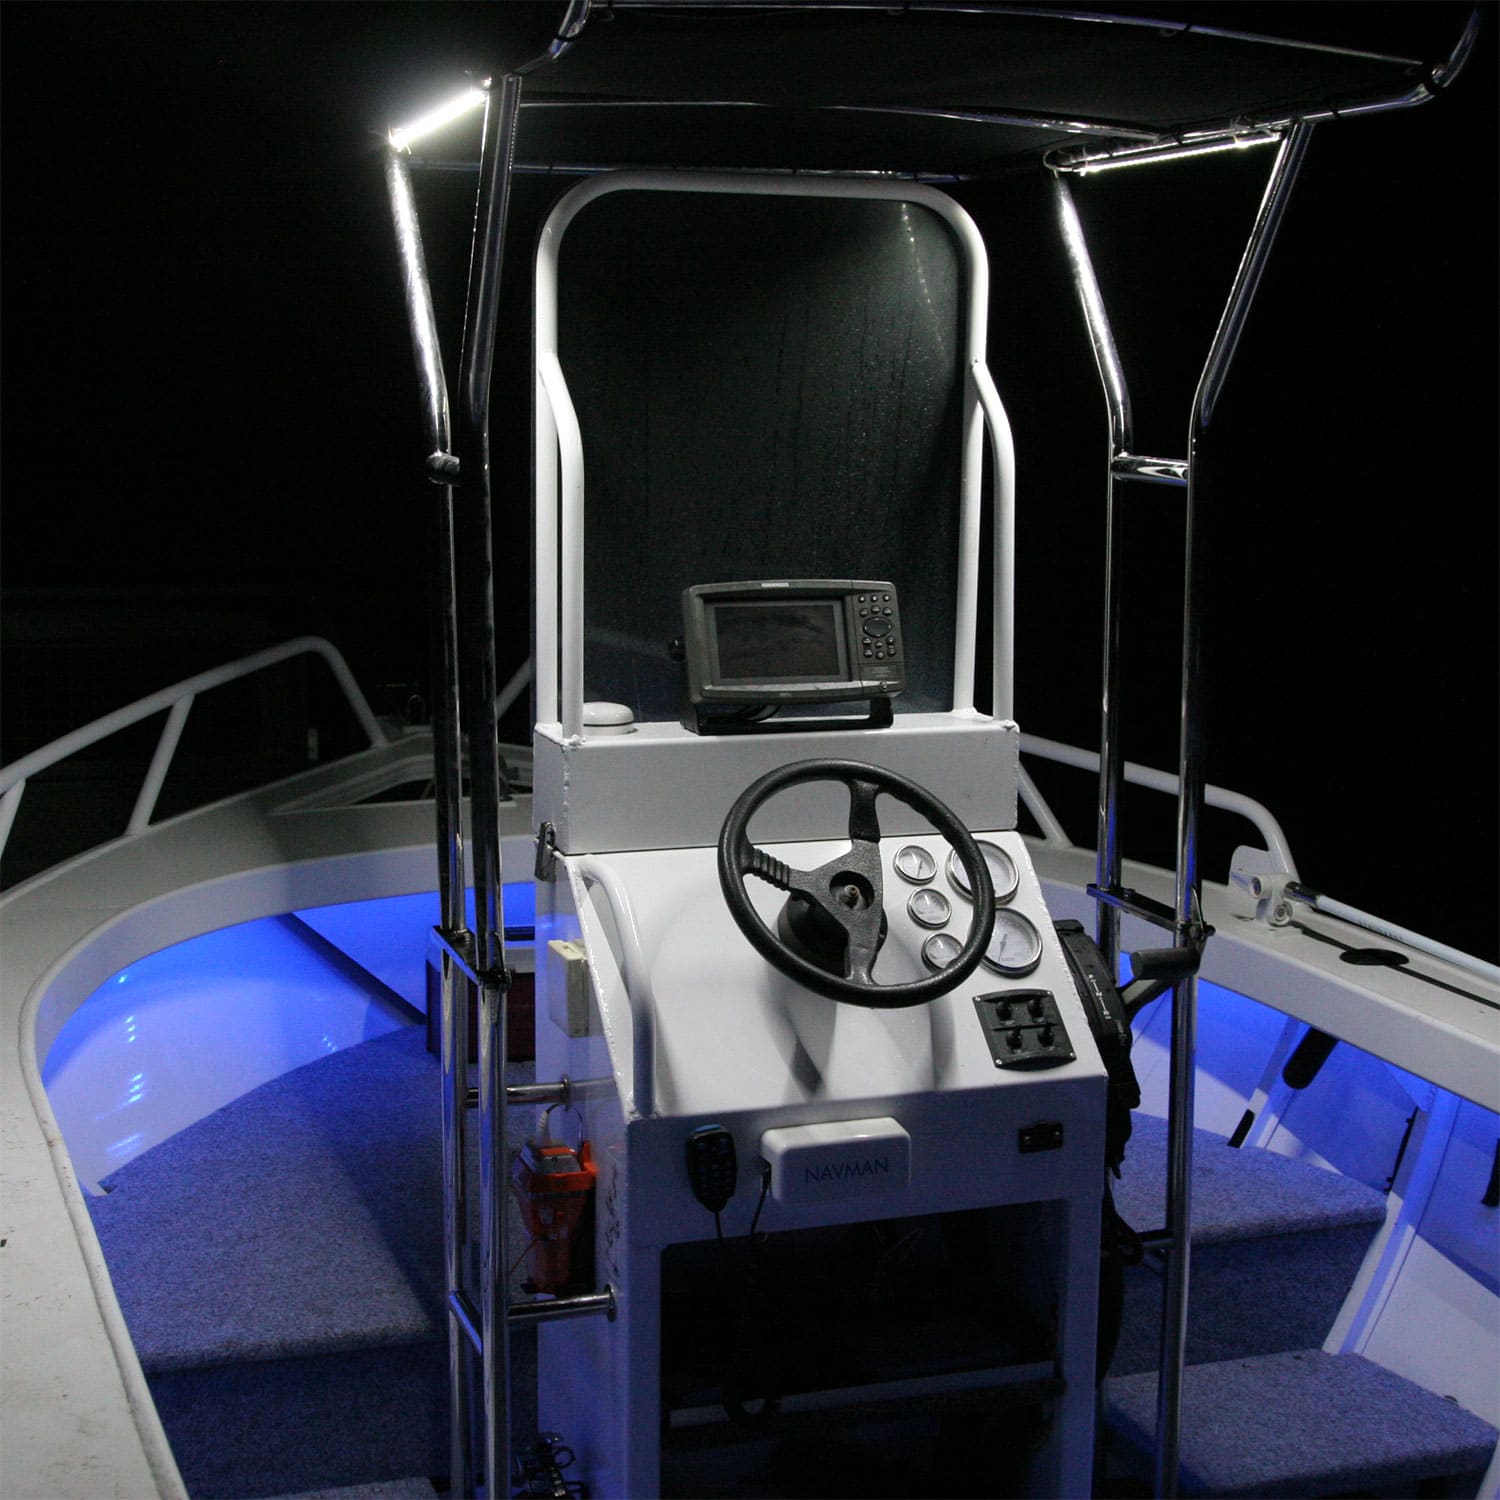
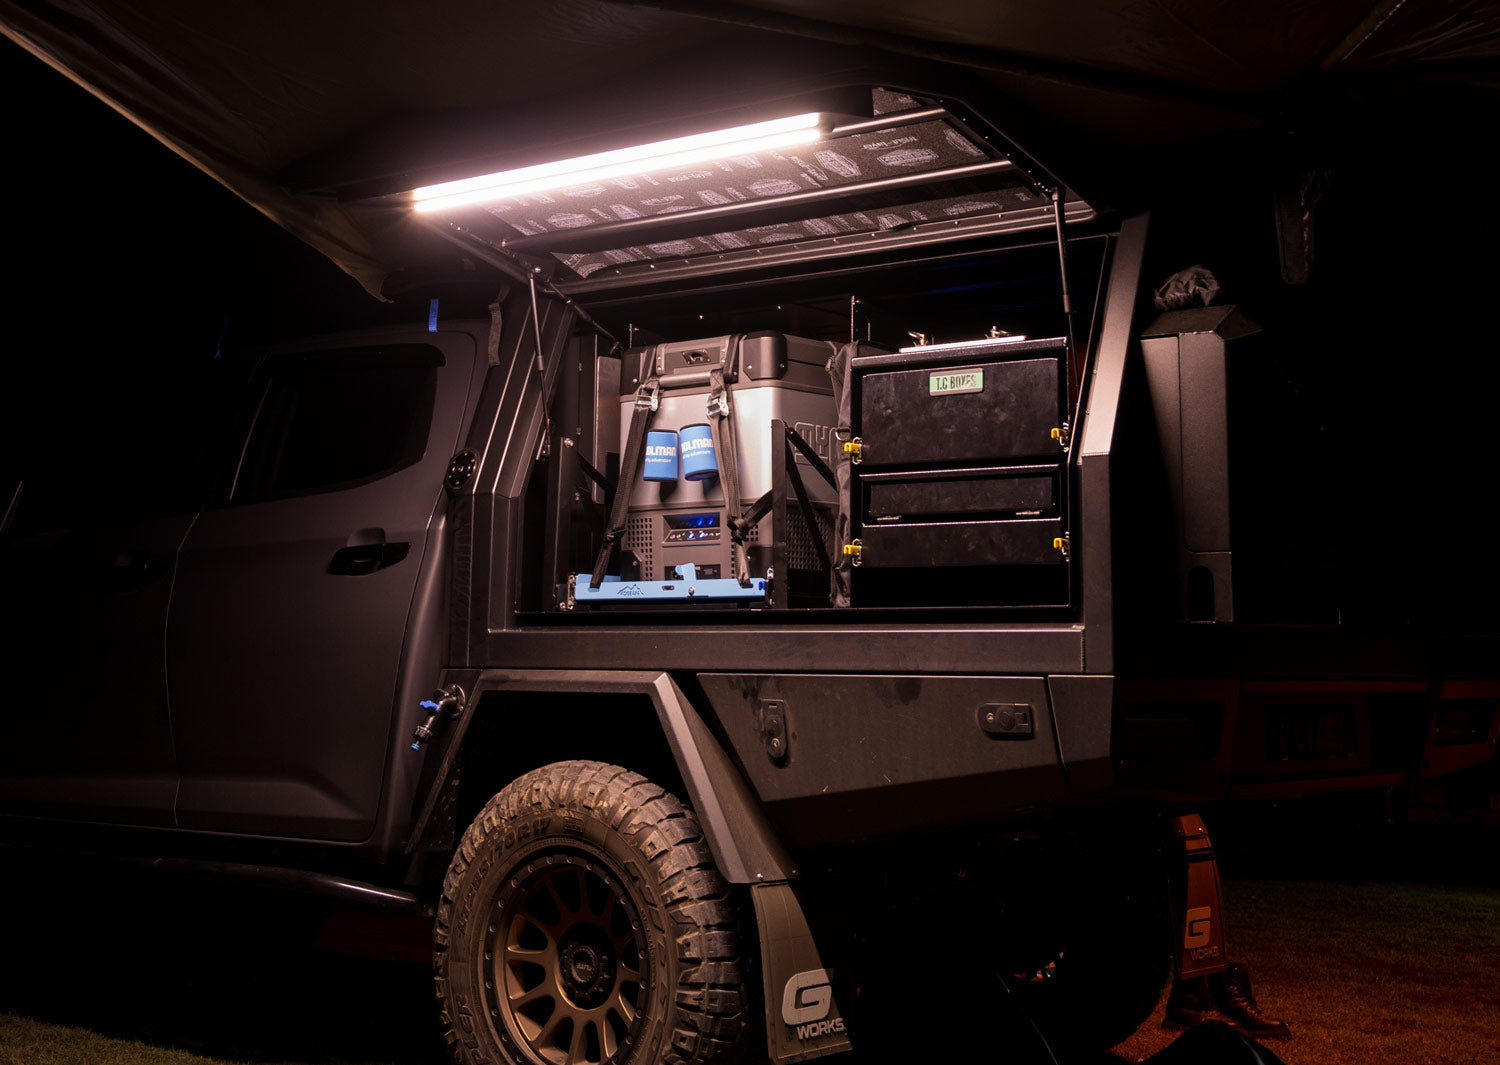
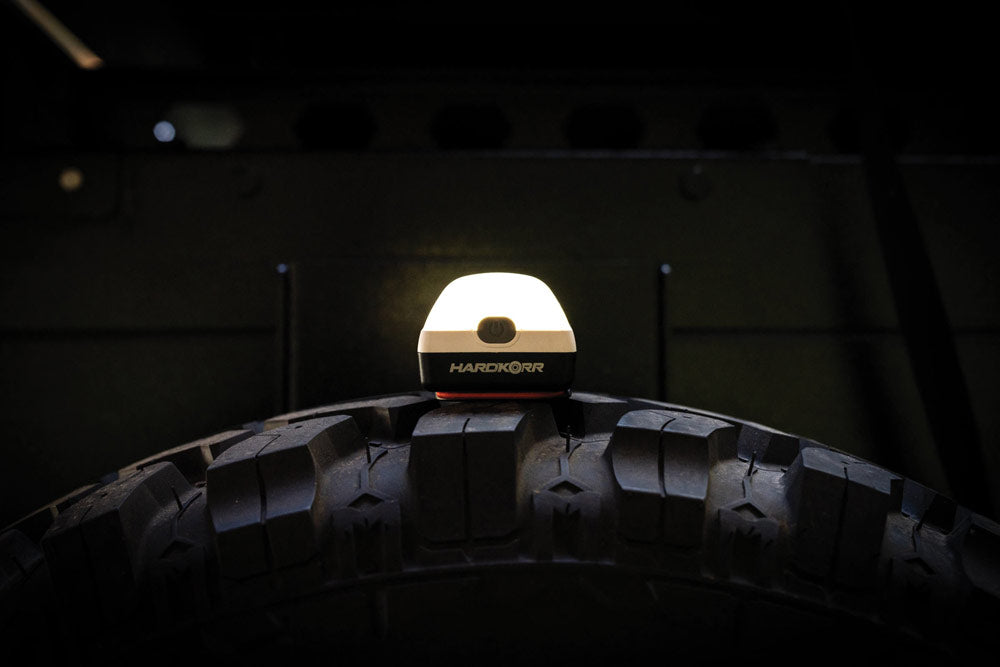
Lighting your 12v electrical setup
The final piece of the puzzle is ensuring that your 12v electrical setup is accessible at any time of the day or night. For this, you will need lighting for your canopy or cargo area.
Hardkorr camp light bars and stick-on light strips are ideal for this purpose. We’ve written this article about cargo area and canopy lighting, which takes you through exactly what products you need for your system and how to set it all up.
These products are incredibly popular with DIYers as well as many of Australia’s best canopy installers including Norweld, Outback Customs, Mits Alloy and Boss Aluminium, and feature on some of Australia’s best rigs including Shauno’s Dirty 30, Jase from All 4 Adventure’s 200 Series and Simon from All 4 Adventure’s D-Max.