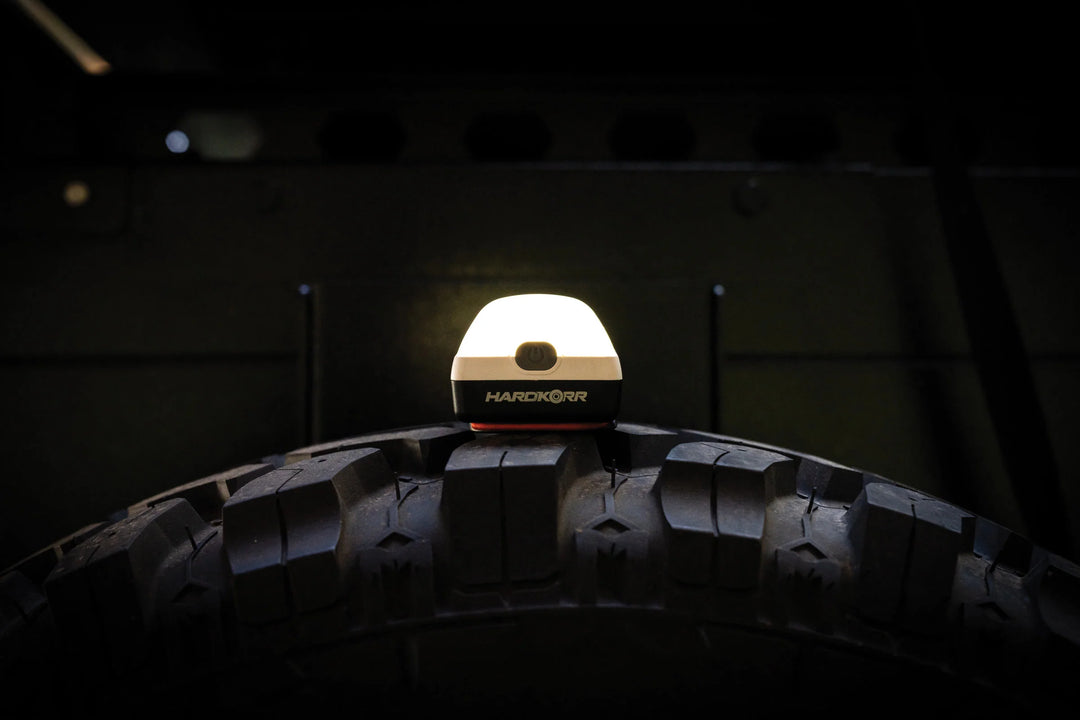
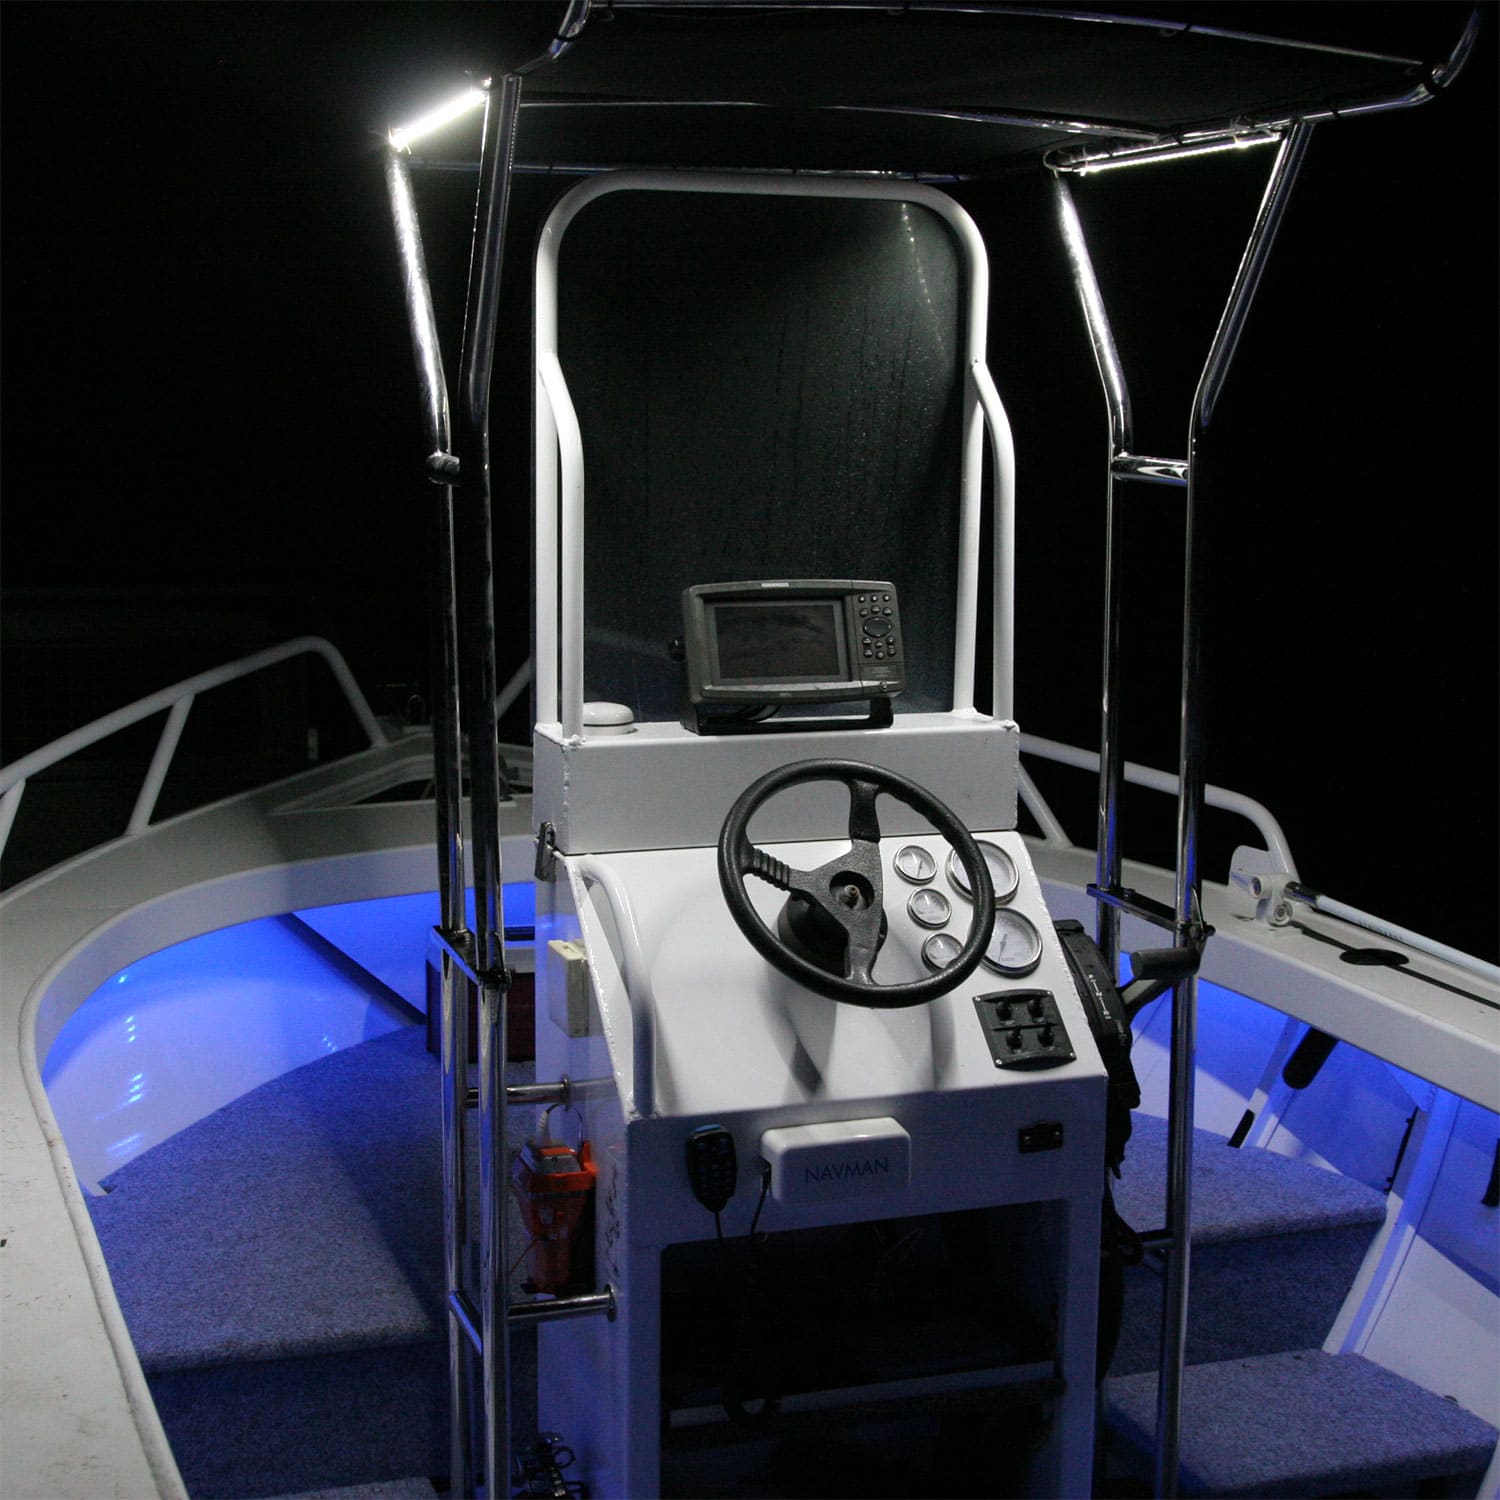

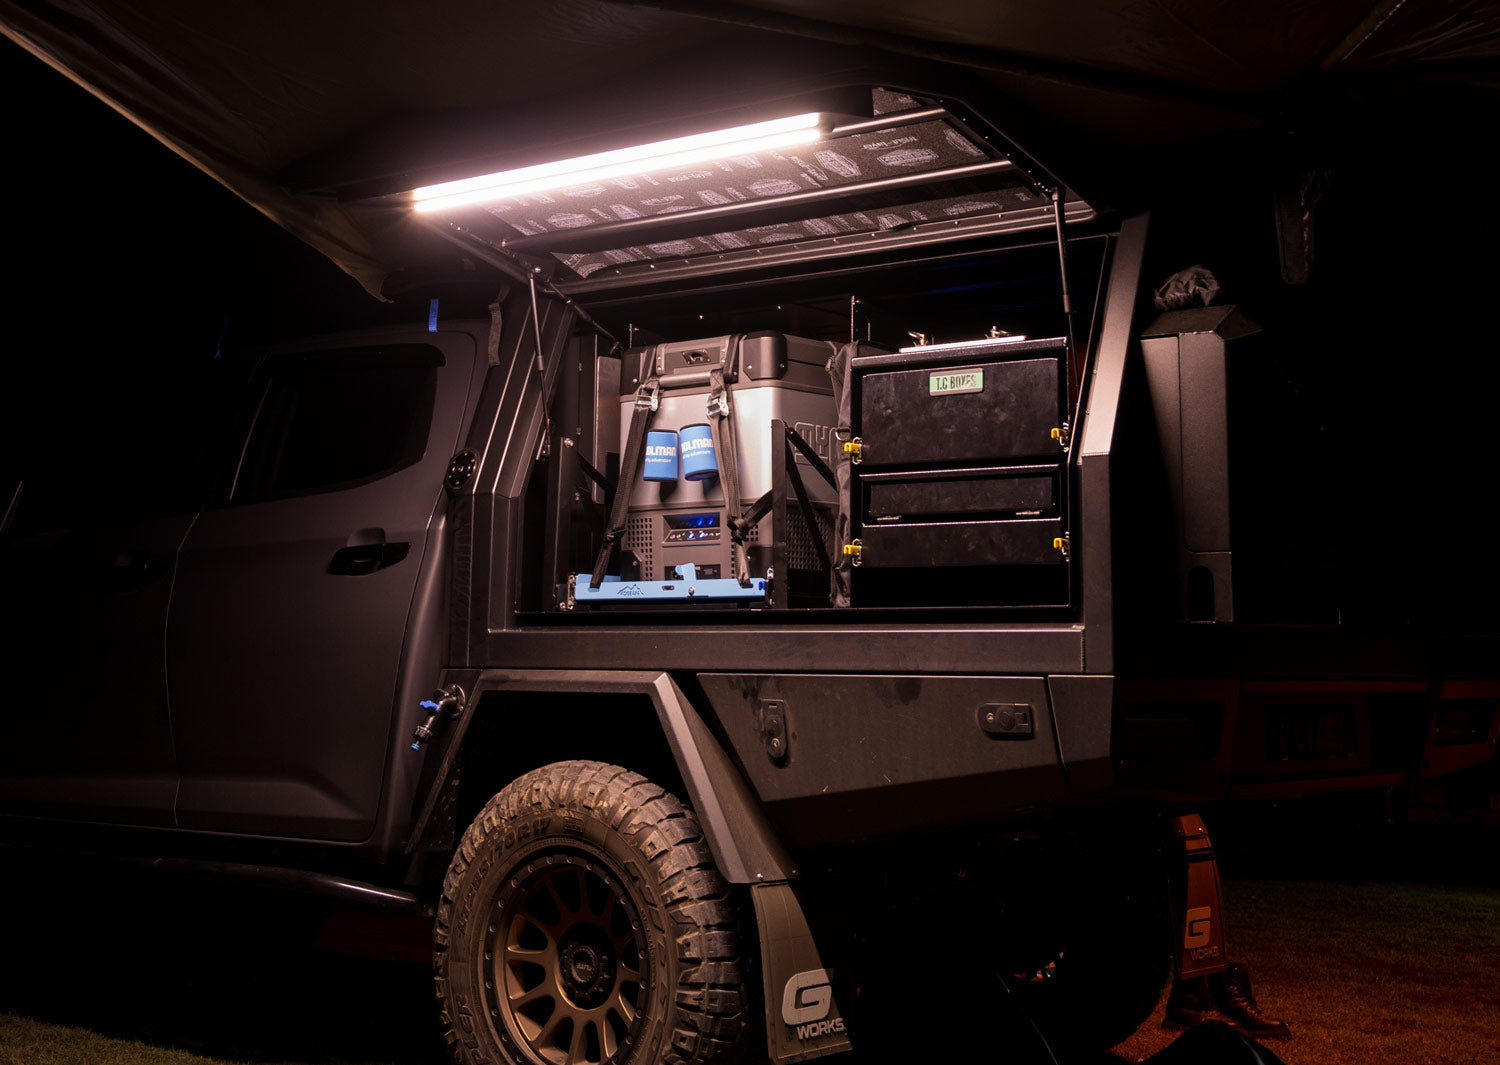

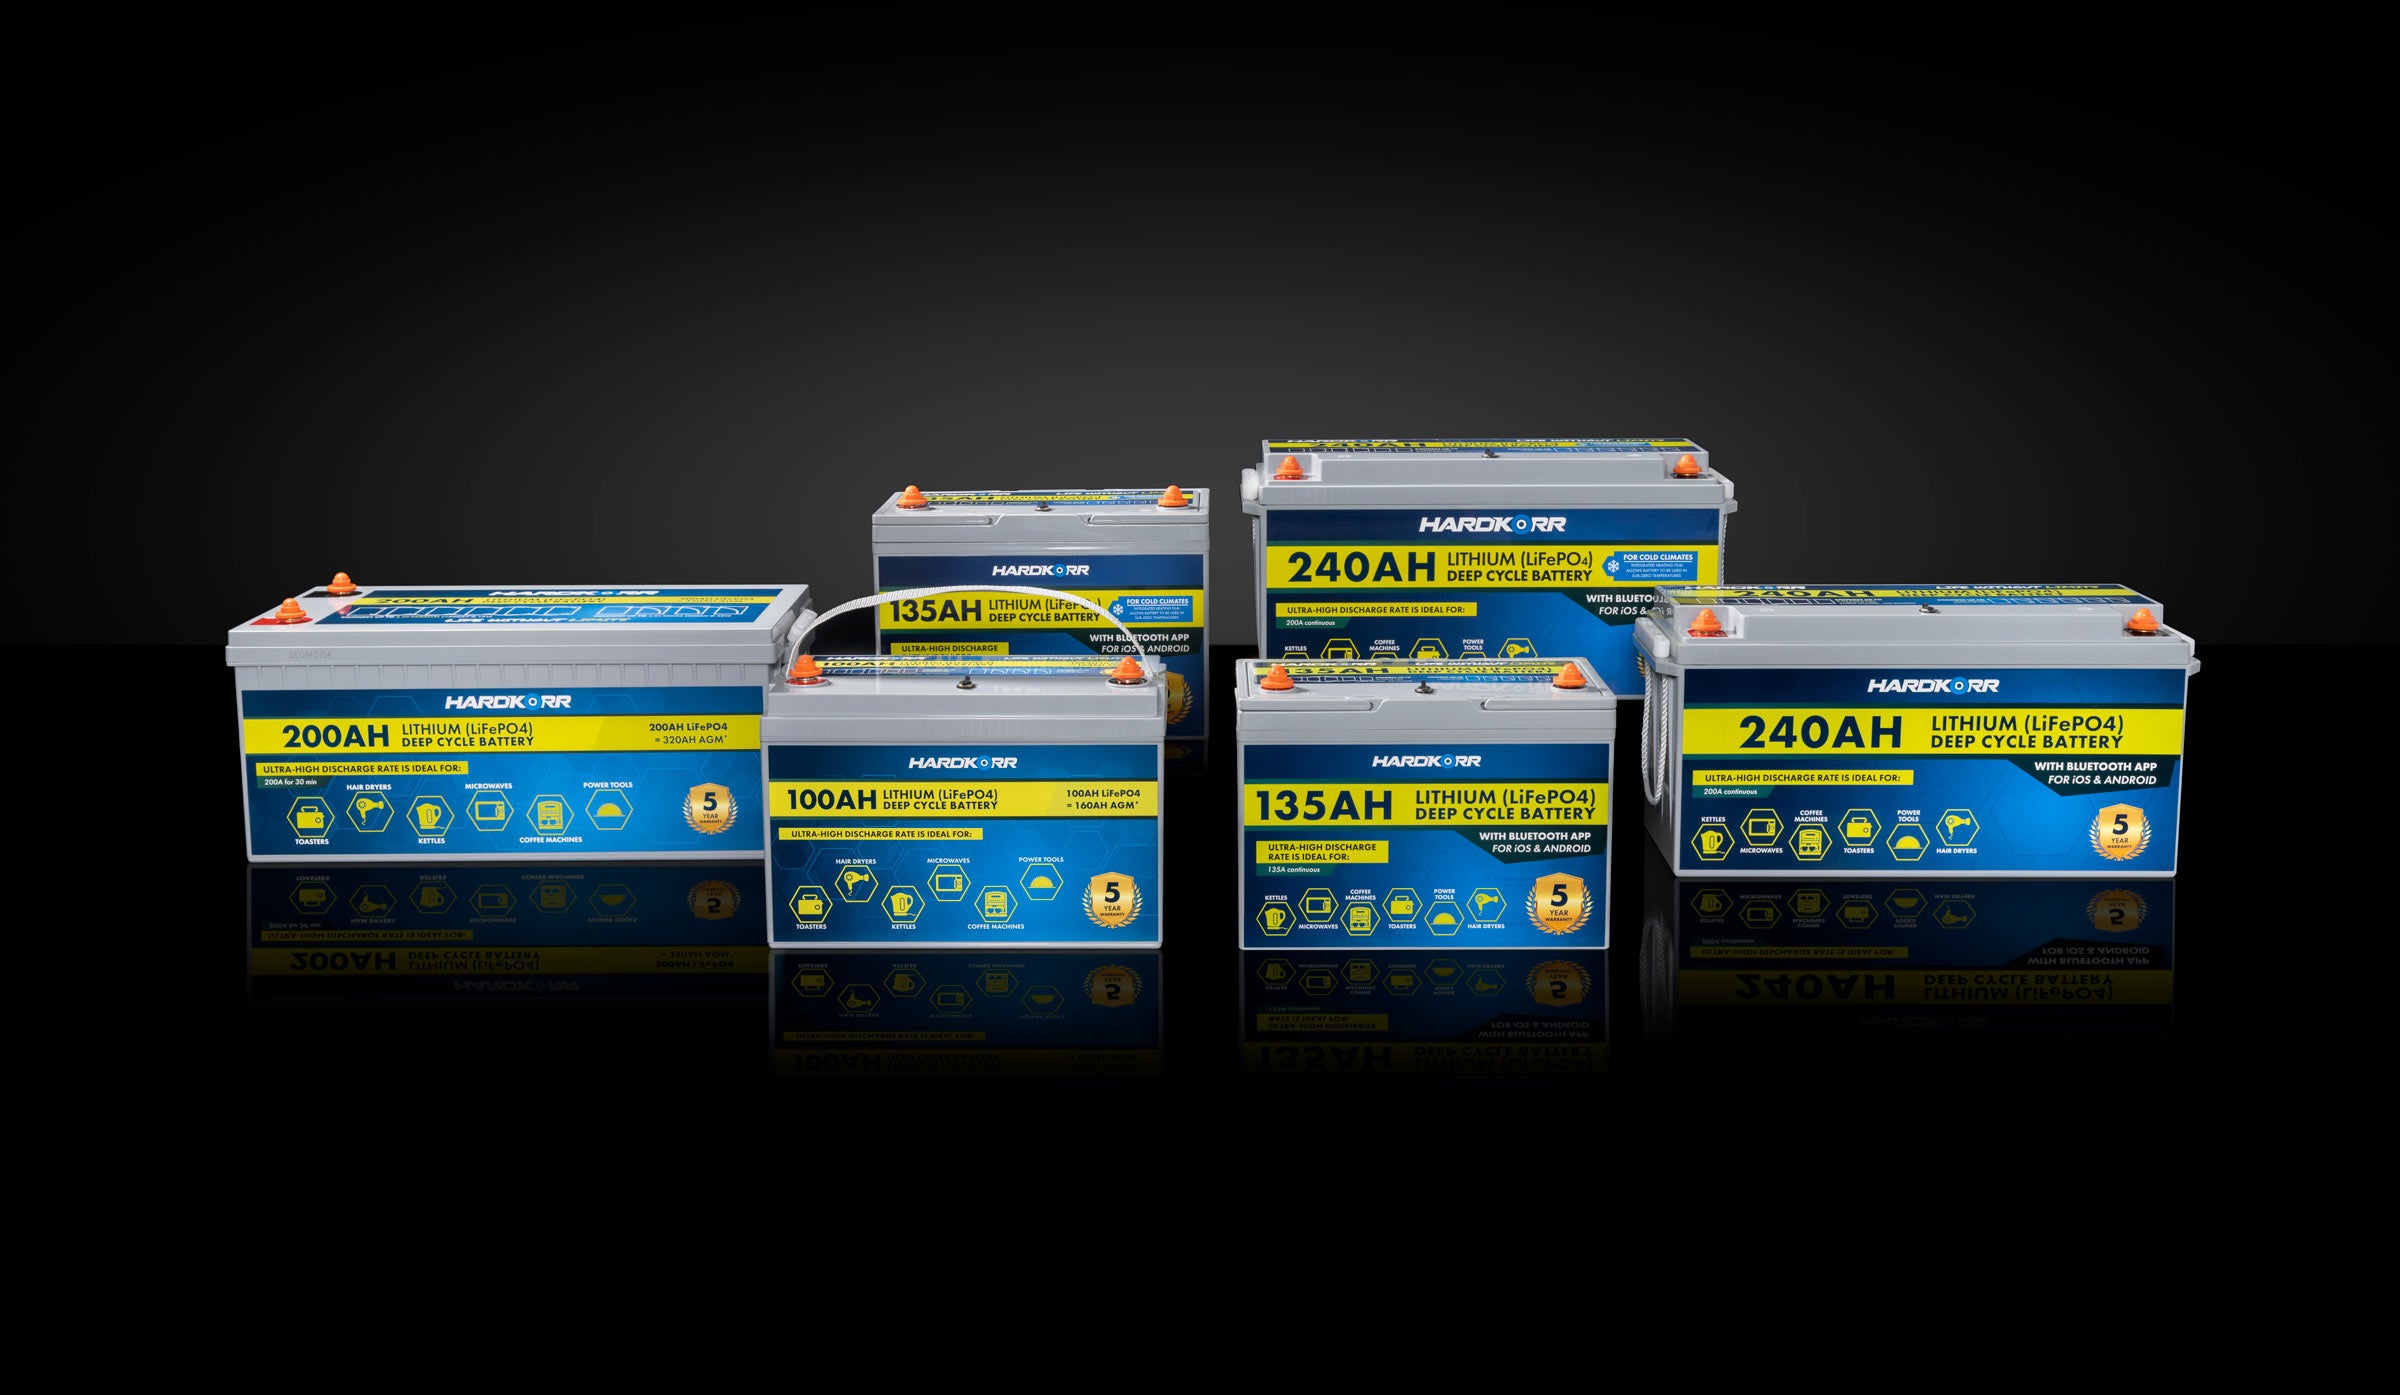
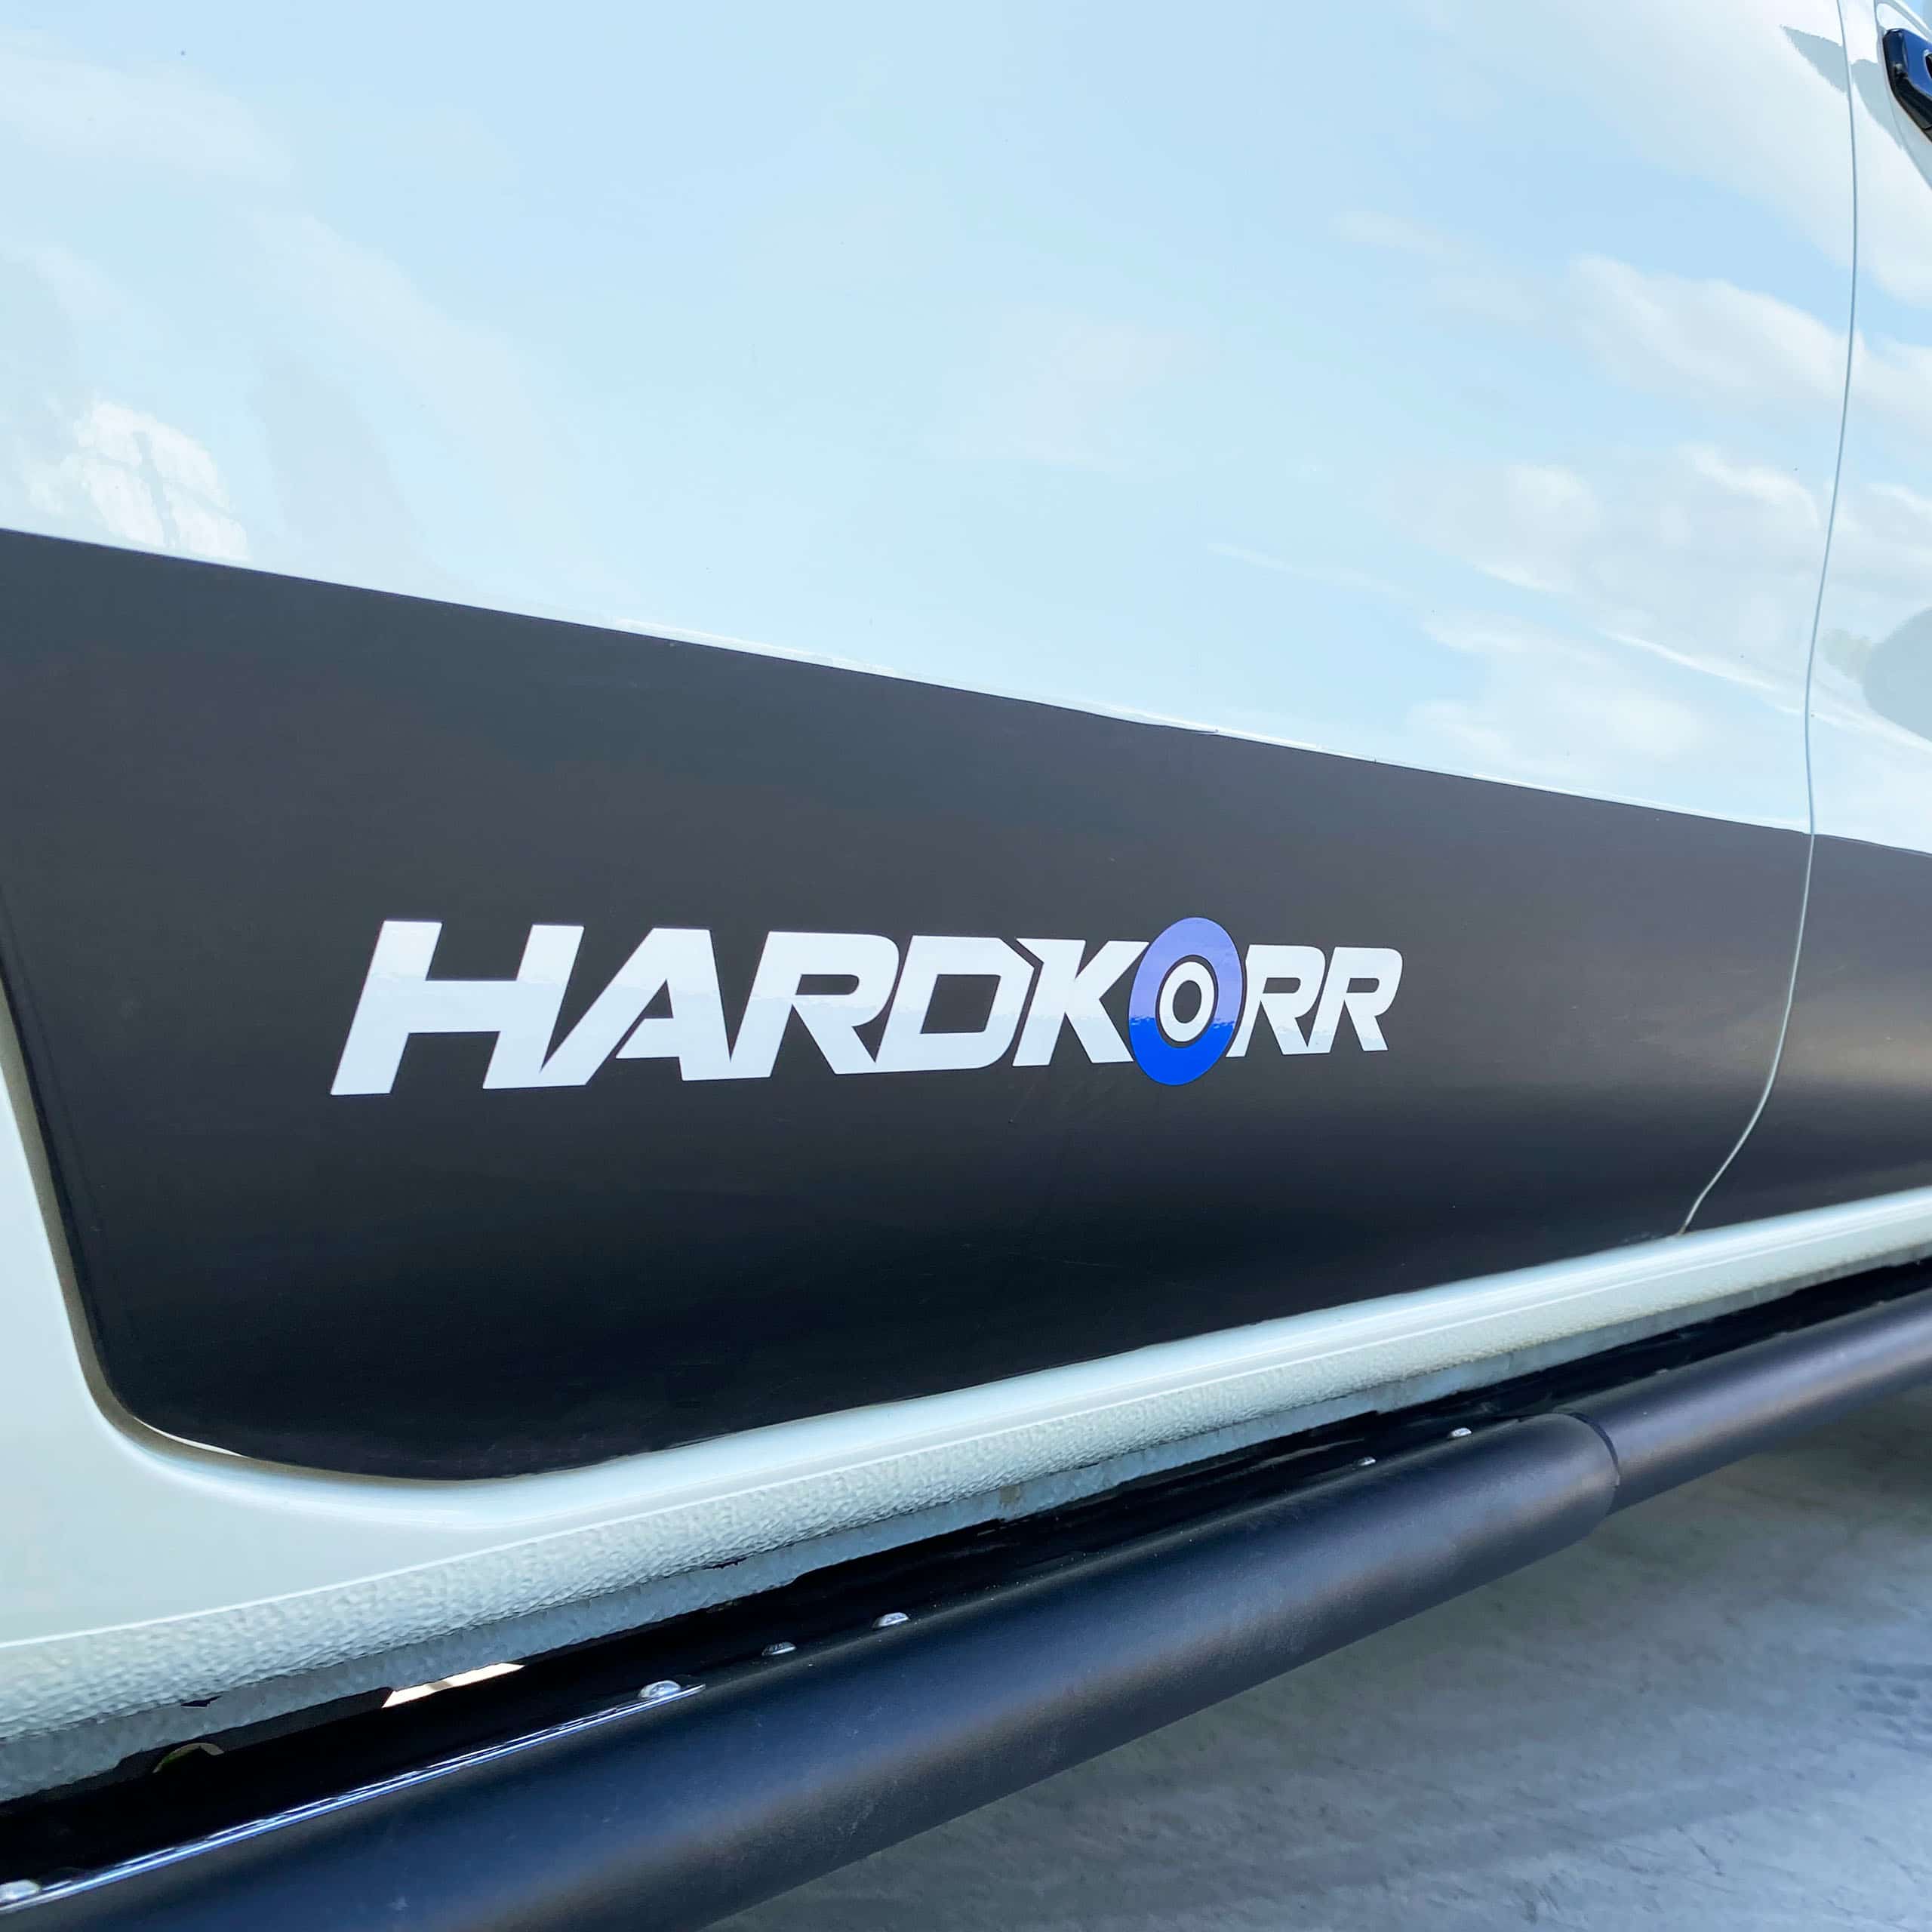


Hardkorr LED camping lights are great for illuminating your campsite, but did you know that they can also be used as ute canopy, cargo area or tailgate lighting?
In fact, our camping lights are one of the most popular choices for this type of application. Most Australian aftermarket canopy builders and auto electricians use and recommend our products nowadays for their unbeatable combination of brightness, toughness and reliability, and because of the unique accessories we’ve developed especially for installation of our lights inside a vehicle.
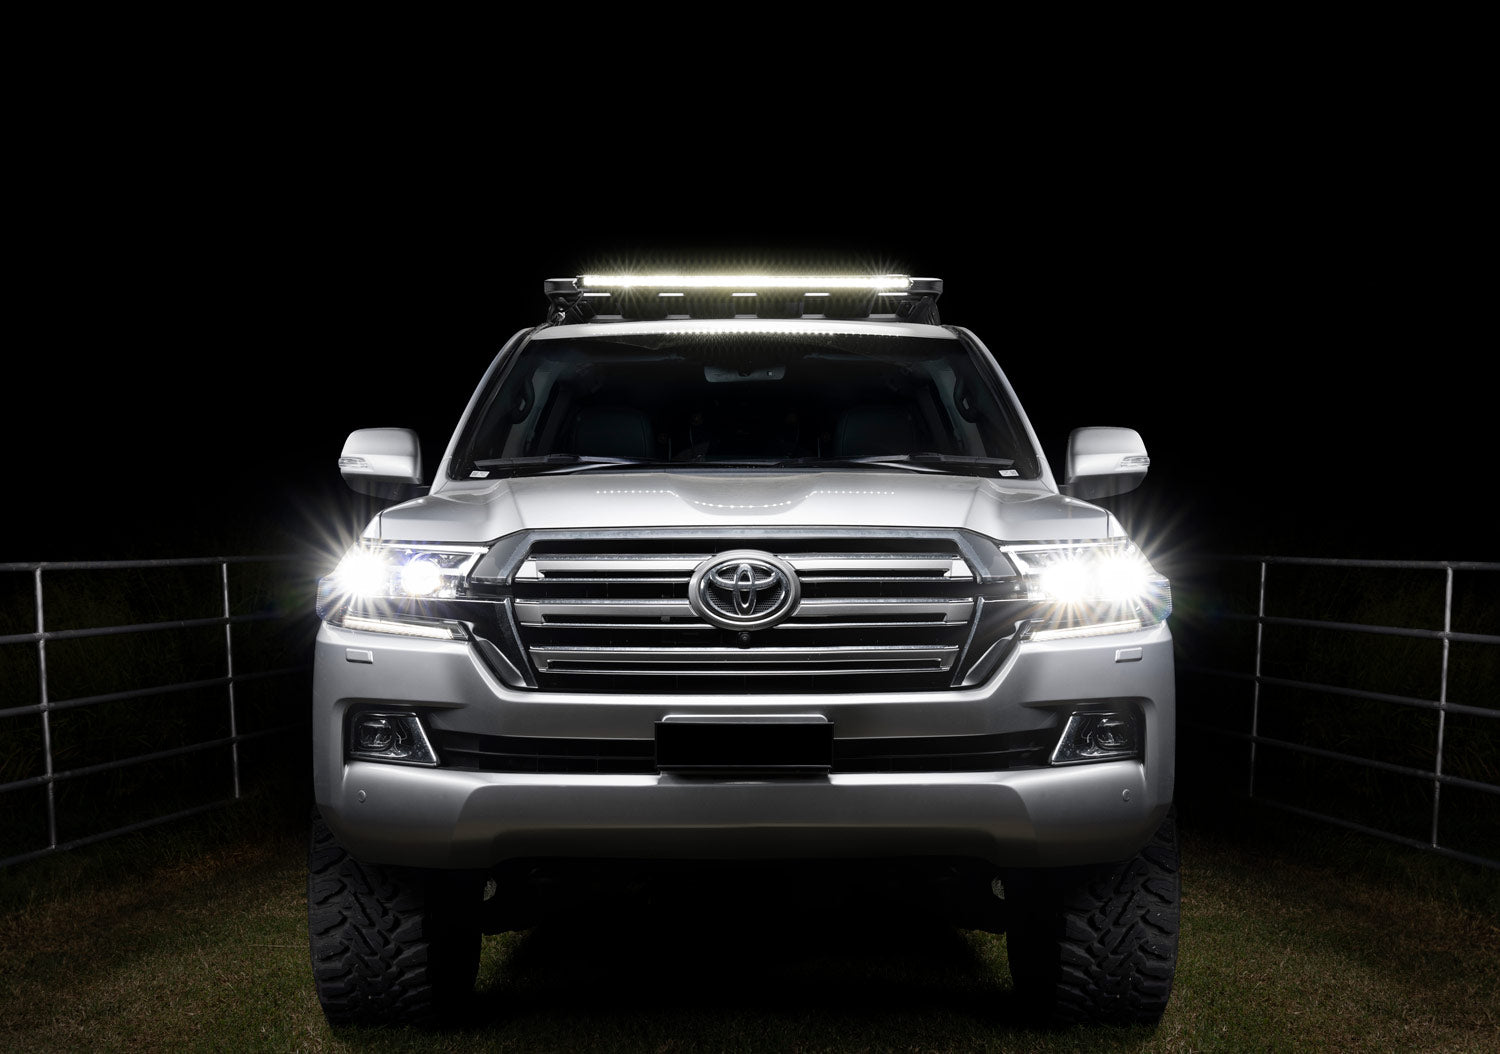
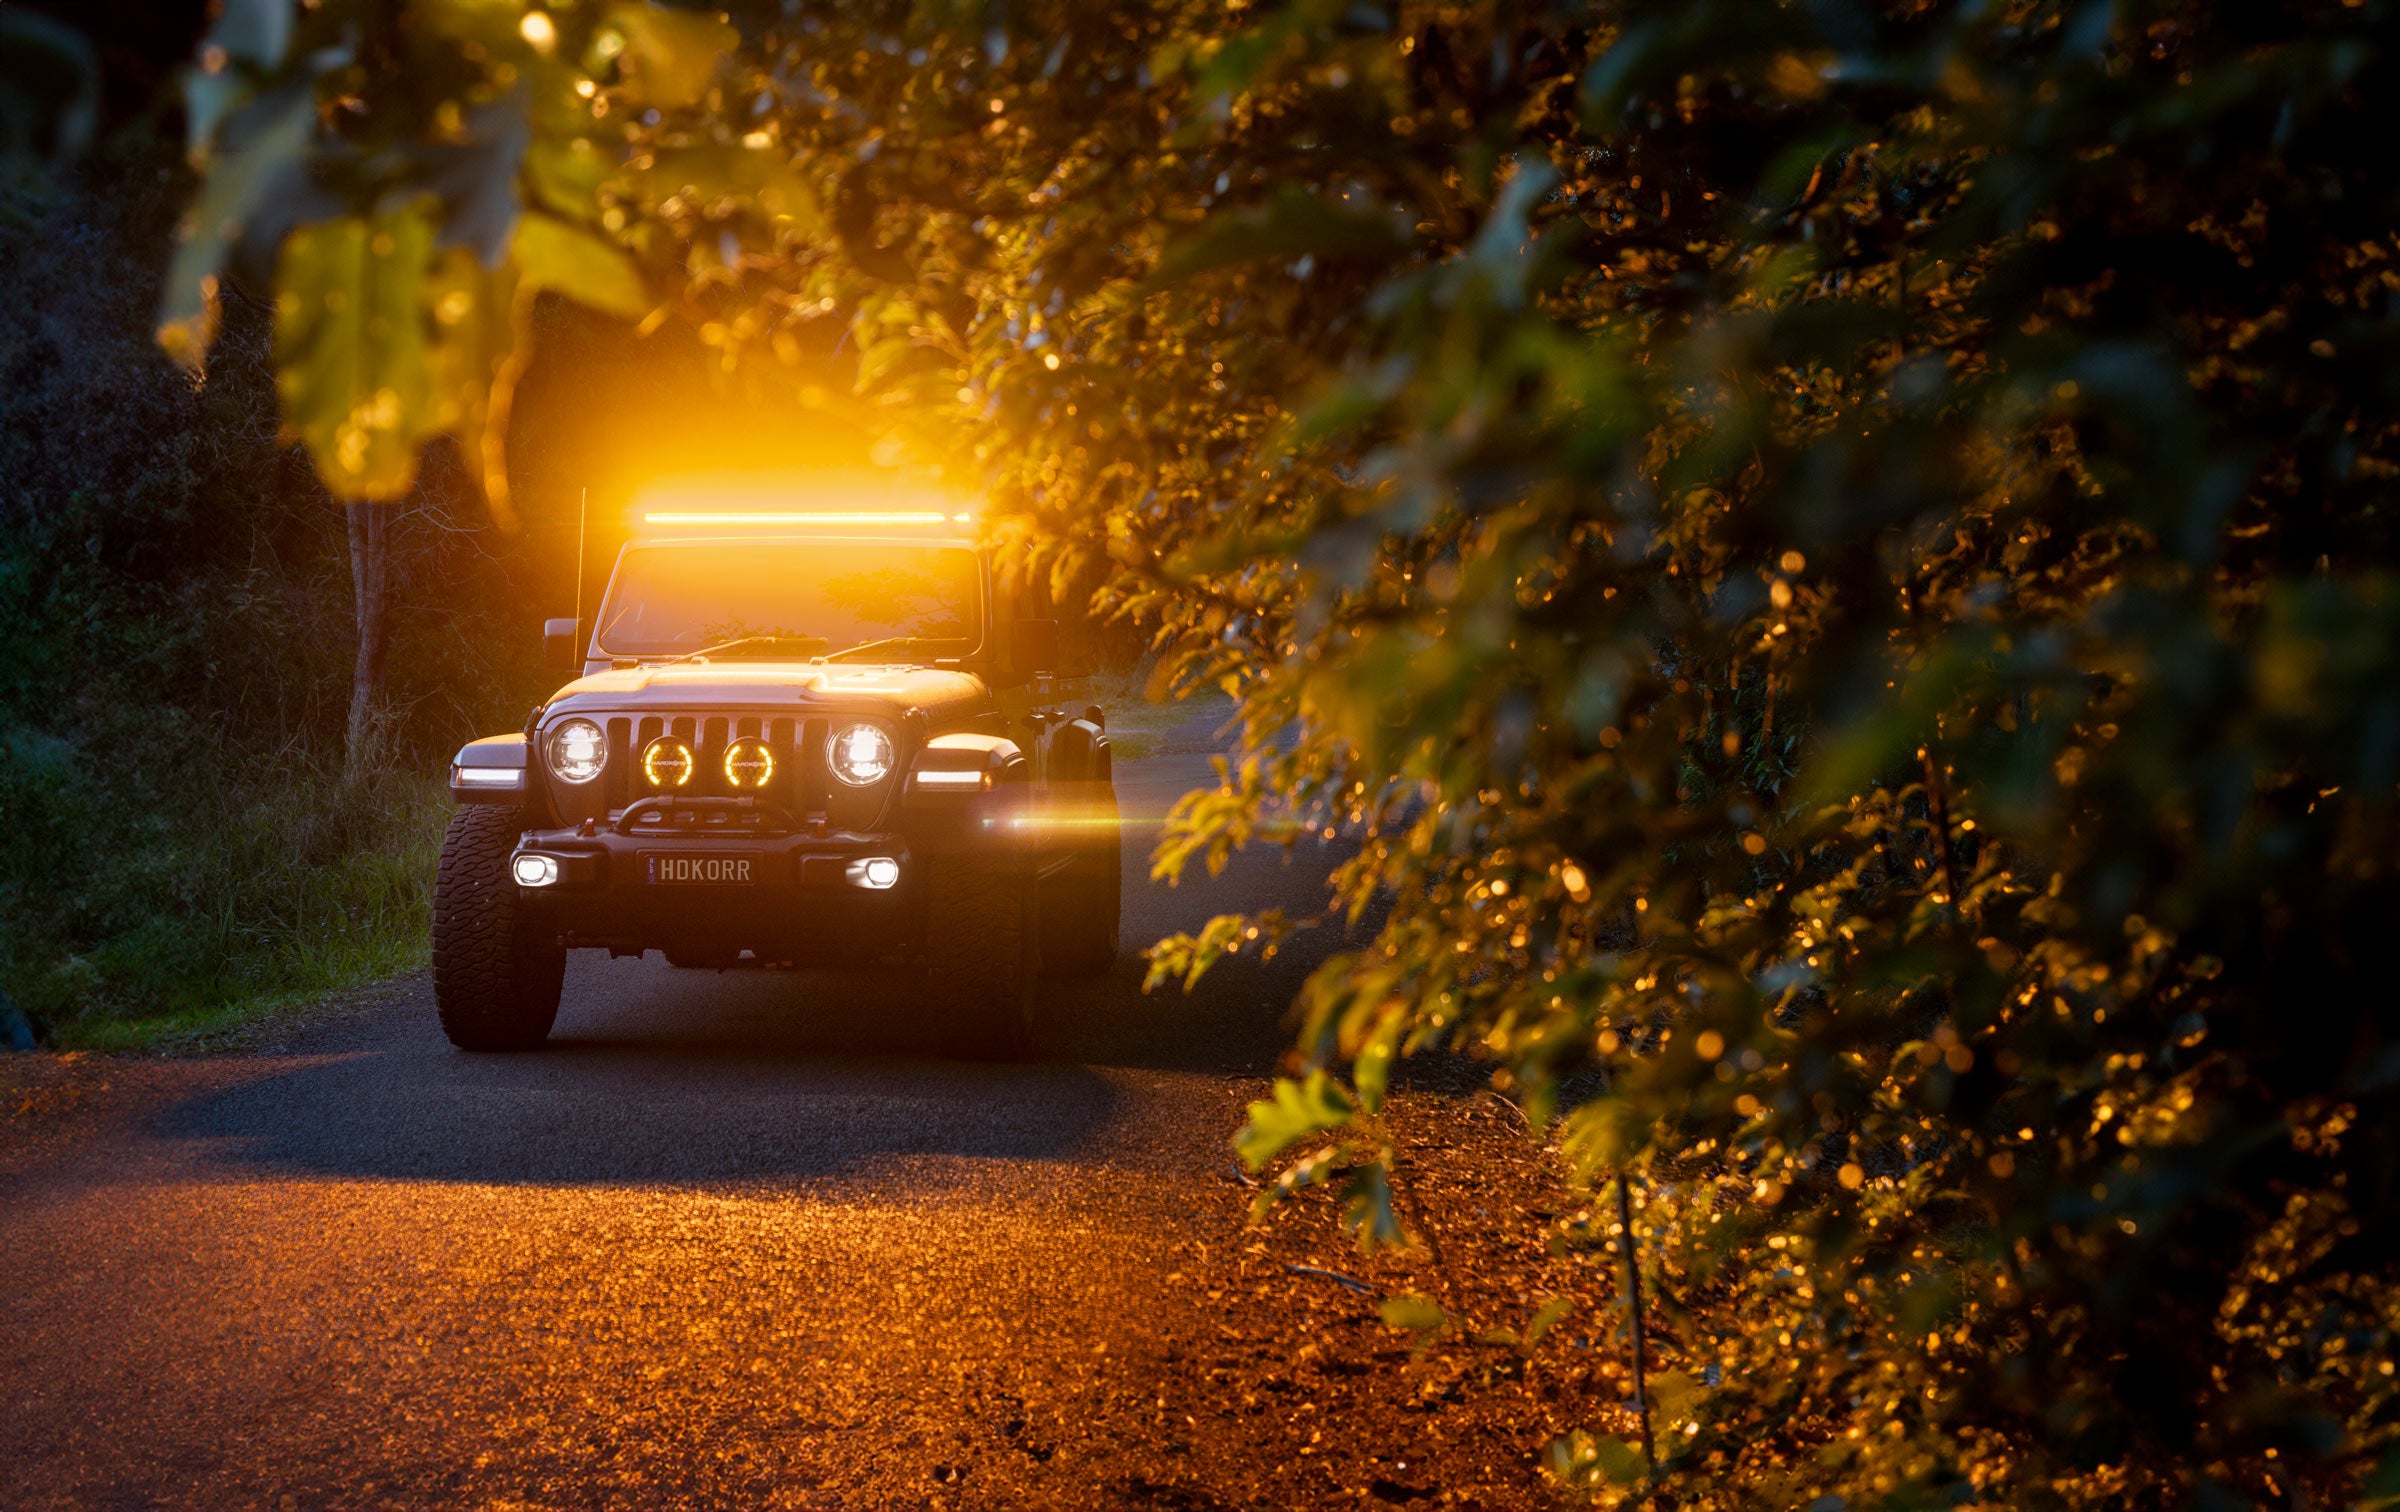
Our lighting has also featured on some of Australia's best-known 4wd rigs including Shauno's Dirty 30, Simon from All 4 Adventure's Isuzu D-Max and Jase from All 4 Adventure's 200 Series Landcruiser.
It’s actually not a difficult job to install the lighting yourself if you’re a keen DIYer and have a reasonable working knowledge of 12v power. This guide will take you through exactly which of our products are best suited to the permanent mounting application, and the best way to hardwire them into your vehicle.
Which Lights Are Best For Canopies?
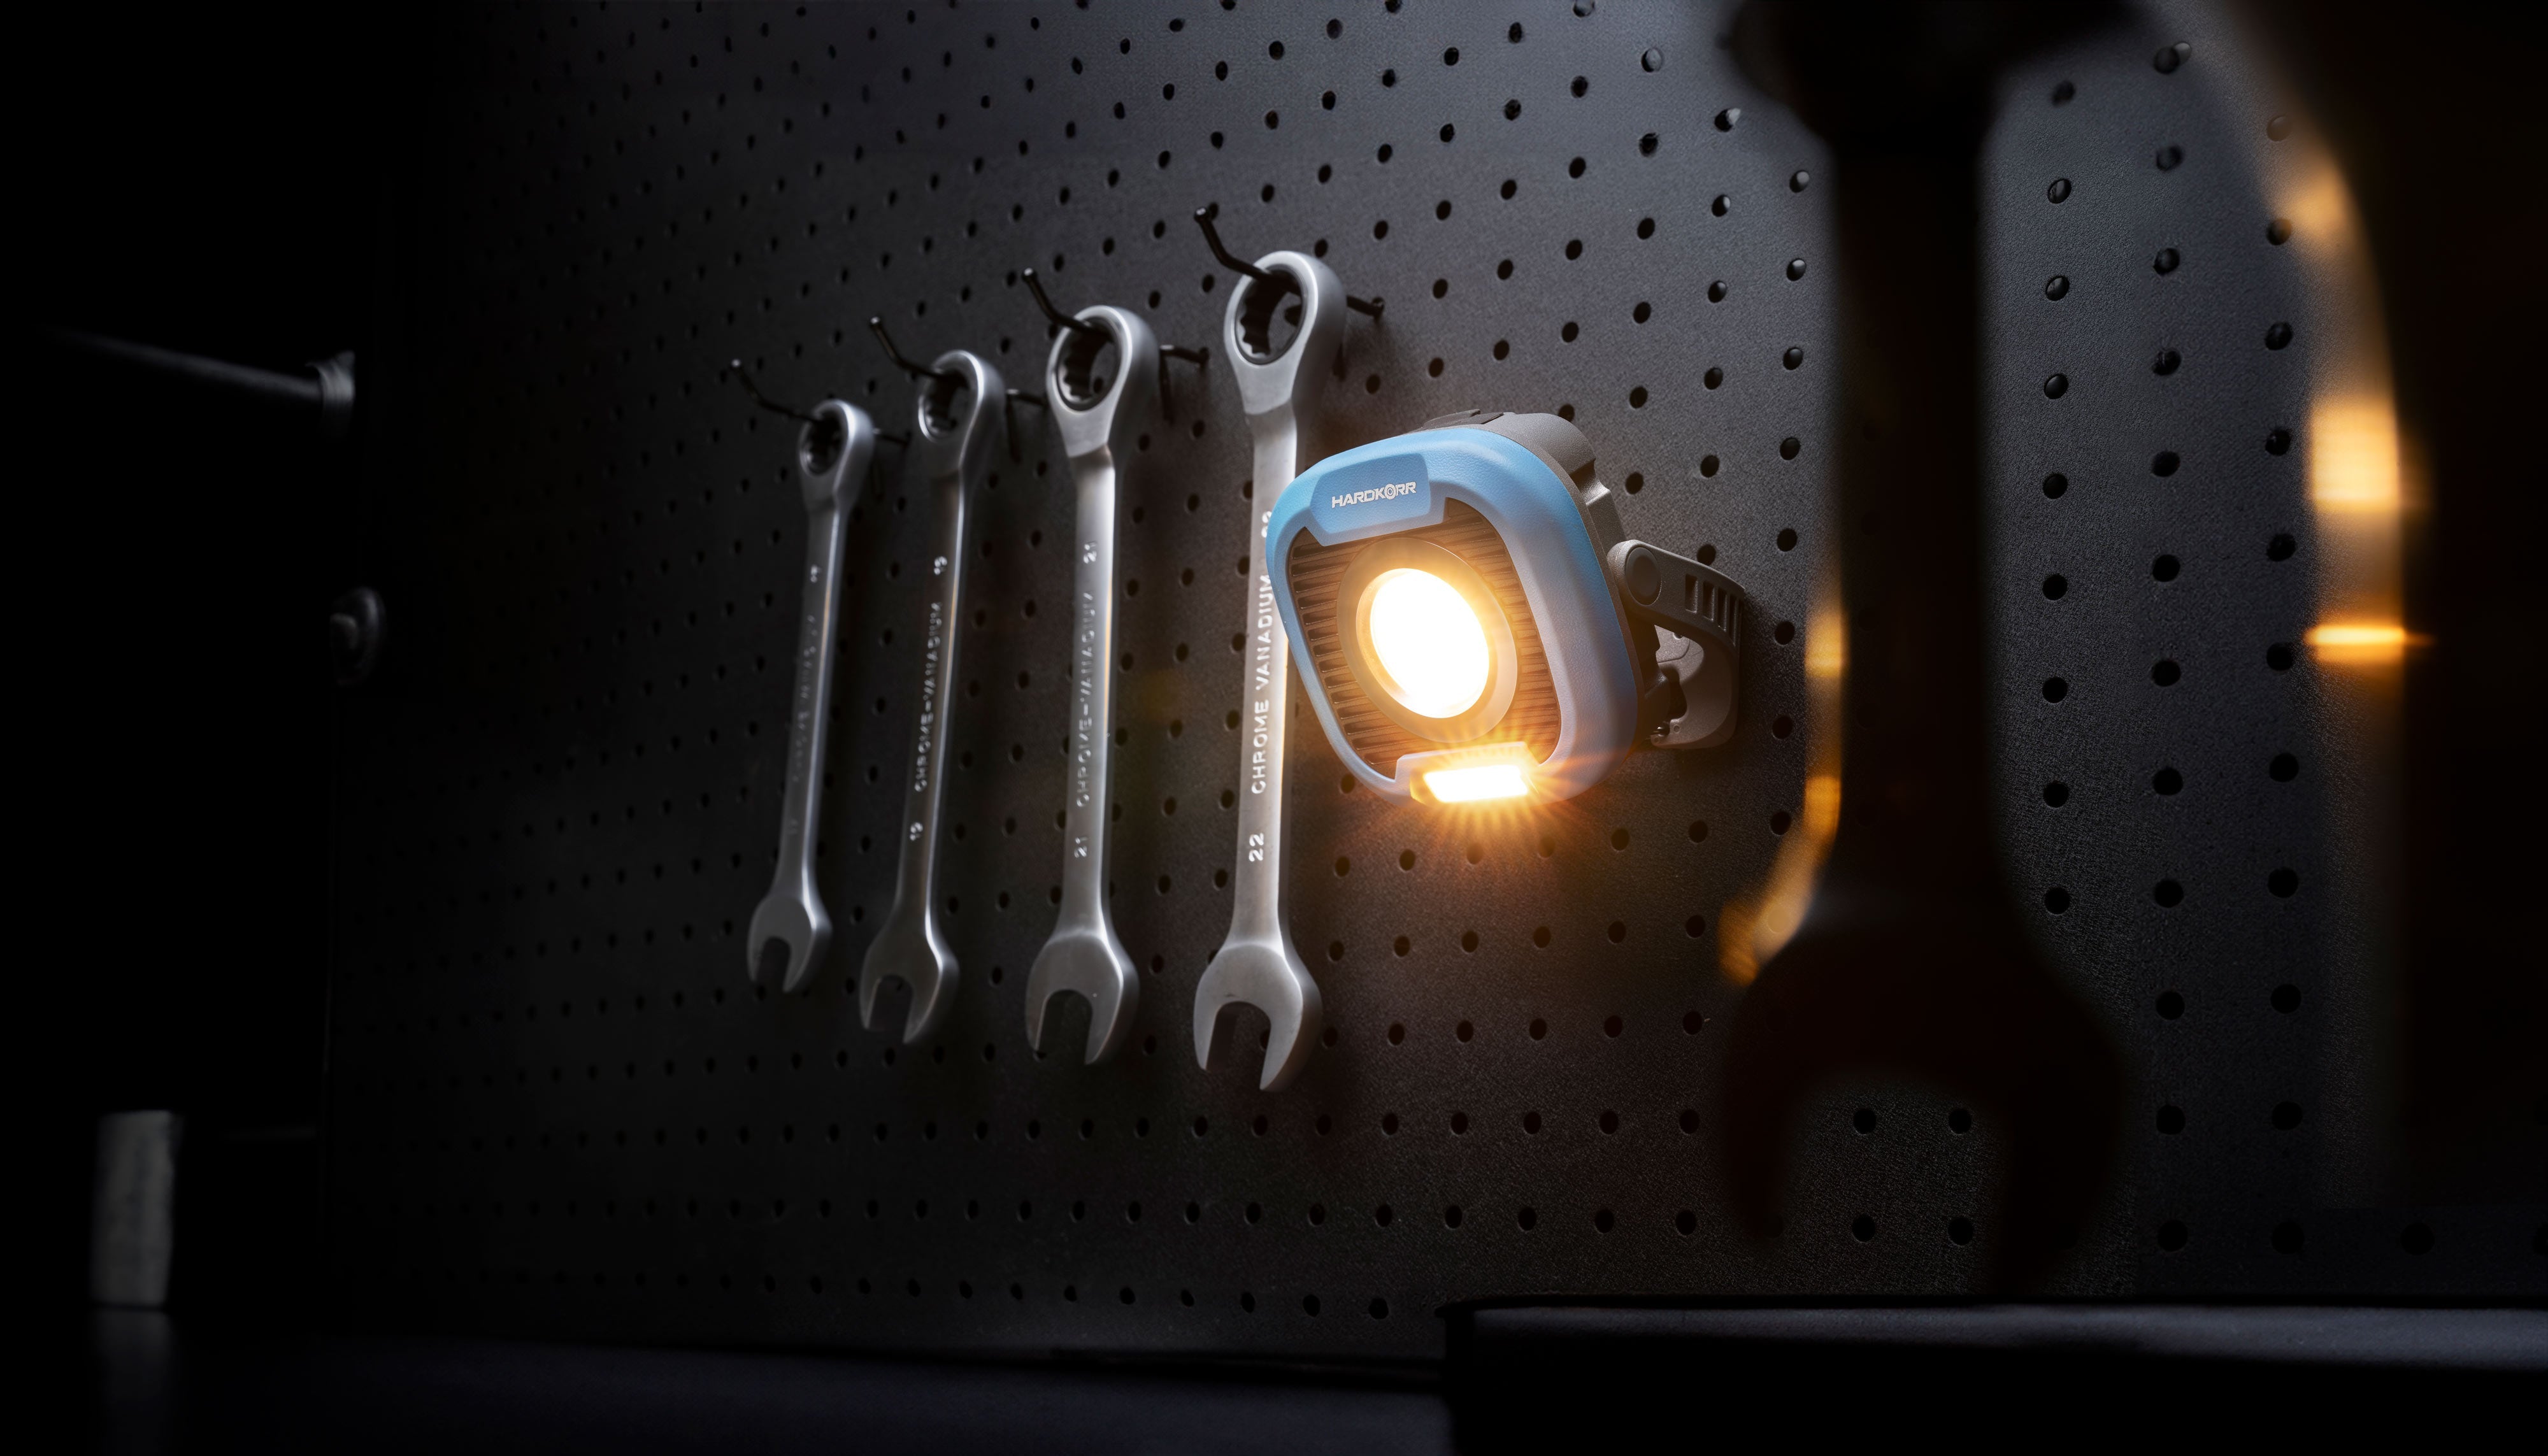
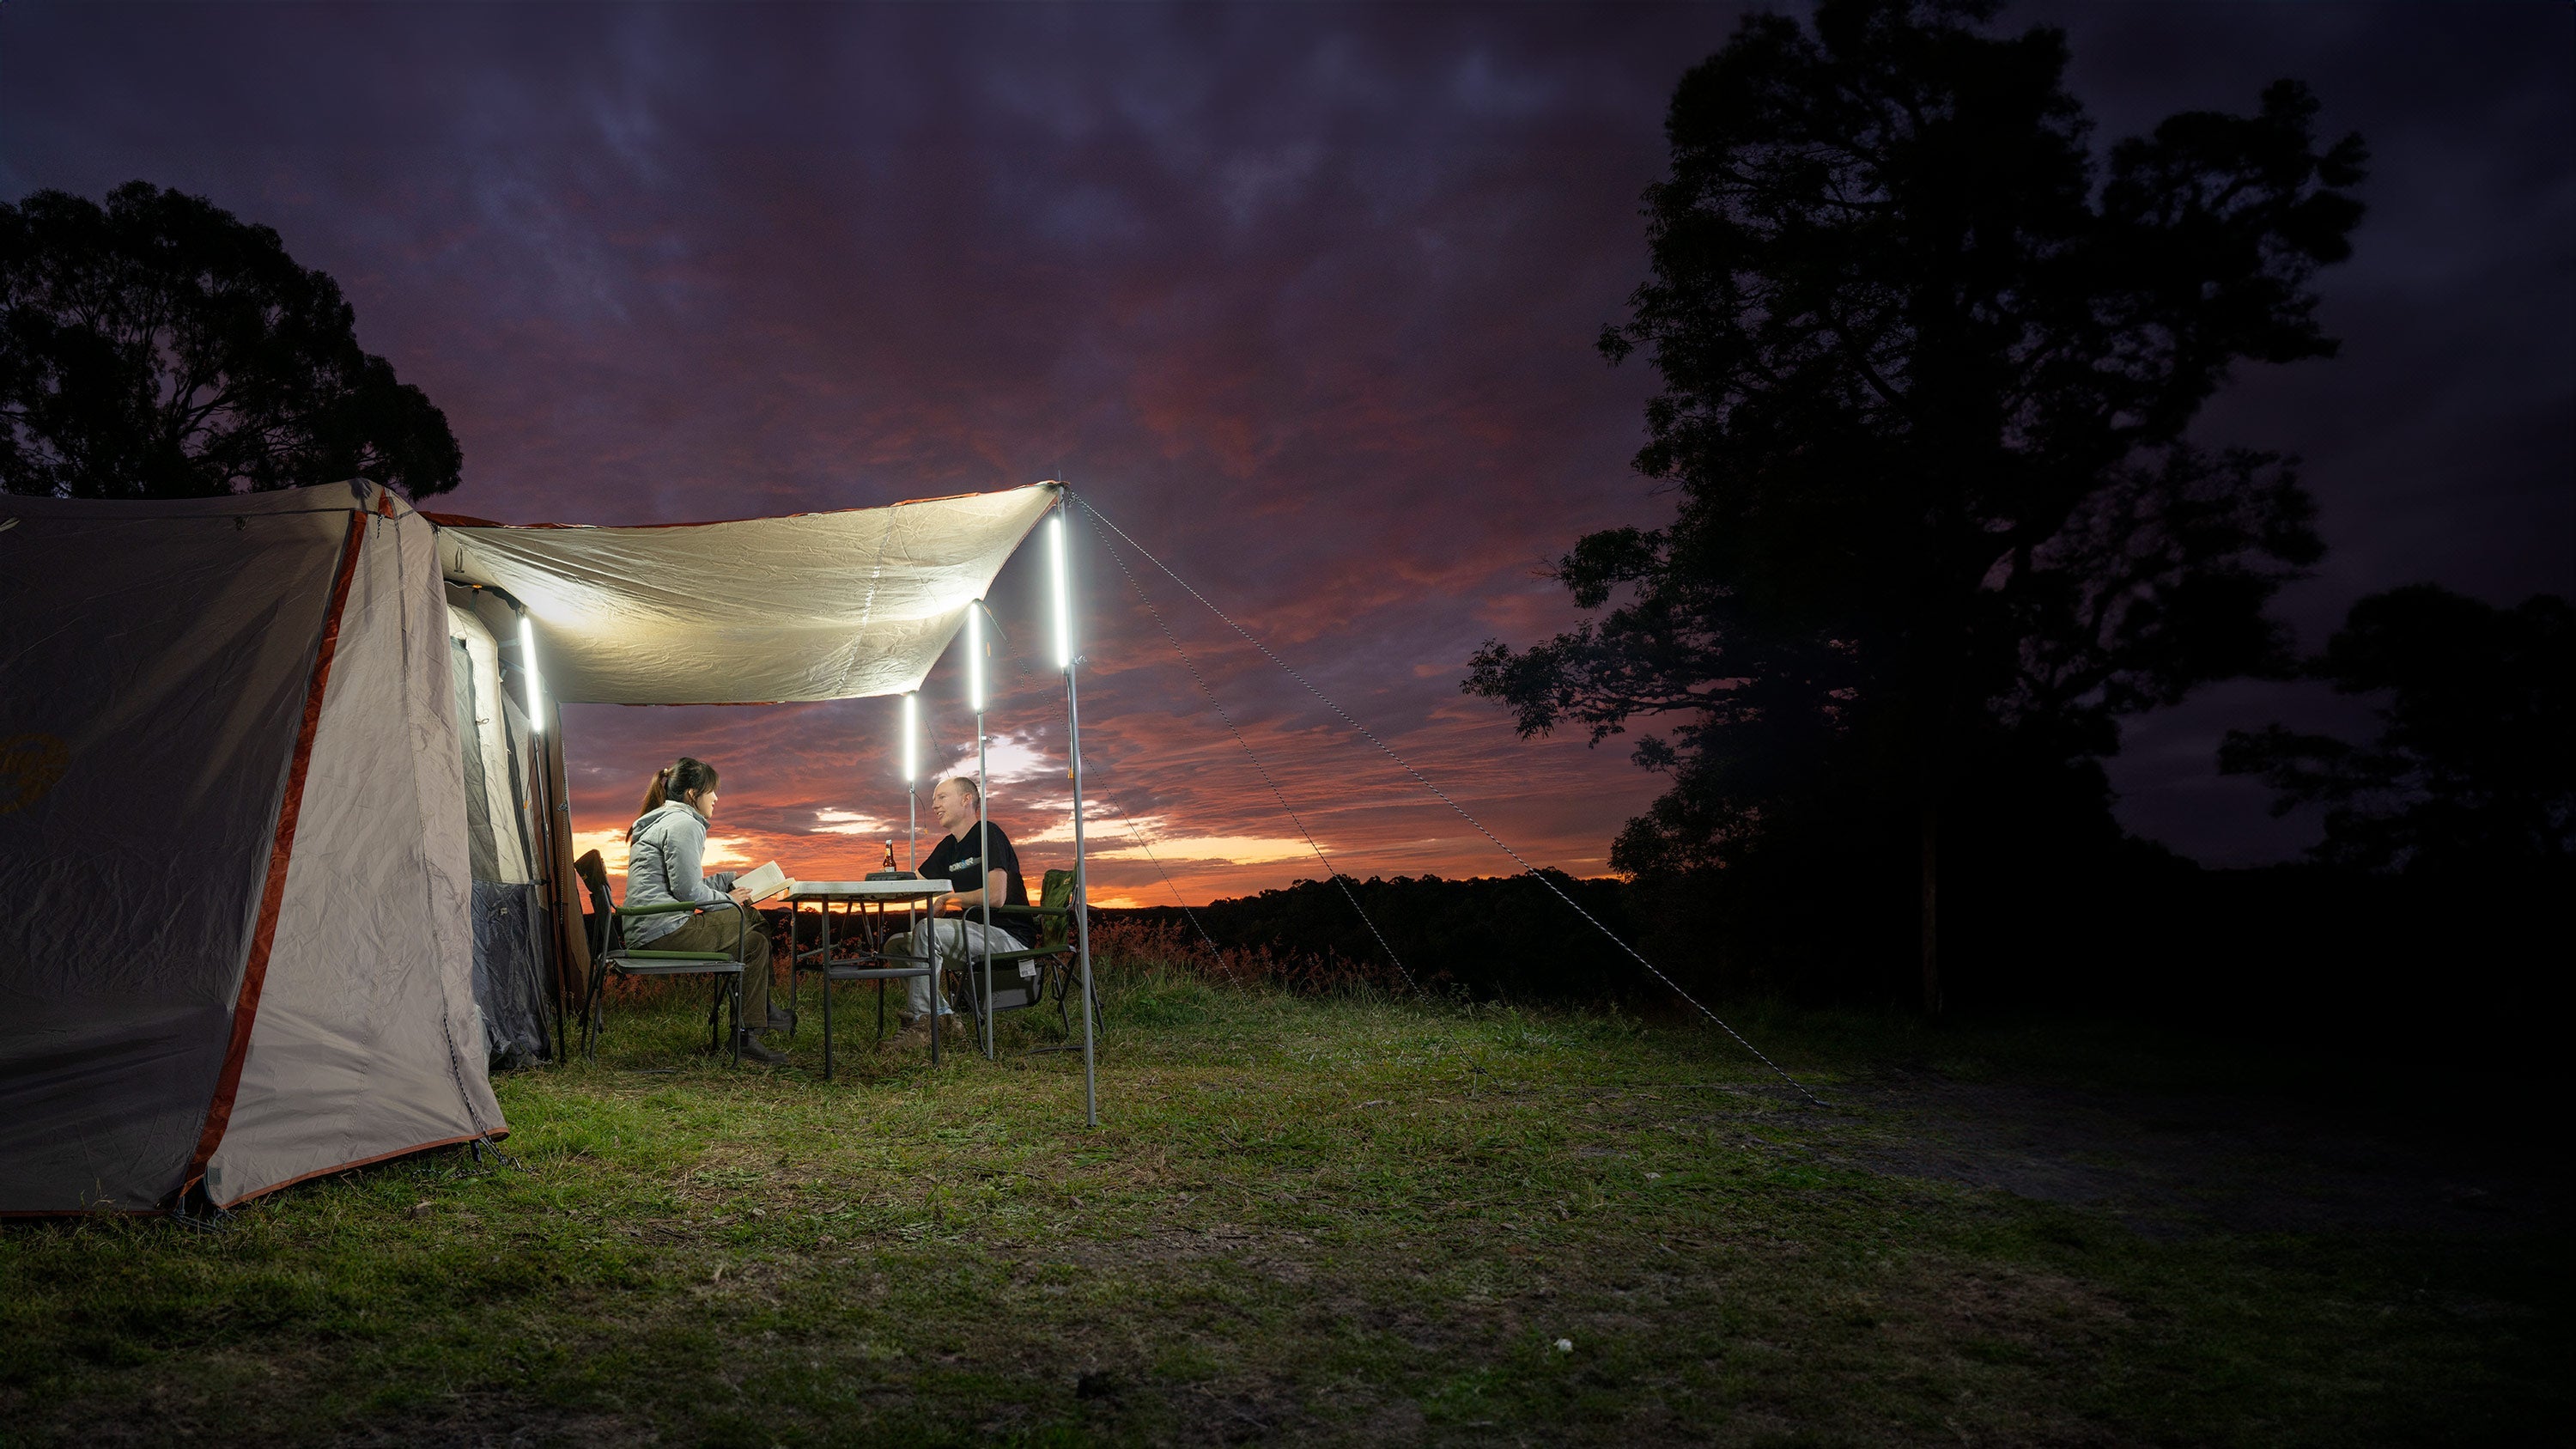
Most people choose to use either our LED Camp Light Bars or LED Tape Lights to illuminate their cargo area or canopy.
The most popular option out of these two is the light bars, as they tend to give the area a more “finished” appearance. If you’re going down this road, you’ll want to check out our LED Camp Light Kits – they come with a bunch of cabling, dimmers and accessories included which will make the job of installation easier.
On the other hand, the tape lights are easier to mount, being backed with 3M double-sided tape. This option will be best if you need to mount onto a curved surface or glass. They can also tend to be slightly more cost-effective than light bars, so if you’re on a budget our tapes might be your best choice.
Helpful Accessories
We’ve developed a couple of exclusive accessories especially to help with the job of installing your lights and dimmer switches inside a vehicle.
First, our Flush Mount Clips allow you to easily affix our camping light bars to any flat surface. You simply use two screws or a dab of adhesive such as Sikaflex to secure the clips to the mounting surface, then lock the bars in place by pressing them onto the mount. The mount’s side tabs snap into the lip of the rear channel for a firm fitting.
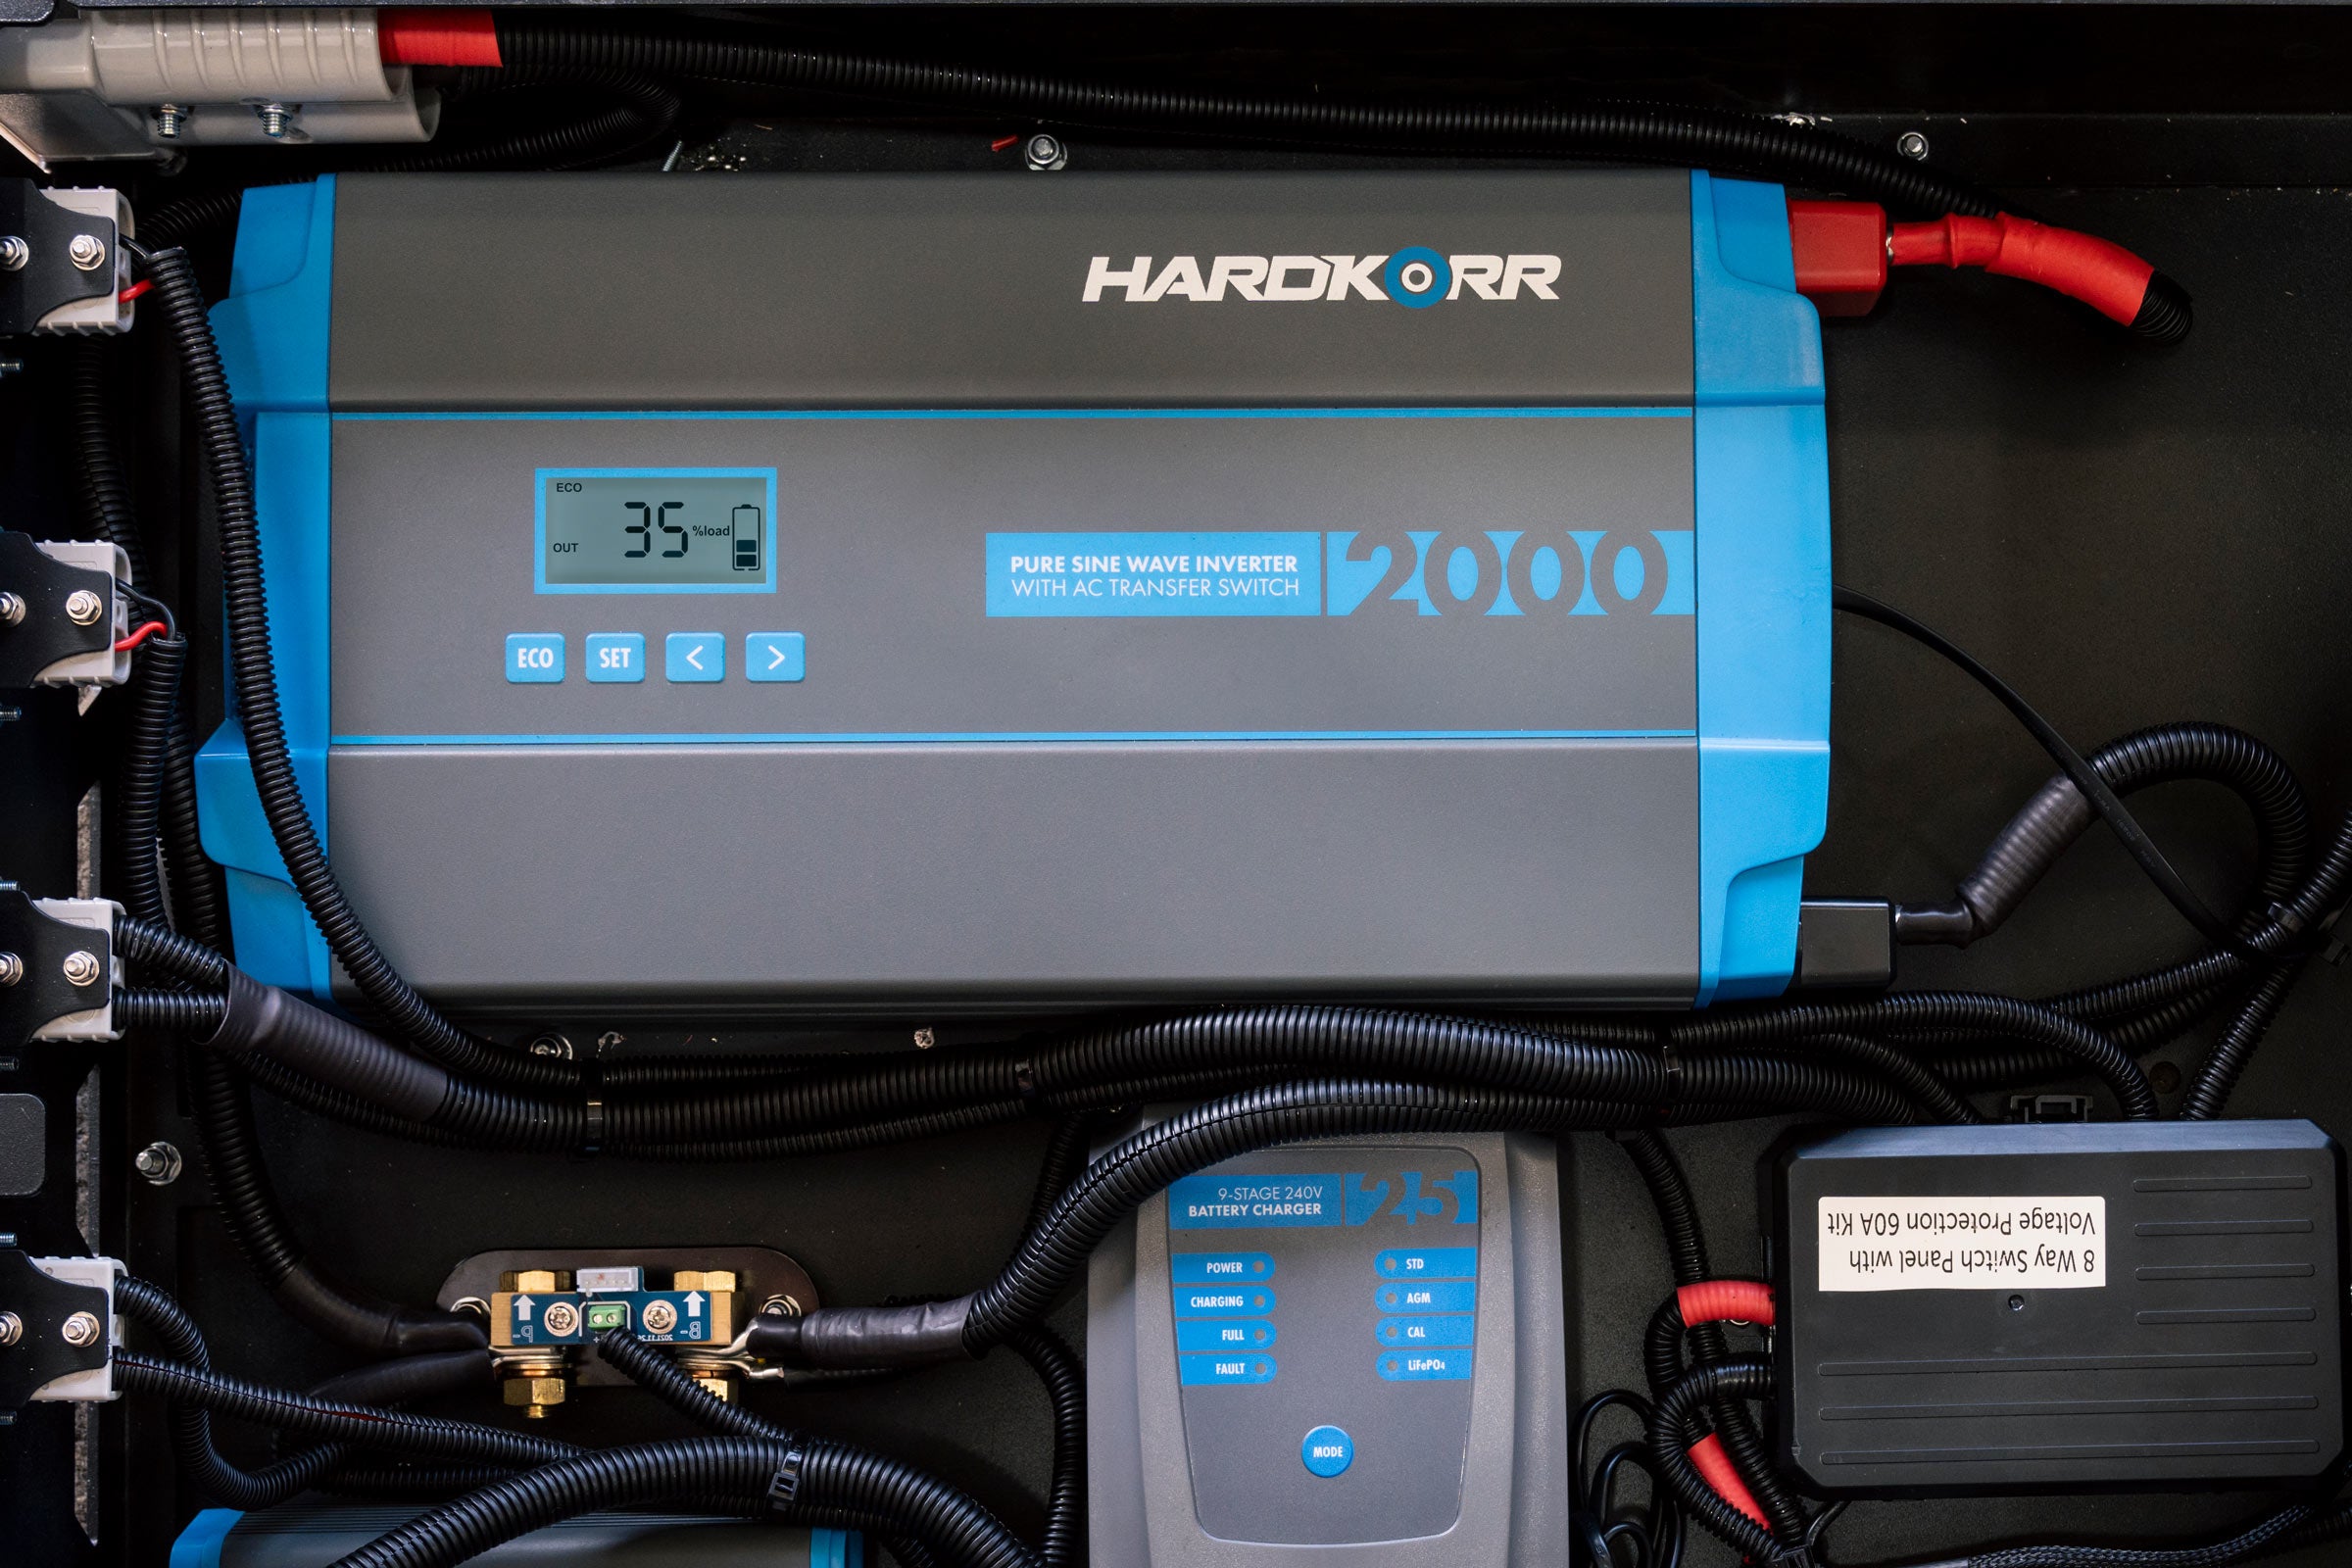
Secondly, our Dimmer Flush Mount Panel will be handy if you are fixing your dimmer switches inside an electrical control box or onto a mounting board inside your vehicle. The panel fits snugly around the dimmer, and the dimmer is secured using included stainless steel bracing plates and screws. You then just make a 120mm x 35mm cutout in your box or panel (ensuring there is 15mm clearance behind) and affix the panel with a screw in each corner or adhesive.
How to Install Your Canopy / Cargo Area Lights
Every setup is different and these instructions are general in nature, so if you’re not comfortable modifying your vehicle we recommend you consult an auto electrician. Otherwise, let’s hook in!
Prefer to watch a video?
Planning the installation
Before you start cutting and drilling, take some time to plan your setup. You will need to consider things like:
- Location of dimmer switches, and whether you’ll use one dimmer or two
- Location of your power source and the route your power cable will take
- Number and location of light modules
For the following sections we will assume that you are using camp light bars in your setup. However, most of the same principles will apply if you’re using LED tapes. You can cut LED tapes to size at any of the lines marked on the tape’s surface; these lines are spaced 5cm apart and have three copper tabs on either side of the line. The copper tabs can be used as soldering points.
Dimmer Switches
Depending on the size and complexity of your setup, you may choose to use either one dimmer switch to control all the lights, or one per side controlling half the lights each.
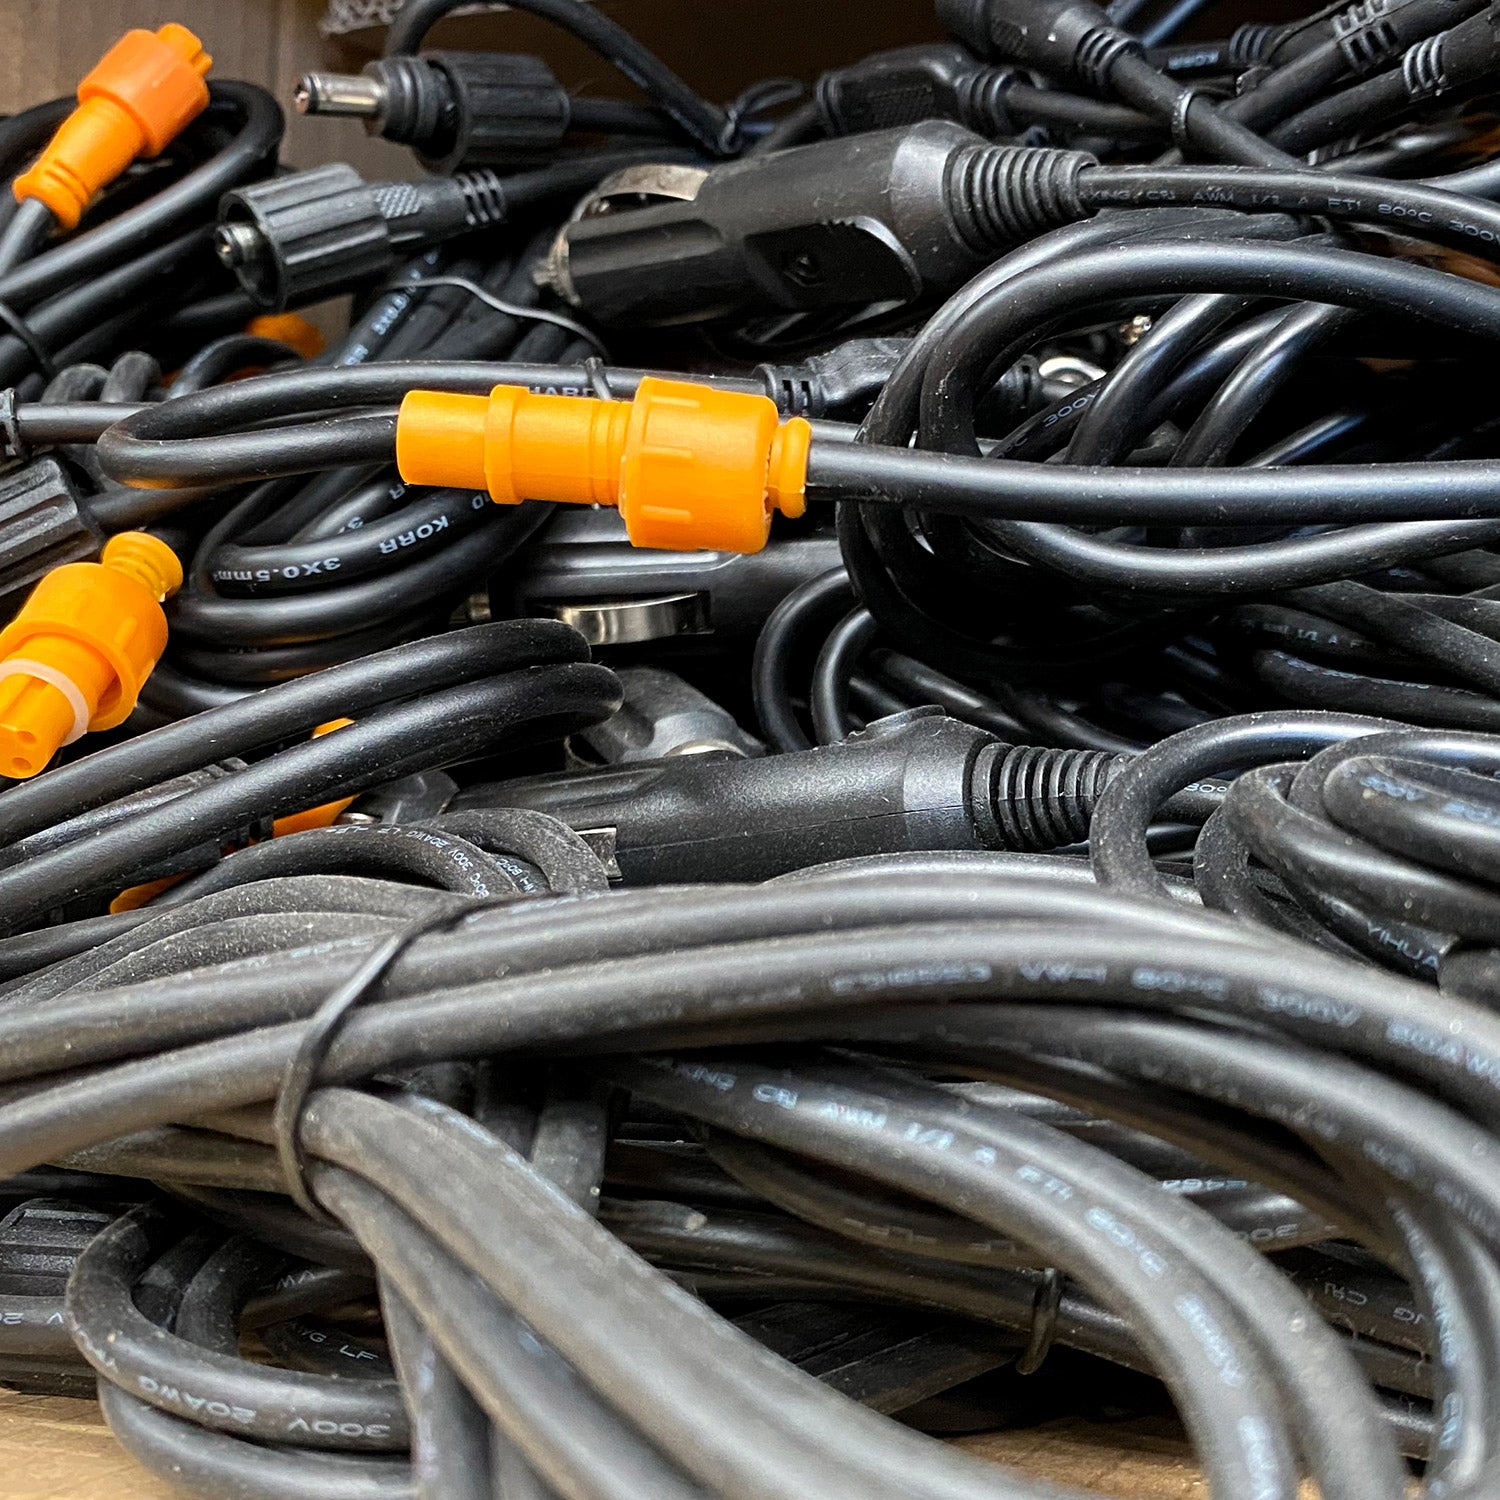
If you’re using two dimmers, you will need to ensure you have a Splitter Cable (Black DC Plugs) on hand. One of these comes included with the 4 Bar Tri-Colour LED Camp Light Kits and 6 Bar Tri-Colour LED Camp Light Kits, or can also be purchased separately as part of the Extension Cable Kit (Black DC Plugs).
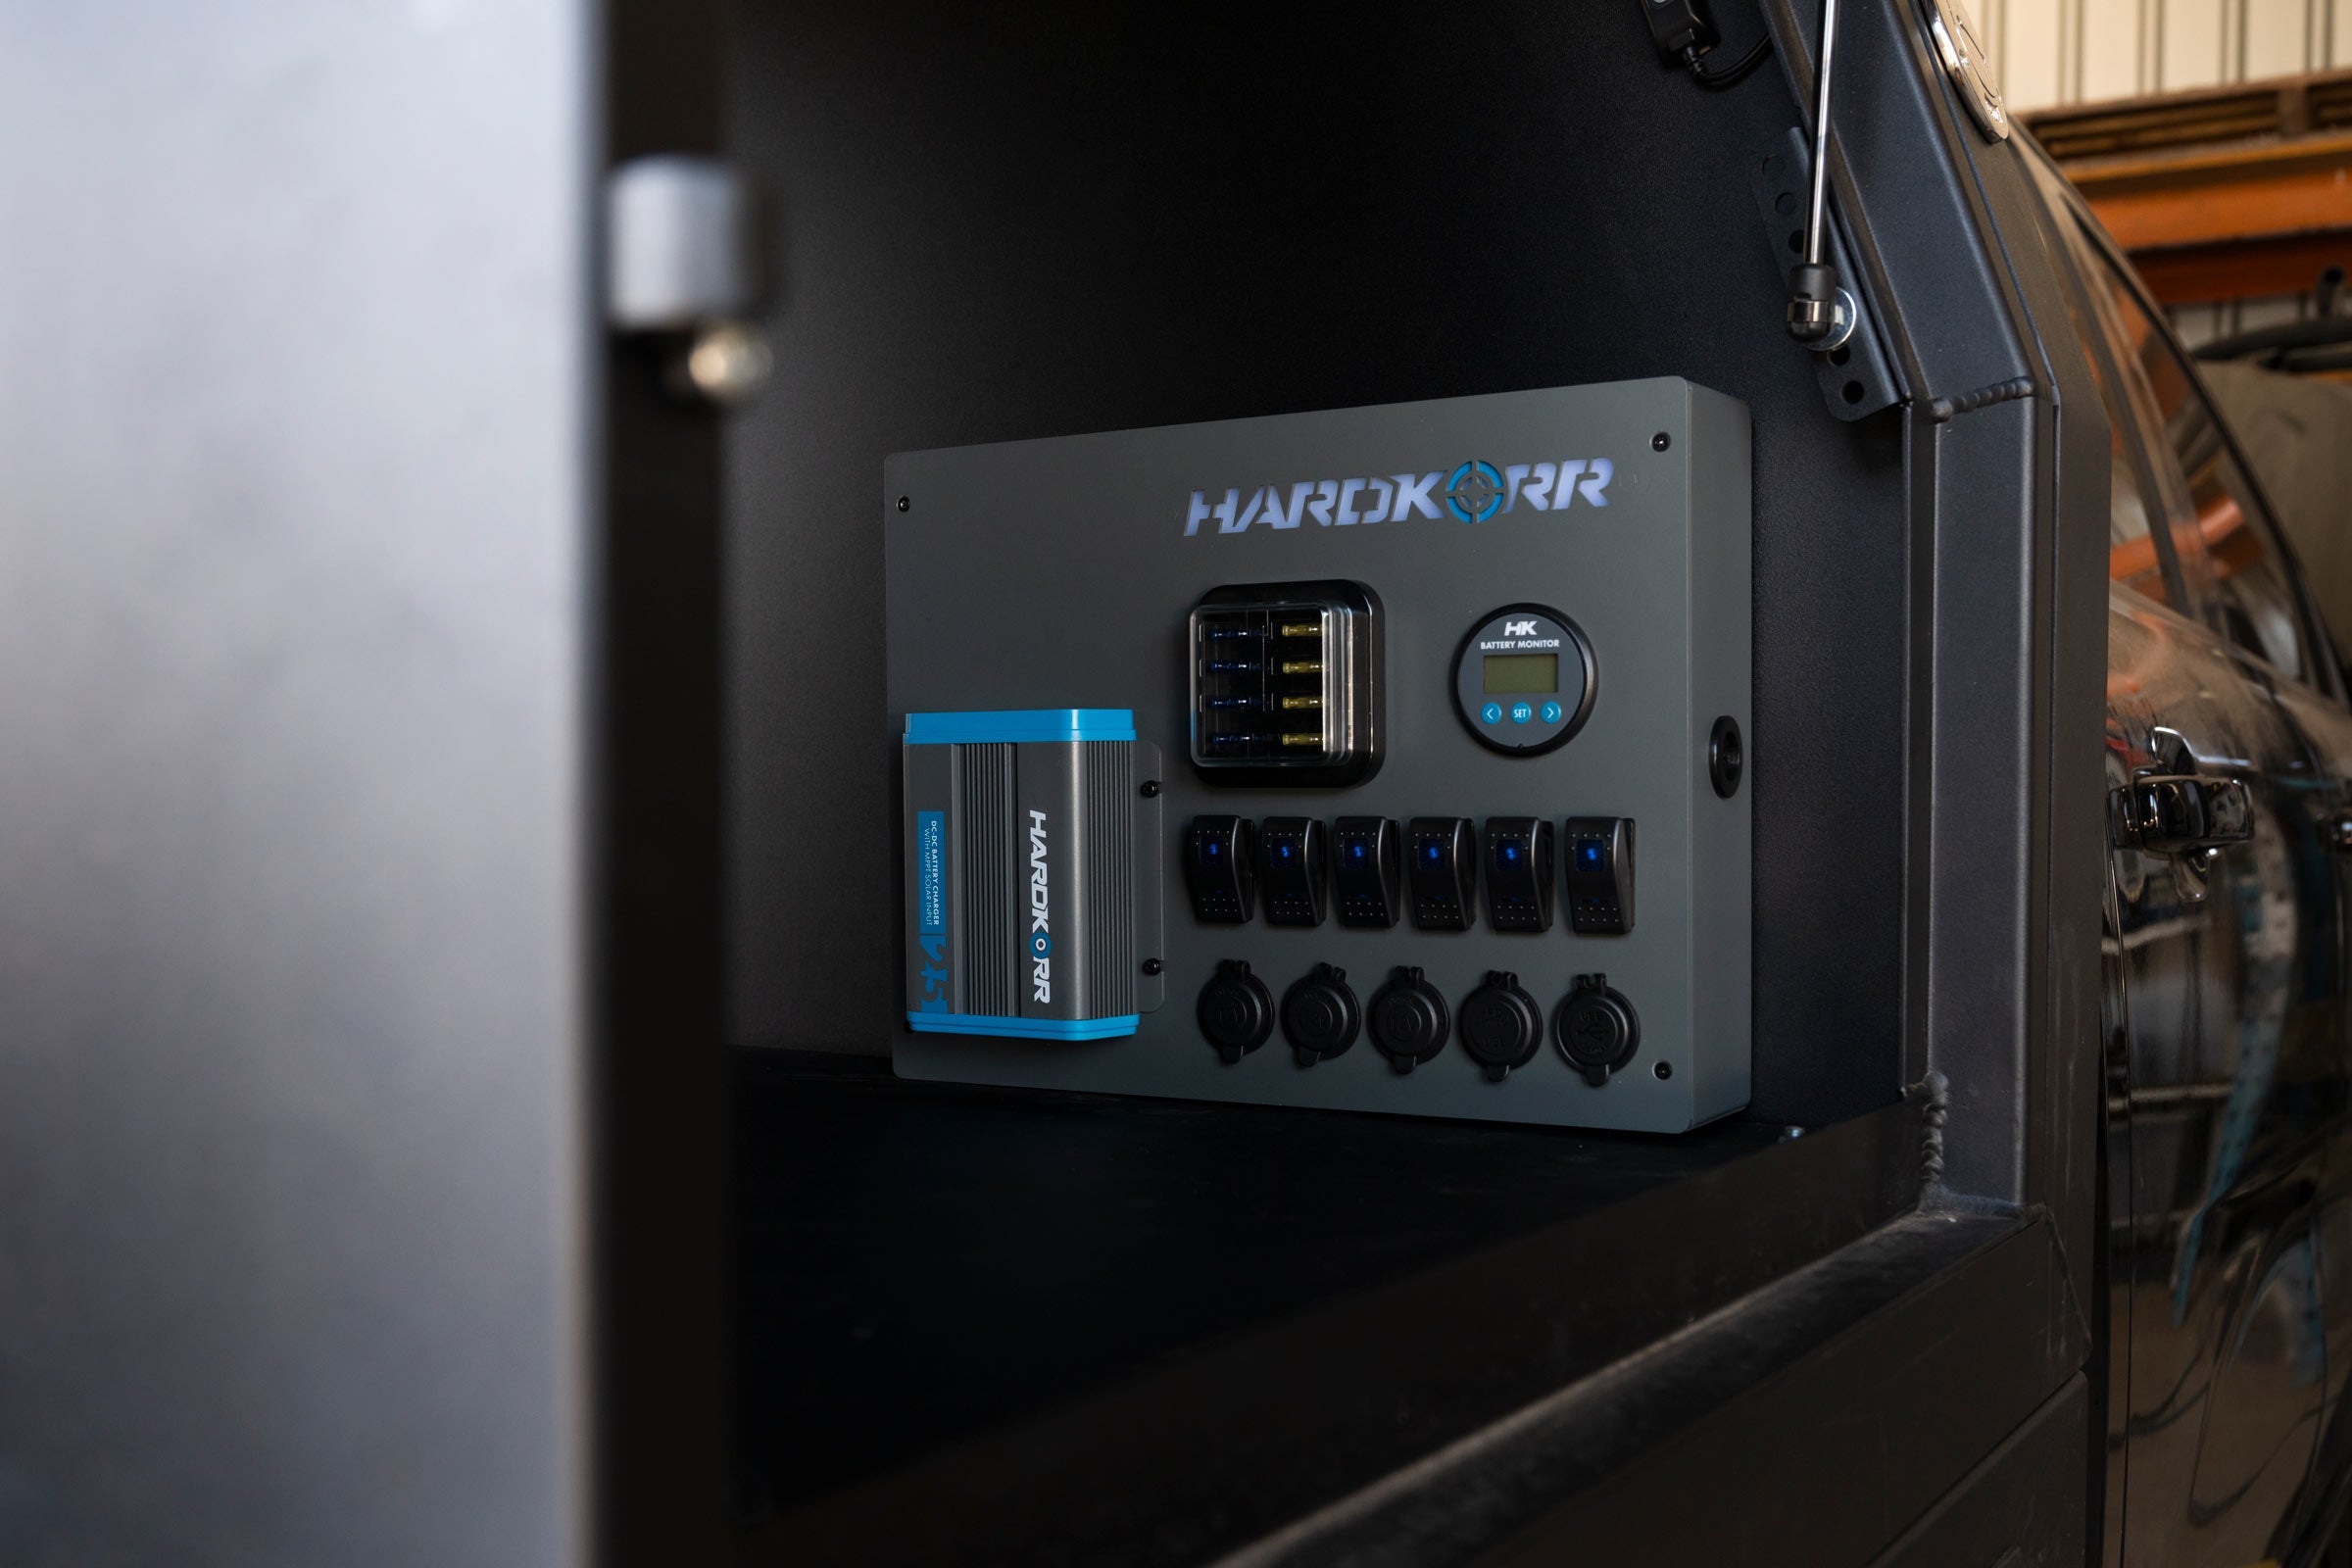
Dimmers can be flush-mounted or surface-mounted according to your application. Mount them close to the door for easy access, but ensure they are kept protected from the weather.
Placing & Mounting the Dimmers & Lights
If you’re looking to light up a ute touring canopy, you’ll generally want one 48cm or 100cm light bar mounted inside each of the doors, and one or two 25cm or 48cm lights inside the canopy itself. For a 4wd cargo area, generally two 48cm bars or one 100cm bar will be sufficient.
Once you have determined where you will place your dimmers and lights, you will need to work out how you will join them together and connect them together. Each light has a short length of cable protruding from each end, terminated with a 4-pin DC connector. If you aren’t fussy about cable length, you can simply connect a 4-Pin Extension Cable (Orange Plugs) between the dimmer switch and the start of the first light, then from the end of the first light to the start of the next and so on. At least two of these cables are included in each of our LED Camp Light Kits, and they can also be purchased separately as part of our Extension Cable Kit (Orange 4-Pin Plugs).
TIP
The cable coming from the dimmer switch is terminated with a male 4-pin plug, so when mounting the lights ensure you orient the first light bar (the one closest to the dimmer) with the female plug pointing towards the dimmer.
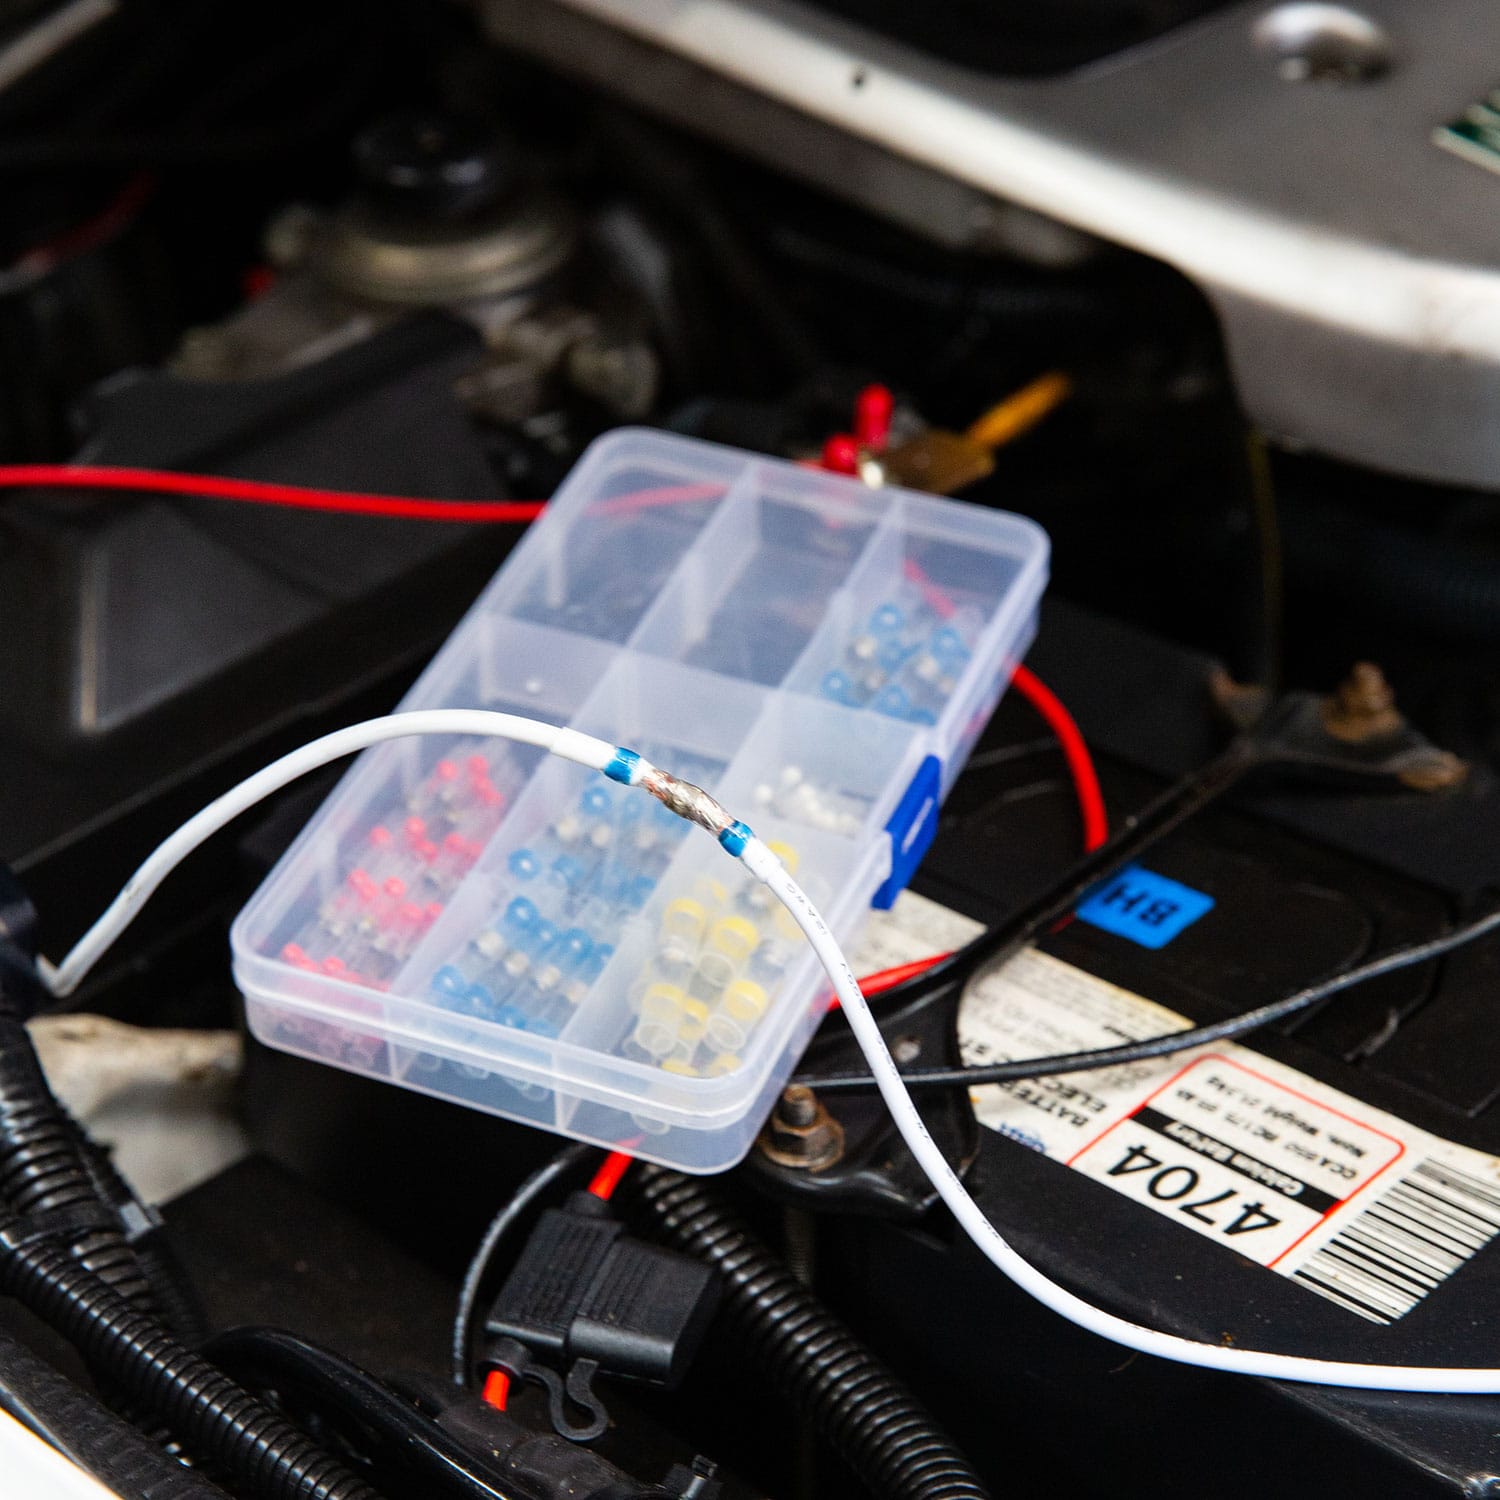
If you’d like to customise the length of cable between the dimmer switch and light bar or between two light bars, you will need to use a soldering iron or, to make it easier, a 50pc Heat-Activated Solder Sleeve Kit. Grab an extension cable, connect the female plug to the dimmer switch and then cut the male plug off. You will also need to cut the female plug off the end of the light bar you’re connecting up to.
Remove about two centimetres of the outer insulation at each end to reveal the three inner cables, and remove about two centimetres of the inner insulation (red, blue and black). If you’re using our heat-activated solder sleeve kit, grab one of the white-banded sleeves and feed it onto one of the wires. Connect the exposed ends together by pushing the wires into each other and twisting, and then either solder them together or position the solder sleeve over the join and heat with a blowtorch or cigarette lighter.
Connecting to power
To connect your lights to power, you’ll generally modify and use the cigarette lead that is supplied with all our tri-colour camp light bars, kits and tapes.
We recommend cutting the cigarette plug off the end, exposing 15-20 centimetres of the positive and negative cables underneath. Remove a centimetre or two of the inner sheath, and attach a ring terminal to each of the wires.
Run the power lead through the vehicle to the dimmer switch, or if you are using two dimmers, to a point mid-way between them where you can then attach a DC splitter cable. If you need to customise the cable length, follow the directions we outlined in the previous section.