


This guide contains all the information you need to know to get your new gear up and running, along with handy links to any available accessories and other relevant information. If you require technical support, please contact our support team for assistance. Contact details are contained within this guide.
Please ensure you have read through ALL warnings prior to setting up your product
- Before installing or using the product, ensure you have read and understood all of the warning and safety messages supplied with your product.
- Before installing, cleaning, or inspecting the unit for maintenance, ensure that the charger is disconnected.
- Children, those without the proper training or experience, or those under the influence of drugs or alcohol should not operate this unit.
- Before wiring up the charger, make sure to inspect your leads to make sure they are free from faults or frays. The cables connecting the battery to the charger must be of a suitable gauge - refer to our manual for further information. Failure to use leads fit for purpose may cause fire, shock, or damage to the unit.
- Make sure to pay close attention when connecting the charger to your battery, ensuring that the negative and positive terminals are clean and connected to the correct terminals.
- Do not store or operate the charger in a location where it may be subject to water, temperatures below 0°C or above 60°C, or in areas where it’s at risk of contacting chemicals, fumes, or gases.
- The charger contains sensitive electrical equipment which may be damaged if the unit is subjected to pressure or impact. Ensure that the charger is securely mounted to prevent it from falling.
- The charger should be installed in a way that allows for proper ventilation around the unit. Ensure that the fans and vents are not obstructed. We recommend having at least 100mm of clearance around the unit to allow for adequate airflow.
- The charger uses AC 240V power which, in extreme situations, can cause severe injury or death. Whilst the charger has been engineered with advanced internal protections, caution should be used when operating the unit. Metal objects (except for dedicated plugs) should be kept away from the charger’s ports.
- The charger should not be opened or disassembled under any circumstances. Doing so will void the warranty and may cause damage/injury to those in proximity.
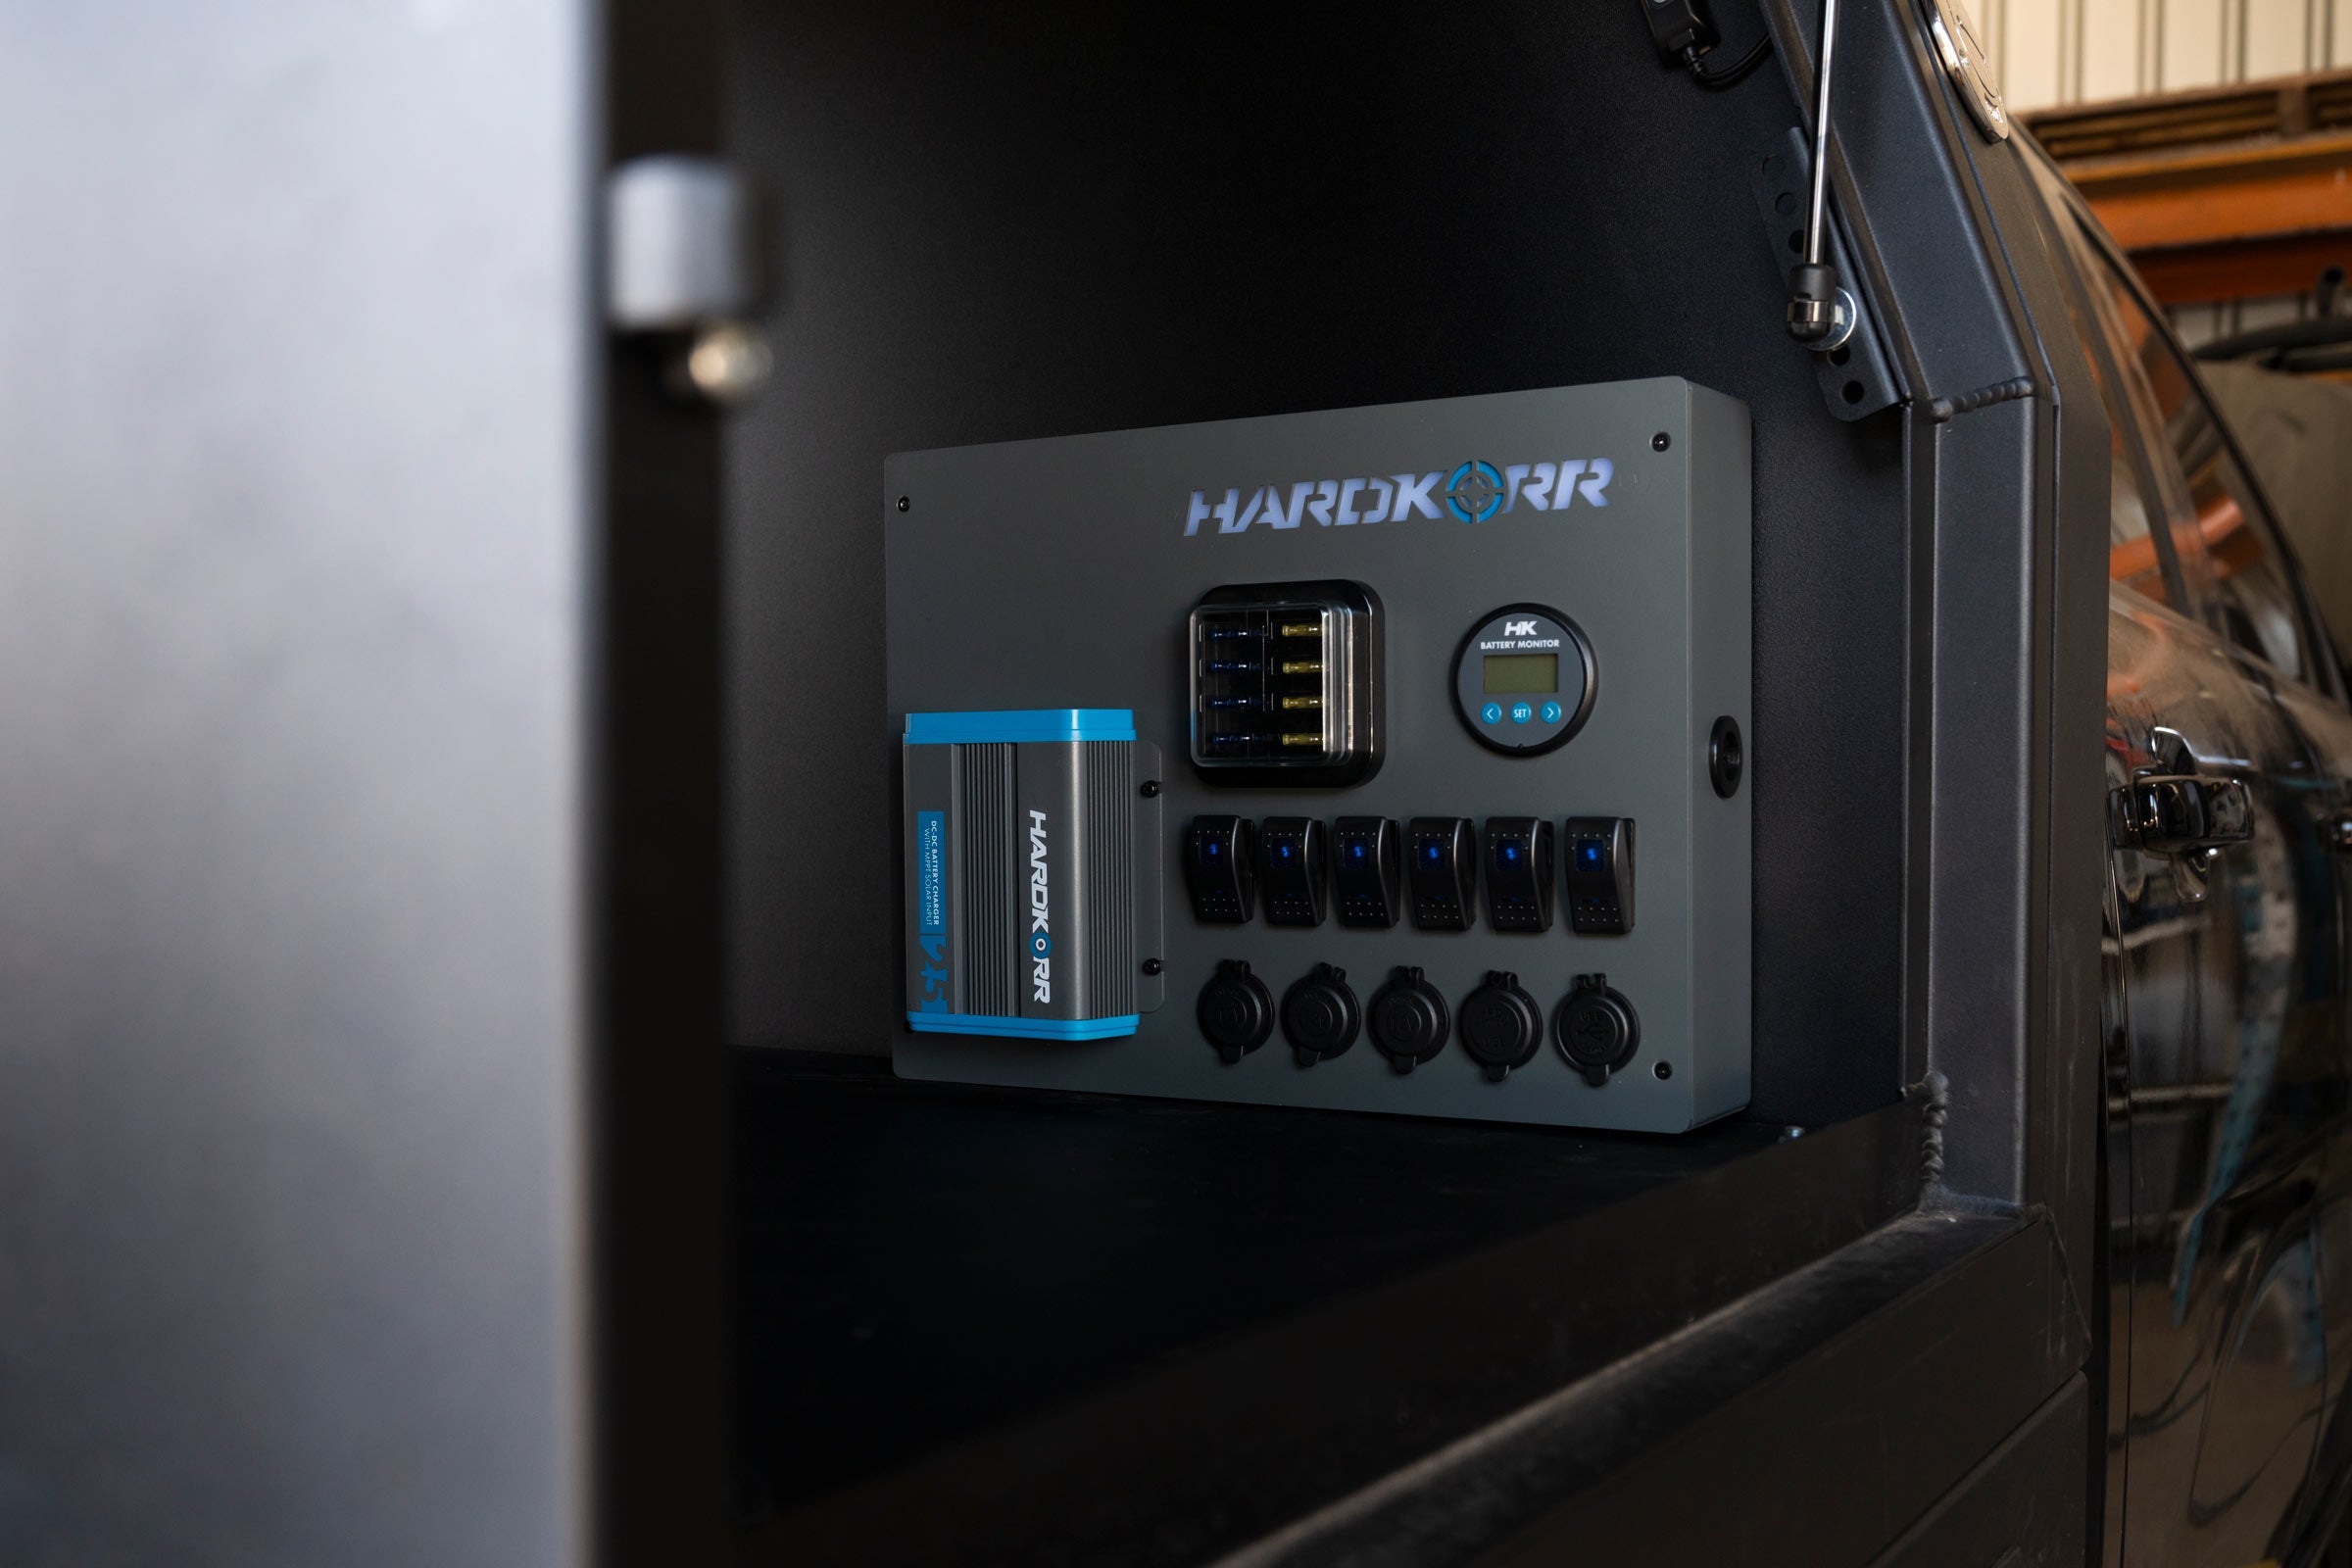
PRODUCT OVERVIEW
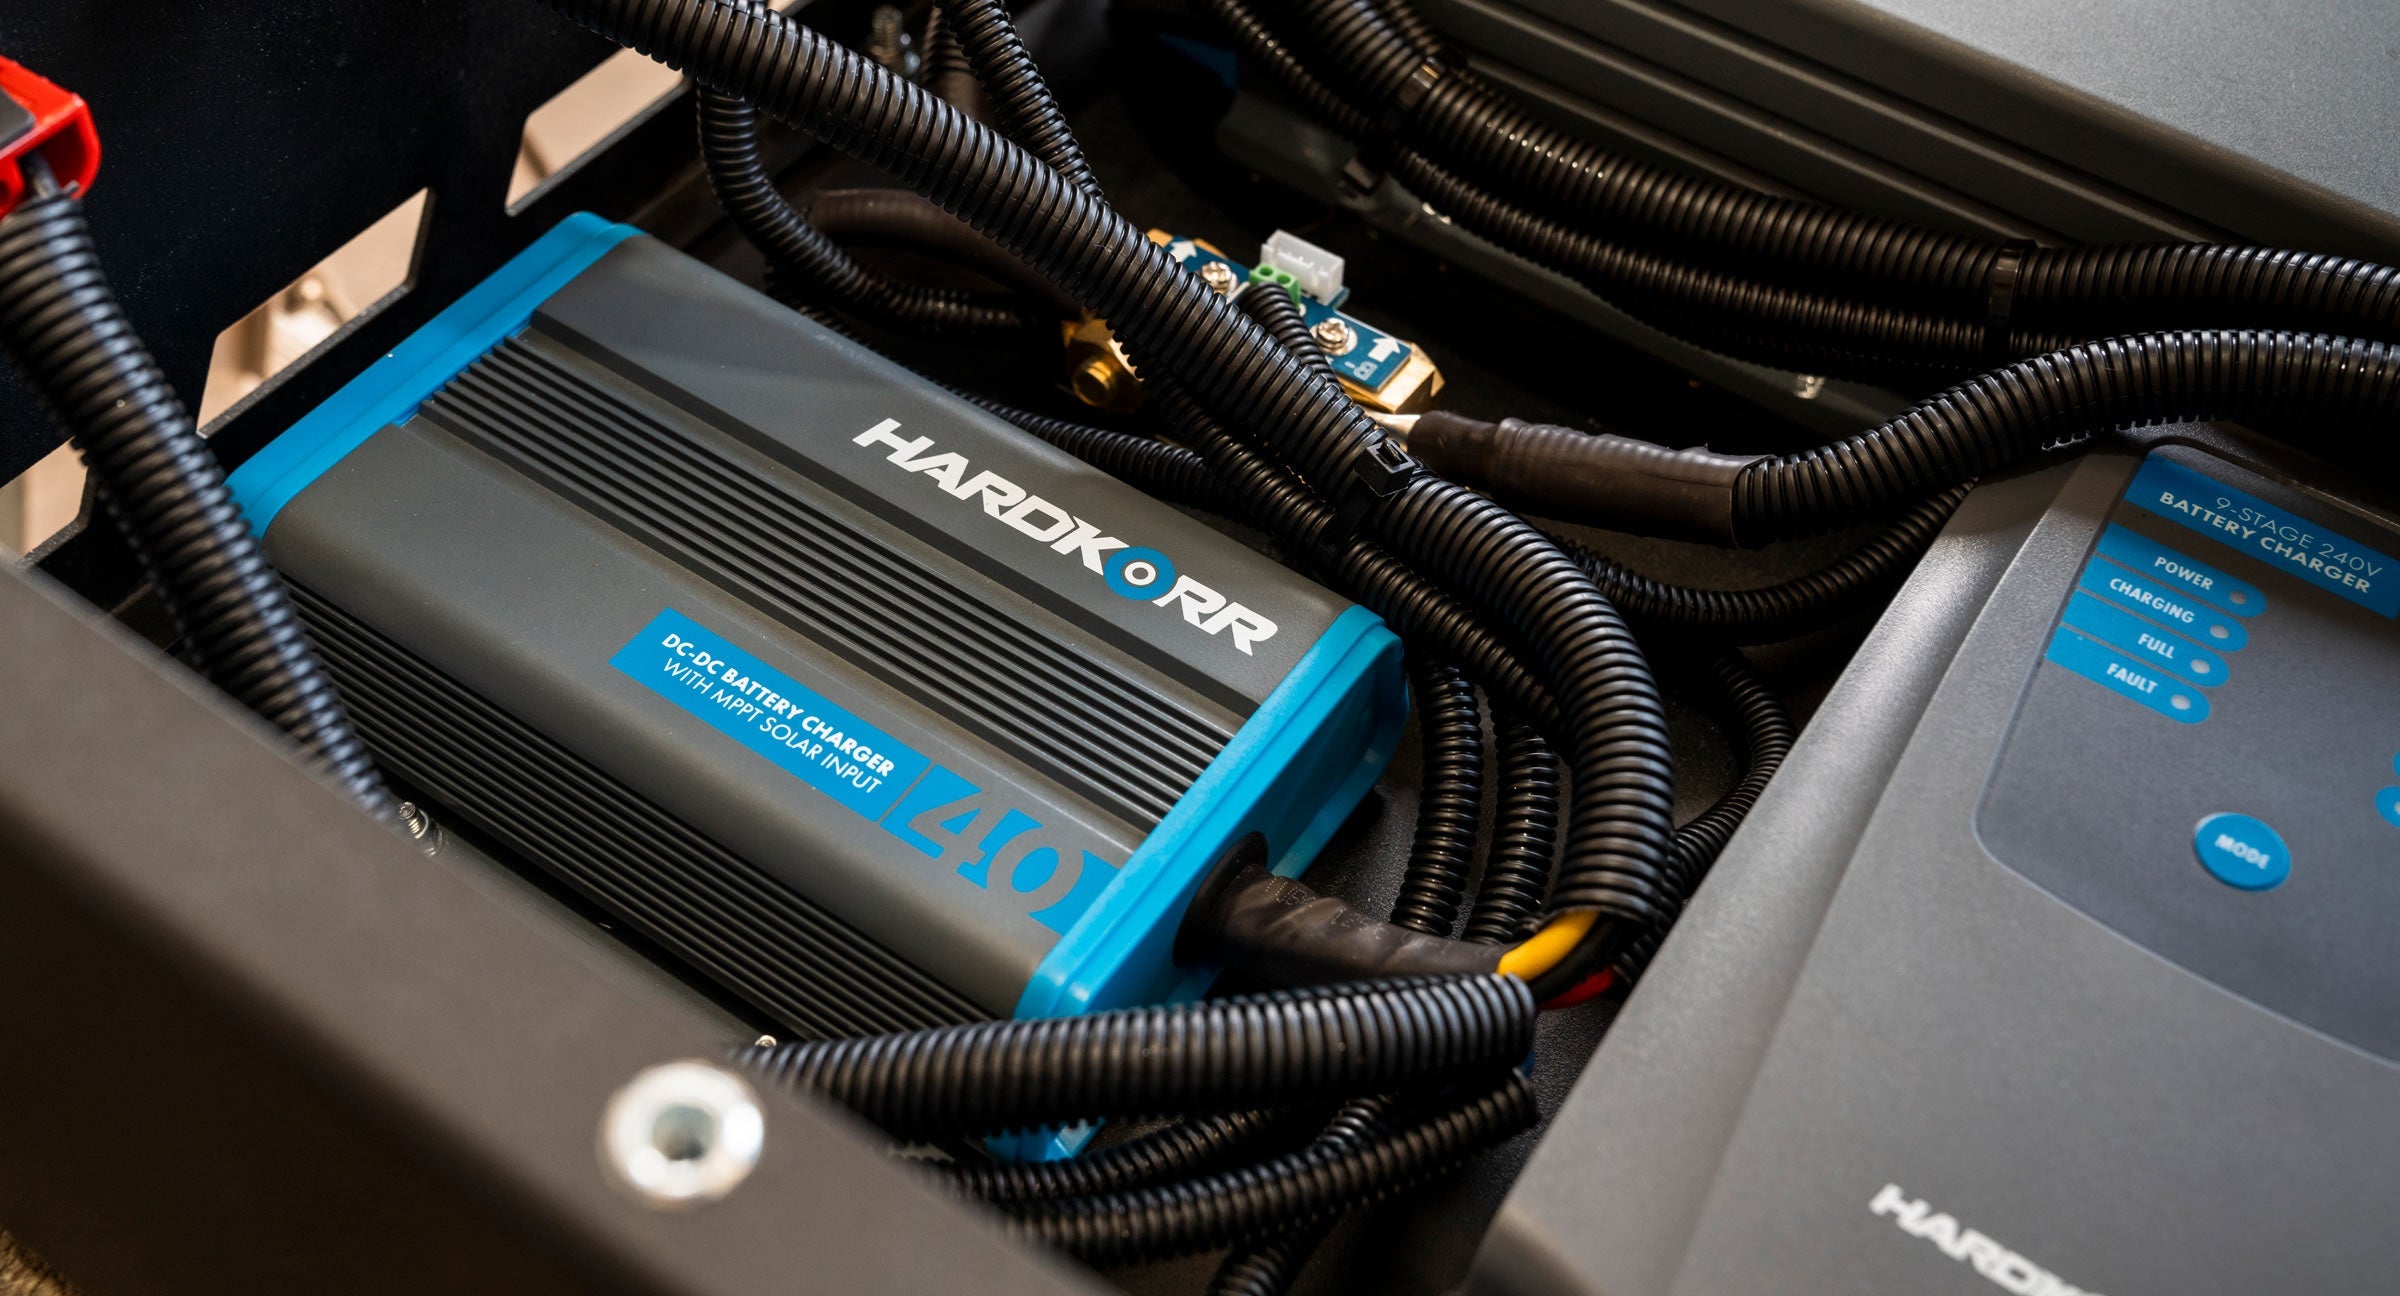
Built for campers and 4WDers, these 3-stage AC battery chargers deliver reliable charging for 12V deep cycle batteries. Simple to operate, it supports AGM, Gel, Wet, Calcium and Lithium chemistries, making it ideal for camping, workshop, garage and everyday power setups.
PRODUCT DIMENSIONS
| Measurement | 20A | 40A |
|---|---|---|
| Length (mm) | 226 | 266 |
| Width (mm) | 182 | 182 |
| Height (mm) | 87 | 87 |
CONNECTING THE BATTERY CHARGER
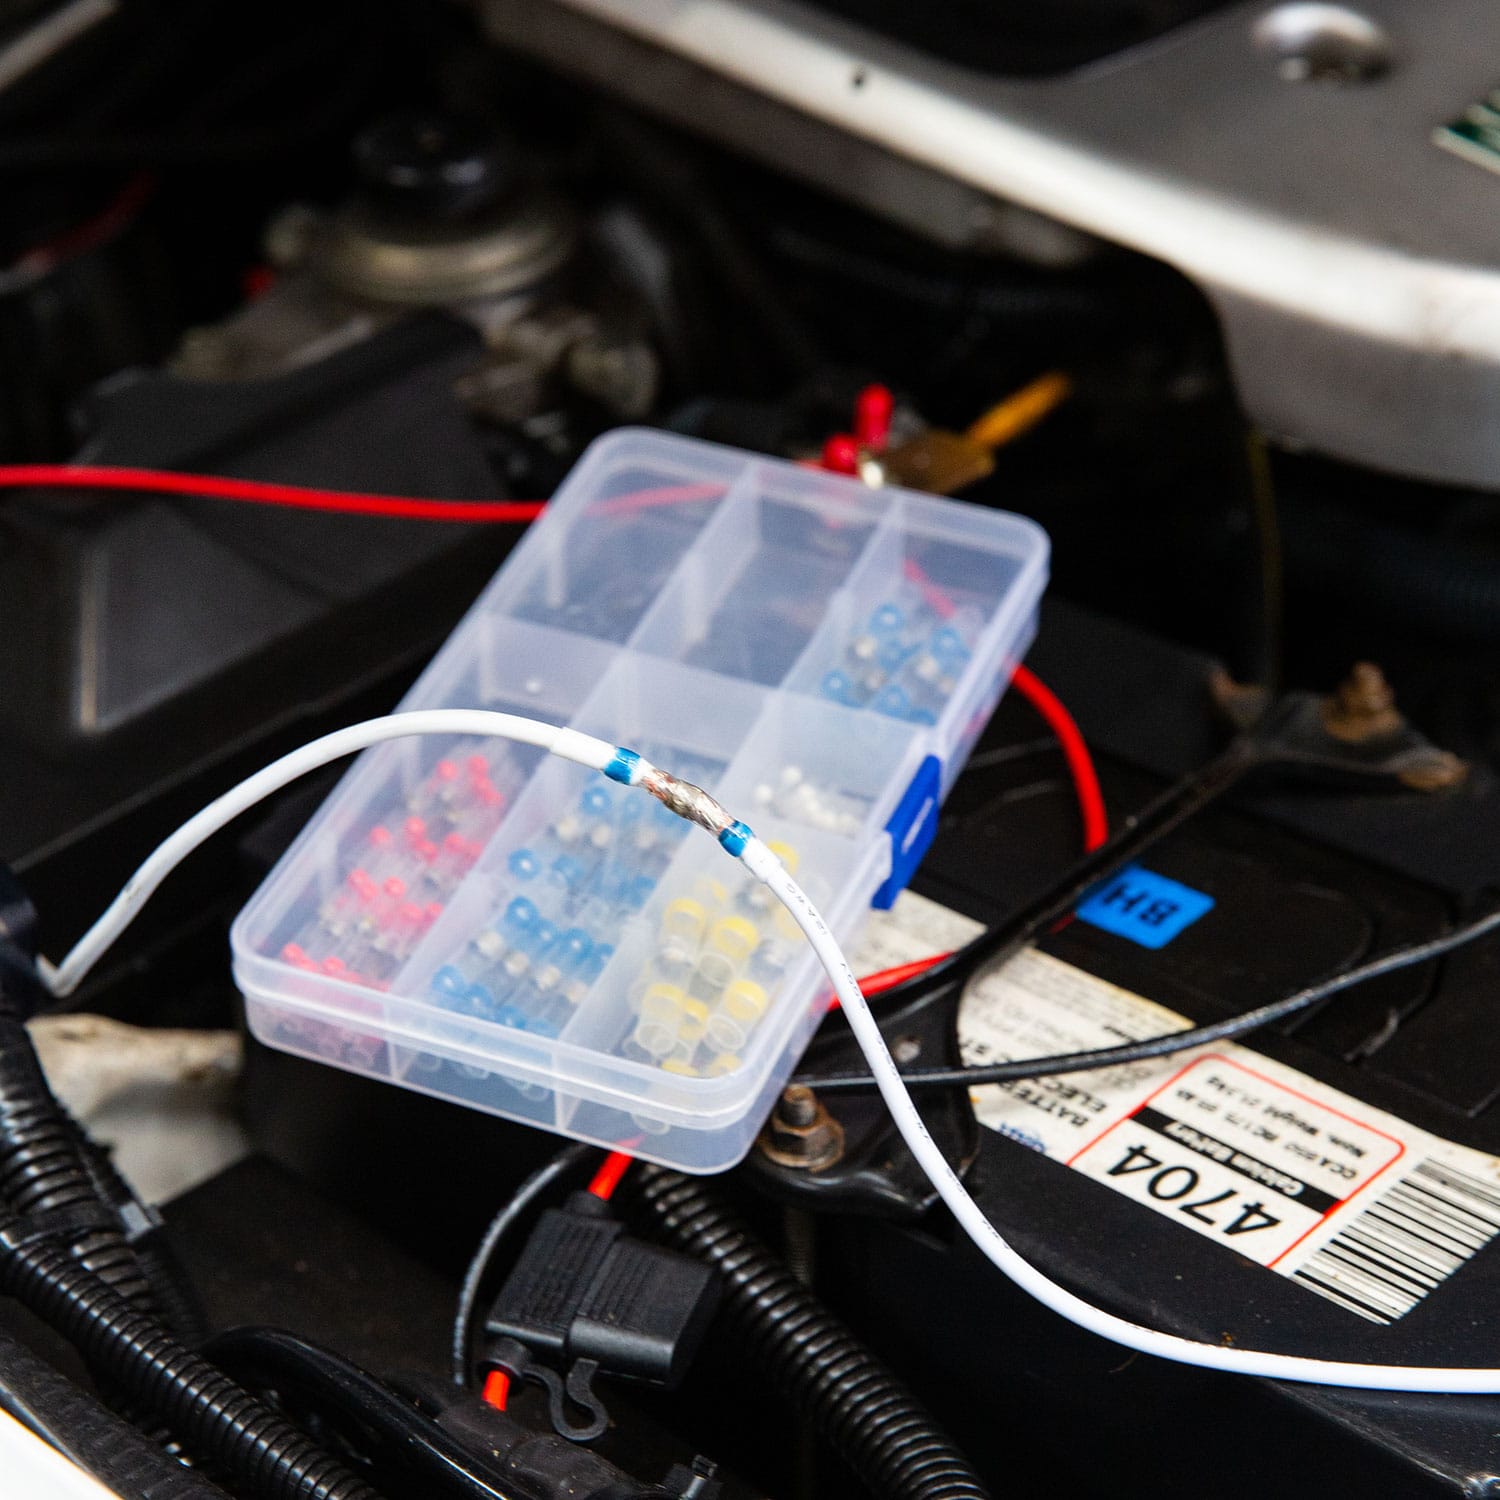
IF YOUR BATTERY IS INSIDE A VEHICLE:
- Position cables to ensure they are clear of doors, hood and engine components which could cause damage to the cables.
- Ensure you know which is the positive and which is the negative battery terminal.
- Determine which battery terminal is grounded to the chassis. Generally (but not always) the negative terminal is grounded.
- For negative-grounded vehicles, connect the positive (red) battery ring terminal to the positive terminal of the battery. Connect the negative (black) battery ring terminal to the vehicle’s chassis, away from the battery, fuel lines or moving parts.
- For positive-grounded vehicles, connect the negative (black) battery ring terminal to the negative terminal of the battery. Connect the positive (red) battery ring terminal to the vehicle’s chassis, away from the battery, fuel lines or moving parts.
- Connect the battery charger to a suitable AC power wall socket, turn on the Switch and check that the POWER LED light illuminates. You will also need to set the Battery Charge Profile to the appropriate setting for the battery connected, (Std, Gel, AGM, Calcium or LiFePO₄).
IF YOUR BATTERY IS NOT INSIDE A VEHICLE:
- Ensure you know which is the positive and which is the negative battery terminal.
- Connect the positive (red) battery ring terminal to the positive terminal of the battery.
- Connect the negative (black) battery ring terminal to the negative terminal of the battery.
- Connect the battery charger to a suitable AC power wall socket, turn on the Switch and check that the POWER LED light illuminates. You will also need to set the Battery Charge Profile to the appropriate setting for the battery connected, (Std, Gel, AGM, Calcium or LiFePO₄).
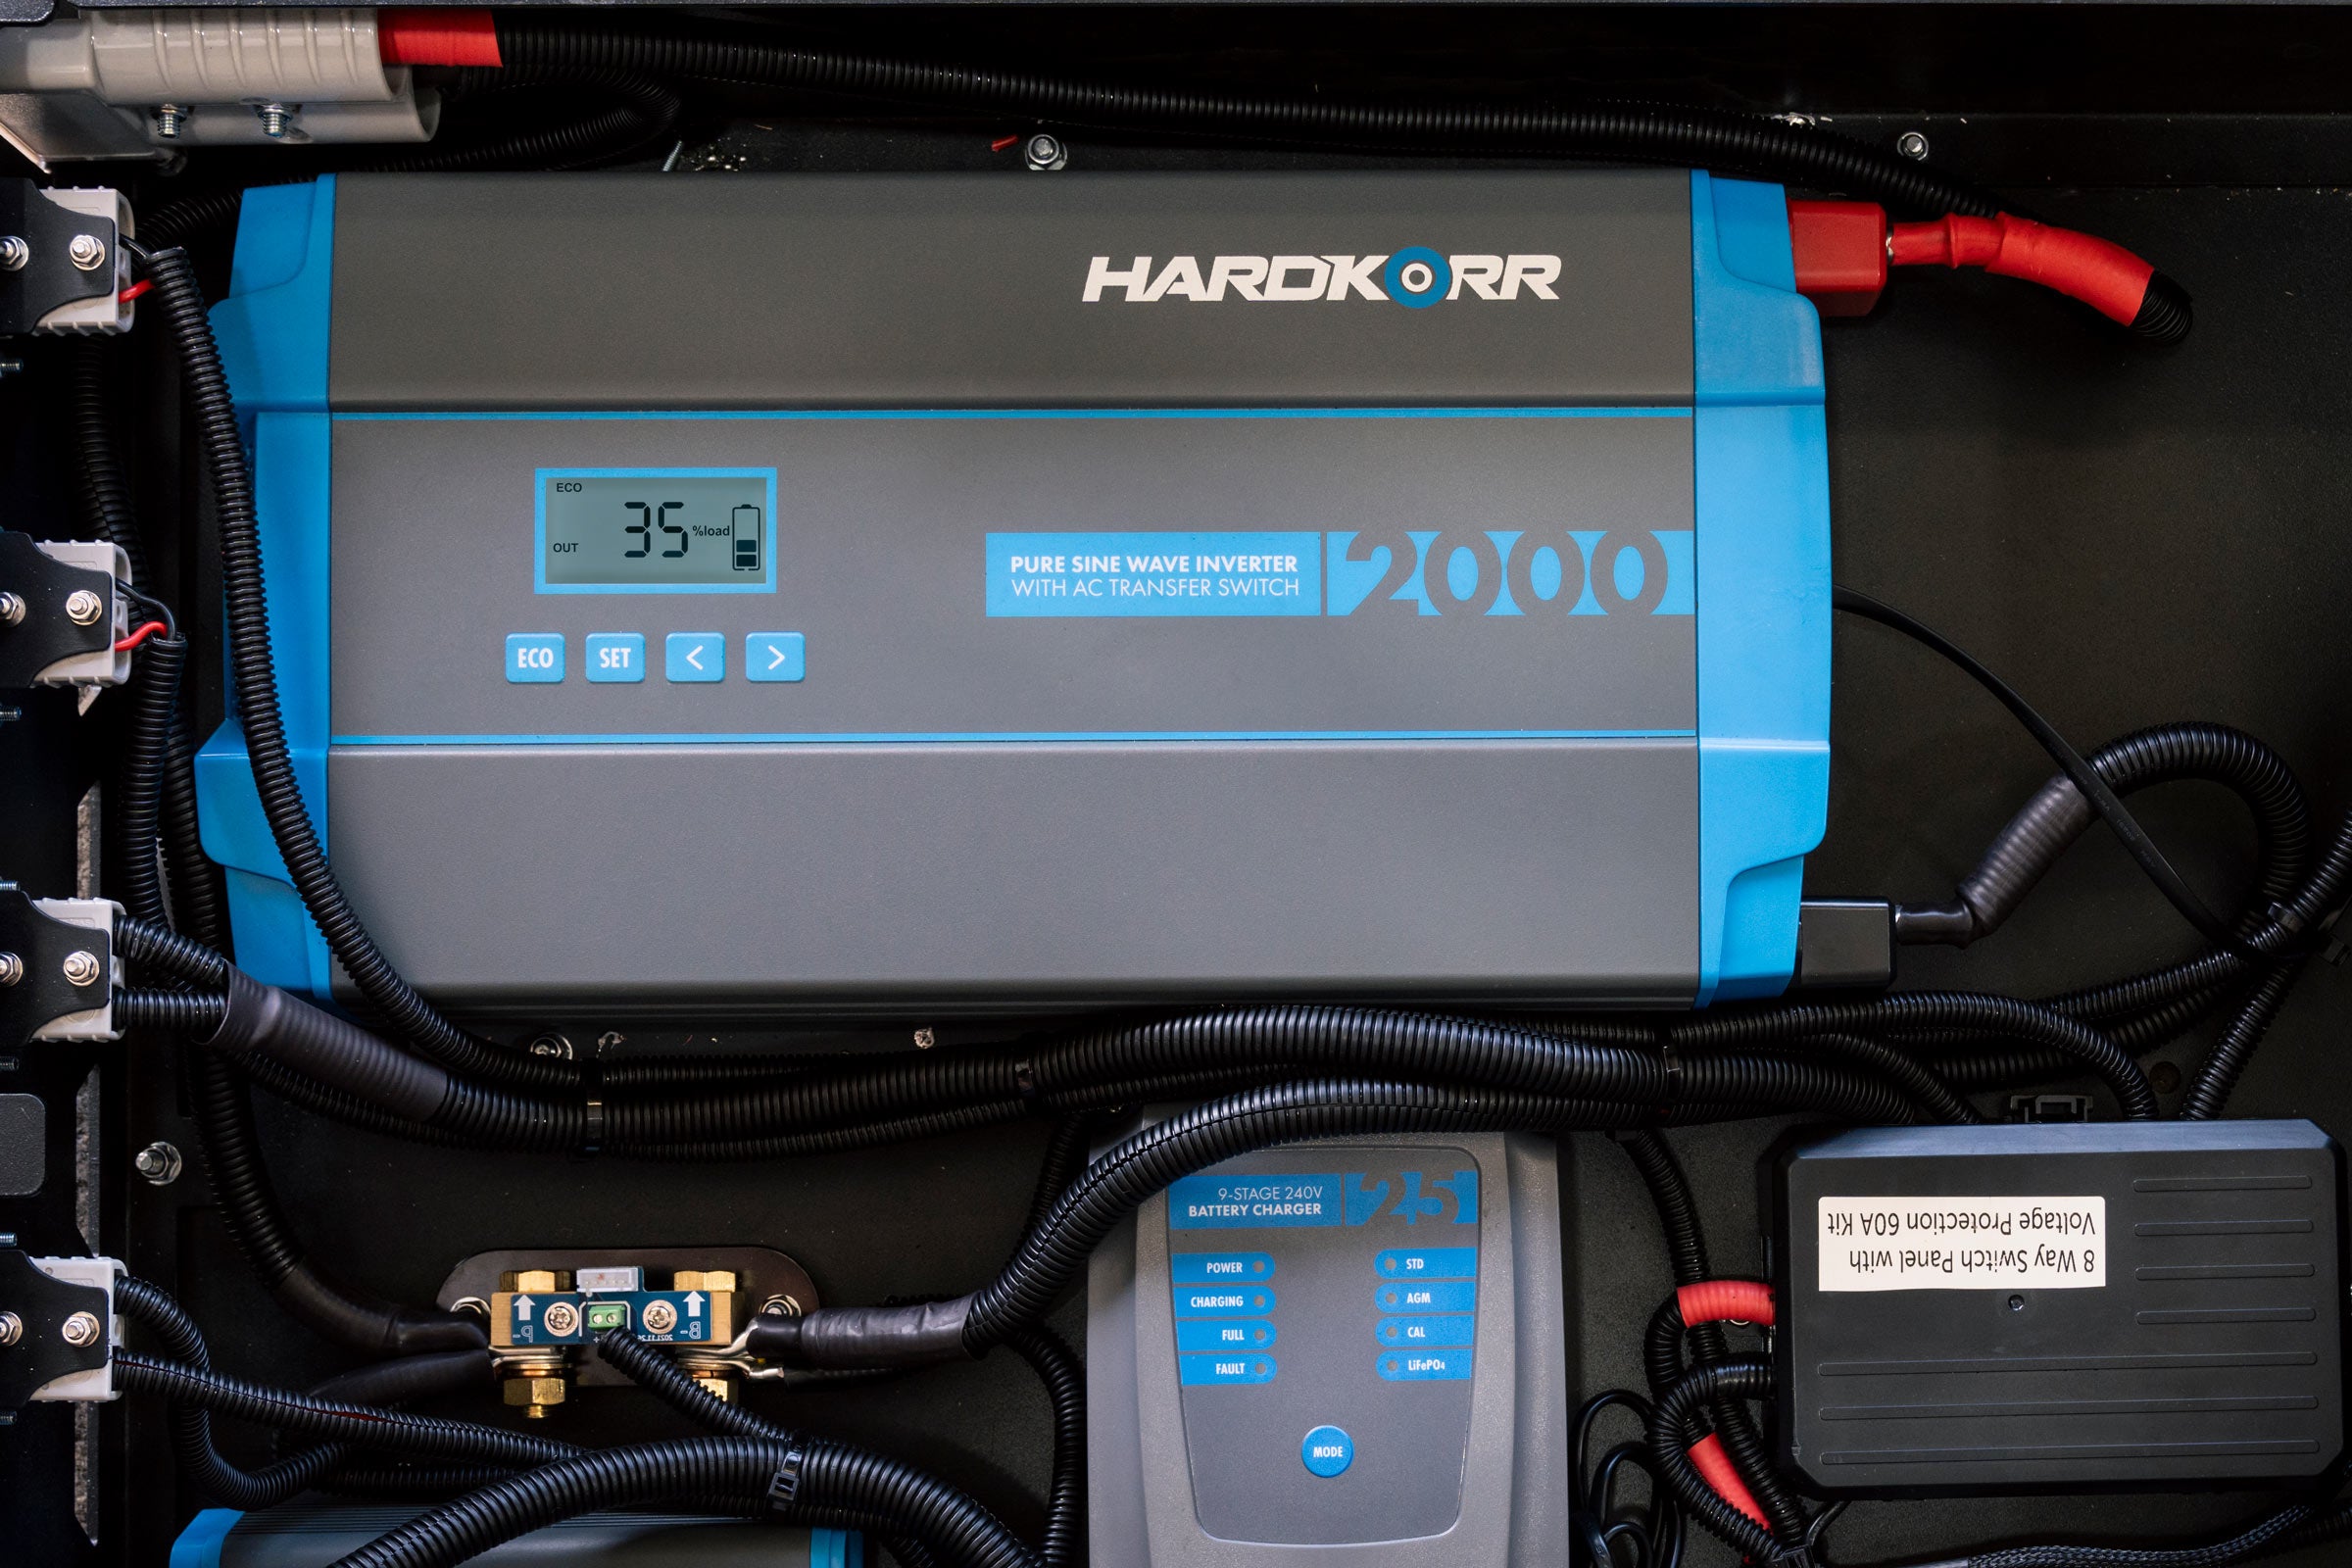
CHARGING THE BATTERY - 3-STAGE CHARGING
Stage 1: The first stage is designed to ensure that the battery is charged to the maximum capacity by speeding up the charging cycle. The BULK LED illuminates to indicate that the unit is delivering maximum charging current.
Stage 2: When the battery reaches approximately 90% of its rated capacity, the charger will enter ABSORPTION mode. At this stage, the device supplies a constant voltage to the battery at a reduced current.
Stage 3: When 100% charge is reached, the ABSORPTION LED will turn off and the FLOAT LED will turn on. In FLOAT mode, the charging current will be reduced and the charging voltage will be kept constant. The battery now remains in the FLOAT constant charging mode.
CHARGING THE BATTERY - CHARGER SETTINGS
| Battery Type | Bulk/Absorption | Float |
|---|---|---|
| LiFePO4 | 14.4V ± 0.15V | 13.6V ± 0.15V |
| AGM | 14.6V ± 0.2V | 13.8V ± 0.2V |
| Calcium | 15.0V ± 0.2V | 13.8V ± 0.2V |
| STD | 14.4V ± 0.2V | 13.4V ± 0.2V |
| GEL | 14.2V ± 0.2V | 13.2V ± 0.2V |
DISCONNECTING THE BATTERY CHARGER
IF YOUR BATTERY IS INSIDE A VEHICLE:
- Turn off the Switch on the unit, then turn off AC power at the wall switch and remove the AC cable from the wall socket.
- Disconnect the battery ring terminal from the vehicle chassis.
- Disconnect the battery ring terminal from the battery terminal.
IF YOUR BATTERY IS NOT INSIDE A VEHICLE:
- Turn off the Switch on the unit, then turn off AC power at the wall switch and remove the AC cable from the wall socket.
- Disconnect the battery ring terminal from the negative terminal of the battery.
- Disconnect the battery ring terminal from the positive terminal of the battery.
PRODUCT SPECIFICATIONS
| SPECIFICATION | 20A | 40A |
|---|---|---|
| Input Voltage | 180-260V AC, 47-63Hz | |
| Charge Current | 12V/20A | 12V/40A |
| Efficiency | ~85% | |
| Operating Conditions | 0-60°C, 20-90% Relative Humidity (Non-Condensing) | |
| IP Rating | IP20 | |
| Unit Weight | 1.5kg | 2.0kg |
| Protections | Over-Temperature, Over-Voltage, Over-Current, Short Circuit, Reverse Polarity | |
TROUBLESHOOTING
| Status | Possible Cause | Solution |
|---|---|---|
| No DC output / charger cannot start |
No AC input | Check the AC power source |
| Overheating issue | Wait for the unit to cool down | |
| Poor terminal contact / Short circuit |
Check the connection between the charger and the battery, and assess for correct polarity |
|
| Faulty fuse | Check the fuse and replace if needed | |
| Battery charging is not stable |
AC input voltage is not stable |
Check that the AC input voltage is within the range adequate for powering the charger. |
| Incorrect battery type setting |
Change to a different battery type by pressing the MODE button. |
|
| The charger cannot switch to FLOAT mode | Cable connected to the battery is too thin | Change the cable to a thicker gauge |
| Battery is in poor condition | Get the battery tested. Replace the battery with a new one if there is significant degradation to the battery health. |
|
| Blinking Float, ABS and Bulk | Short circuit or reverse polarity protection | Check the connection between the charger and the battery, and assess for correct polarity |
| Blinking ABS and bulk | Over-temperature protection | Wait for the unit to cool down |