

This guide contains all the information you need to know to get your new gear up and running, along with handy links to any available accessories and other relevant information. If you require technical support, please contact our support team for assistance. Contact details are contained within this guide.
- Ensure you comply with your state or territory’s laws and regulations around the installation and use of auxiliary lighting.
- Before installing the lights, remove the negative cable from the vehicle's battery.
- Remove any protective film from the light lens and cover before operation.
- Ensure the lights are mounted securely and tightly to a solid surface.
- Ensure air flow to your radiator is not compromised by the positioning of your lights.
- Do not install the lights in a place that may interfere with the driver’s line of vision.
- Use either the included harness or a suitable alternative to install the lights. Make sure the harness you are using is capable of sustaining the current drawn by your lights, especially when connecting new lights to an existing harness.
- Some vehicles will require a different high beam piggyback adaptor than the ones included, or may need to be hard-wired into place. We recommend checking with your vehicle manufacturer prior to installation.
- Improper installation of the wiring harness* and lights can affect the performance and reliability of the product and may cause consequential electrical problems in your vehicle. If you do not have the required skills to install this product, we recommend you contact a qualified auto electrician.
- Do not attempt to disassemble, modify or repair the lights. If your lights become damaged or malfunction, please cease use and contact us for assistance.
- Do not look directly into the lights.
- Do not connect the light to a power source greater than 32V.
-
Do not use solvent-based cleaners when washing the lights.
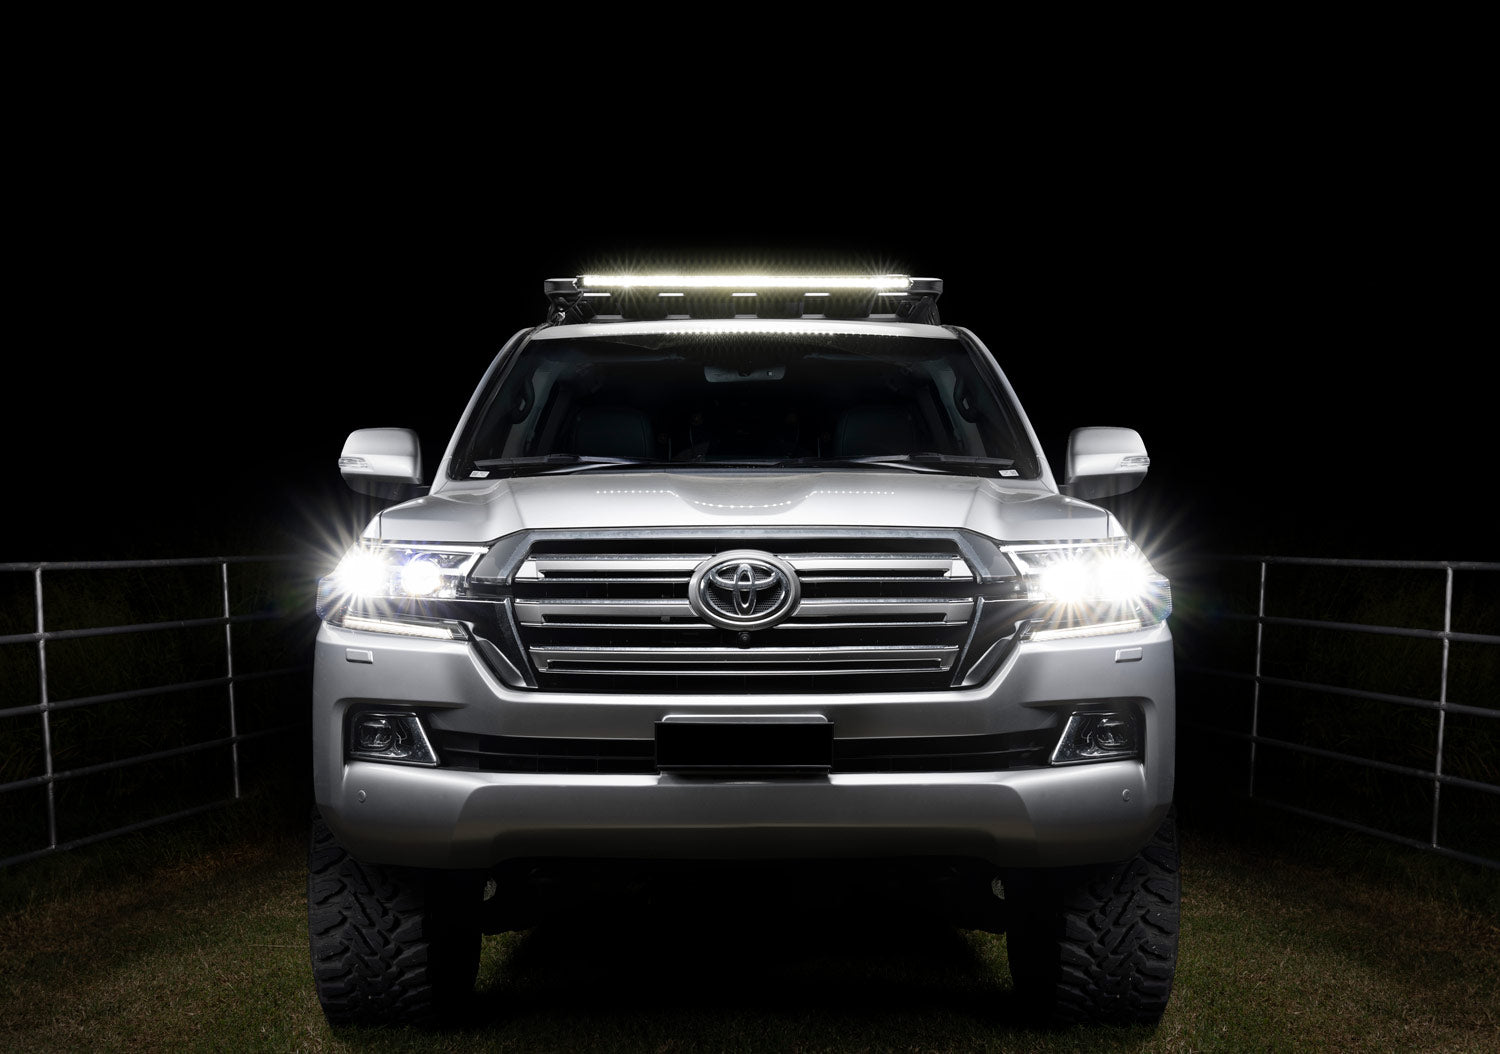
XD SERIES LIGHT BAR OWNER’S GUIDE
when used with optional Hardkorr Wiring Harness
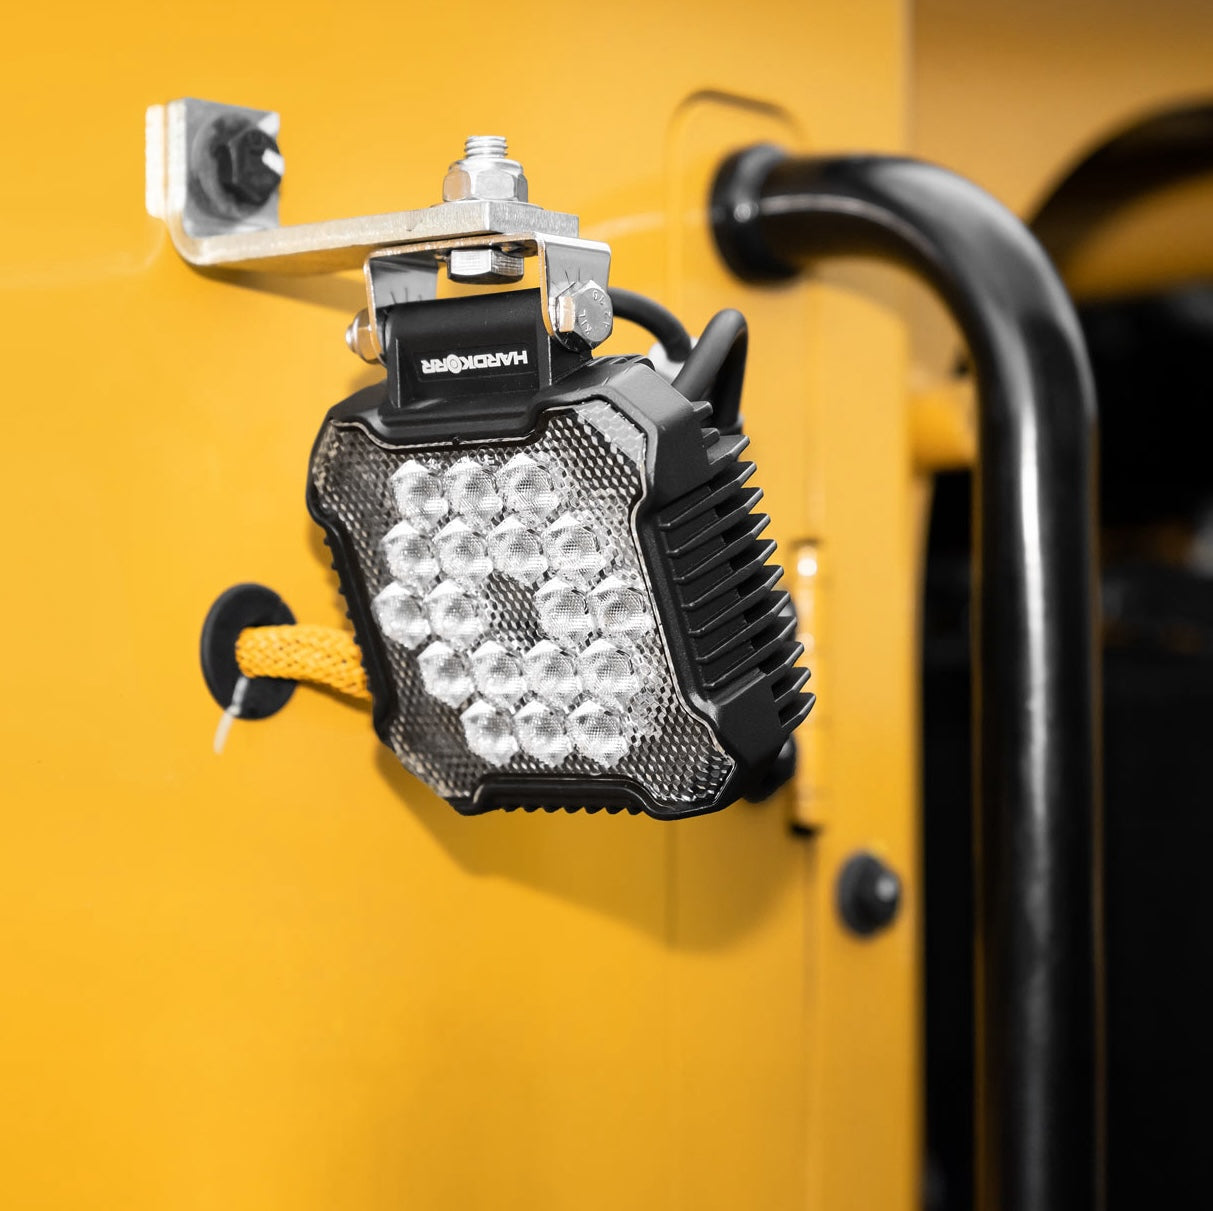
The XD Driving Lights are designed for practicality. Unless you’re crossing the Nullarbor at night, the one-lux distance will see you through almost any stretch of road you take it down in comfort. The 110 degree short range beam angle will leave no surprises on the side of the road. Even the lens cover stays practical with the notched design, allowing the signature daytime running lights (DRL) shining while your light stays protected.
DUAL MOUNTING OPTIONS
Your XD Series light bar comes with both end-mount and under-mount (sliding) legs in the box. You can use whichever legs suit your application best.END-MOUNT LEGS
- Fasten the end-mount legs to the bar using the included spring washers and 8mm x 14mm hex bolts, but do not tighten all the way (you may need to adjust the angle later).
- Attach the end-mount legs to the bar using the included M8 x 25mm bolts and nuts.
UNDER-MOUNT (SLIDING LEGS)
- Insert the M6 x 20mm bolts into the middle channel at the rear of the bar and then slide them towards the middle. You will notice that this channel widens at the end of the bar just enough to accept the bolt heads.
- Slide the square washers over the ends of the bolts, ensuring that the two raised edges face forward and sit inside the top and bottom channels.
- Attach the under-mount legs to the bolts by inserting the end of the bolt through the slotted hole in the leg. Ensure that the leg curves underneath the bar, not away from the bar.
- Secure the under-mount leg to the bar with the M6 nut, but do not tighten all the way (you may need to adjust the angle later).
- Attach the under-mount leg to the bar using the included M8 x 25mm bolt and nut.
INSTALLATION
PRIOR TO INSTALLING THE LIGHT BAR ON YOUR VEHICLE, HARDKORR RECOMMENDS TESTING THE LIGHT BAR AND WIRING HARNESS* OUTSIDE OF THE VEHICLE.
- Disconnect the negative cable of the battery.
- Choose whether to use the end-mount legs or under-mount legs. Attach whichever legs you are using to the bar - see page 5 for further instructions.
- If you do not have pre-drilled holes, sit the light bar on the mounting surface, mark where the holes will need to be placed, and then remove the light and drill the holes.
- Mount the light bar, ensuring that the rubber pads are in place where the legs contacts with the mounting surface. Roughly align the bar to your desired angle, then tighten the bolts connecting the bar and legs so that the bar does not move out of position.
- Connect the 4-pin Deutsch plug cable from the light bar to the matching plug on the wiring harness (sold separately).
- Connect the DRL wire to the twin fuse adaptor (both blade and mini blade fuse adaptors are included) then open your main fuse box and remove the accessories fuse. Plug the accessories fuse as well as the supplied fuse into the adaptor, then insert the adaptor into the fuse box slot from which you removed the accessories fuse. Cover the end of the other wire with electrical tape.
- Remove the high beam plug from the back of your headlight and connect it to the piggyback adaptor - the kit has a HB3 and H4 adaptor supplied, however other adaptors are available for purchase separately if your vehicle has a different plug (see page 10) - note some modern vehicles require an adaptor specific to that model. Connect the piggyback adaptor to the white plug on the harness*, and then reconnect the piggyback adaptor to the back of your headlight.
- Next, feed the switch to the inside of the cabin. This should be through a rubber grommet that runs through the firewall. To do this, you’ll need to note the order of the wires on the back of the switch, then remove, reconnecting once in the cabin of your vehicle.
- Secure the relay to the body of the vehicle then connect the positive and negative terminals from the harness* to your battery.
- After installation, we recommend you drive to a nearby location at night to properly set up the light bar beam. Park the vehicle on a flat area from where you will be able to clearly see the light beam, then switch on the light bar and loosen the bolts connecting the bar and legs. Adjust the angle of the bar so that the ground in front of the car is well-lit but there are no ‘hot spots’ (areas where the light is too concentrated). Once satisfied, re-tighten the bolts to ensure the bar stays in place.
WIRING DIAGRAM


* Wiring Harness is sold separately.


